It’s been about 2 years since I moved from the largest bedroom in our house, to the second smallest.
Quite the downgrade, but honestly I like it better. It’s been a great reason to downsize my stash and only keep the things I really use!
aaand then I kinda threw everything in here and called it a day for the last two years. I finally got the decorating bug for this room and spent about 2-3 weeks cleaning, organizing, painting and of course, decorating! So since I ADORE seeing where other people create, I had to take some pics and update you all on the new craft room!
(note: there will be some affiliate links in this post…thanks!)
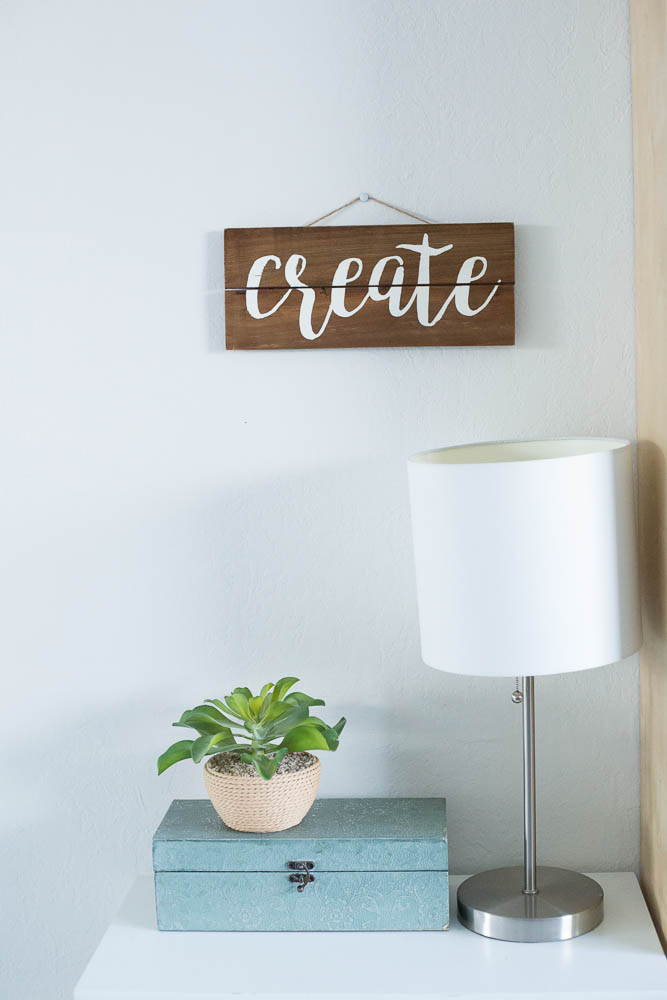
I could only get whole wall shots with my iphone, so excuse the quality! Here is the wall to the left when you enter the room. We painted the walls white (swiss coffee from Kelly Moore) when we swapped rooms around 2 years ago, so we didn’t need to repaint or anything! I love me some blank white walls! The little white drawer unit has fabric that I am selling stored in it, and on top…
…is this little minty blue box I thrifted with a faux plant on top from Home Goods. I made the sign last year when I was in a serious wooden sign crafting phase, lol! The lamp is a Target lamp we’ve had literally for as long as I can remember. (I keep chocolates in the box right now hehe. it’s not my only chocolate stash either. more on that…)
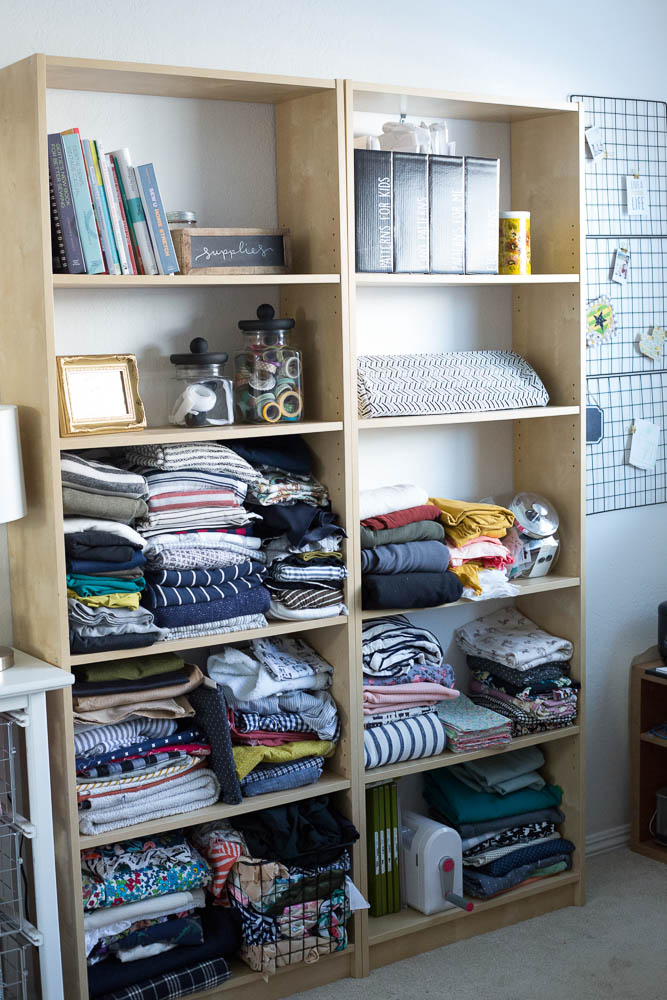
On to the shelves and stash! The shelves are Ikea, and I had another one but was able to downsize my stash enough to get it down to two, which cleared out a lot of space on the opposite wall.
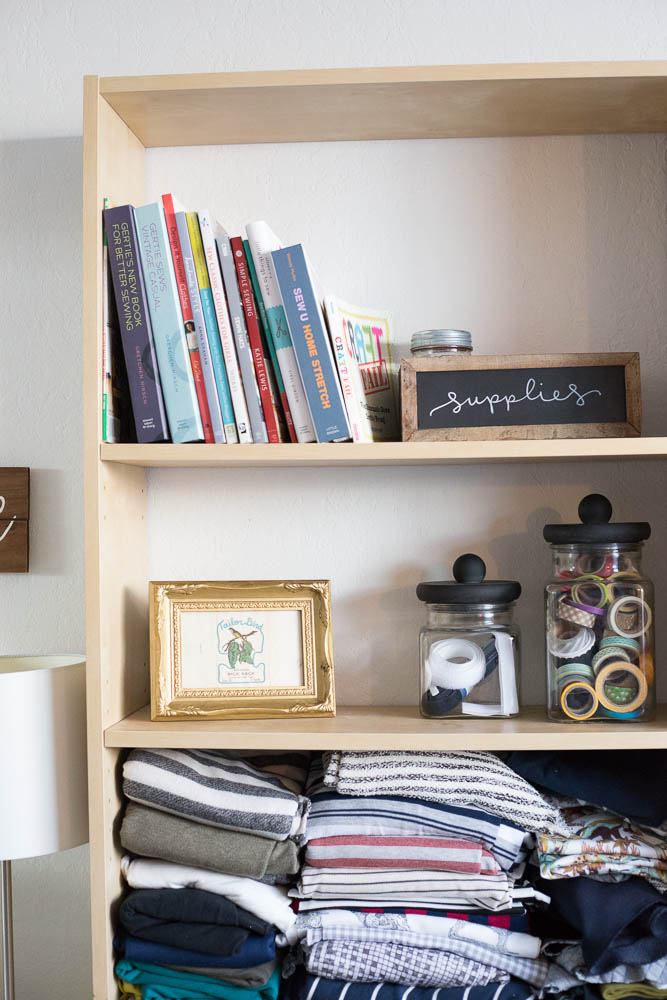
I’ll go left shelf first-the top has some sewing books, and my other chocolate stash-er “supplies” haha! also swedish fish for Jack during photo shoots.
Second shelf down has washi tape and velcro in some thrifted jars-the lids were mint but I gave them a quick coat of matte black spray paint and love how classic they look now!
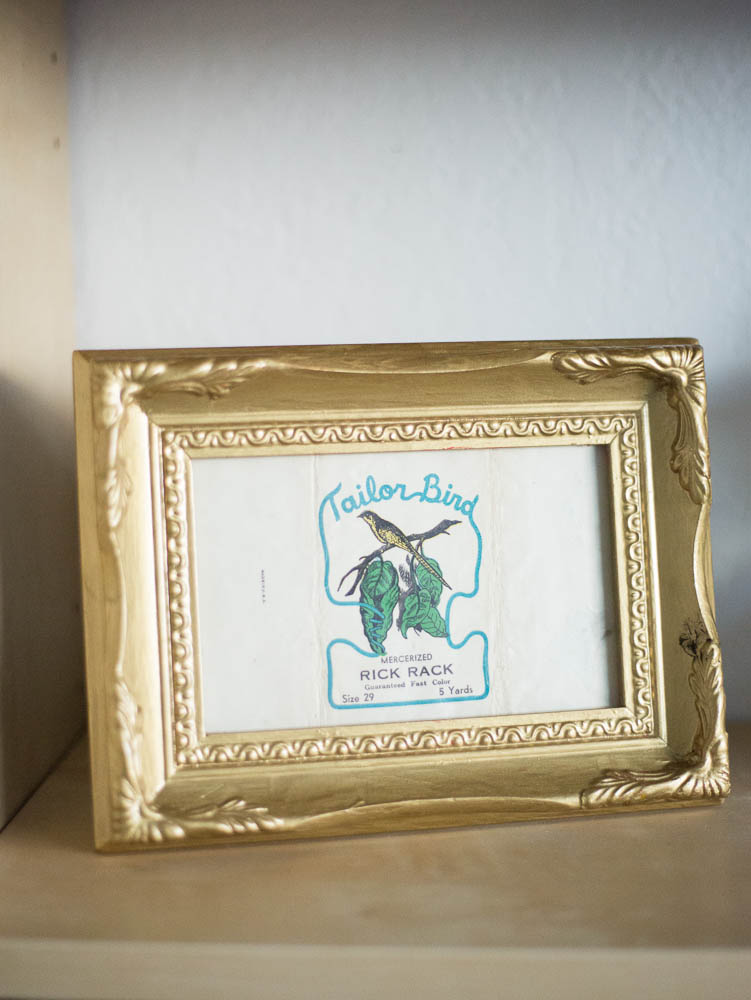
I also framed a vintage rick rack label in this thrifted frame I spray painted years ago for I think, Ava’s nursery?
Below those two shelves are fabric-boy knits, boy wovens, and then on the bottom other wovens, and in the basket, swim suit fabric.
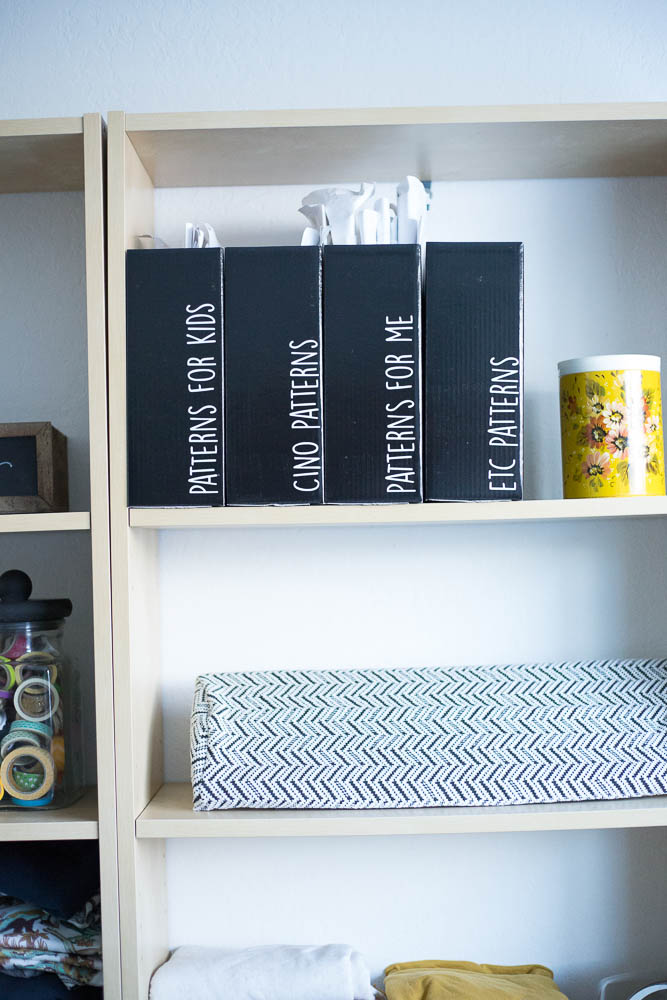
On the right shelf, top shelf we have my patterns, organized in these magazine folders.
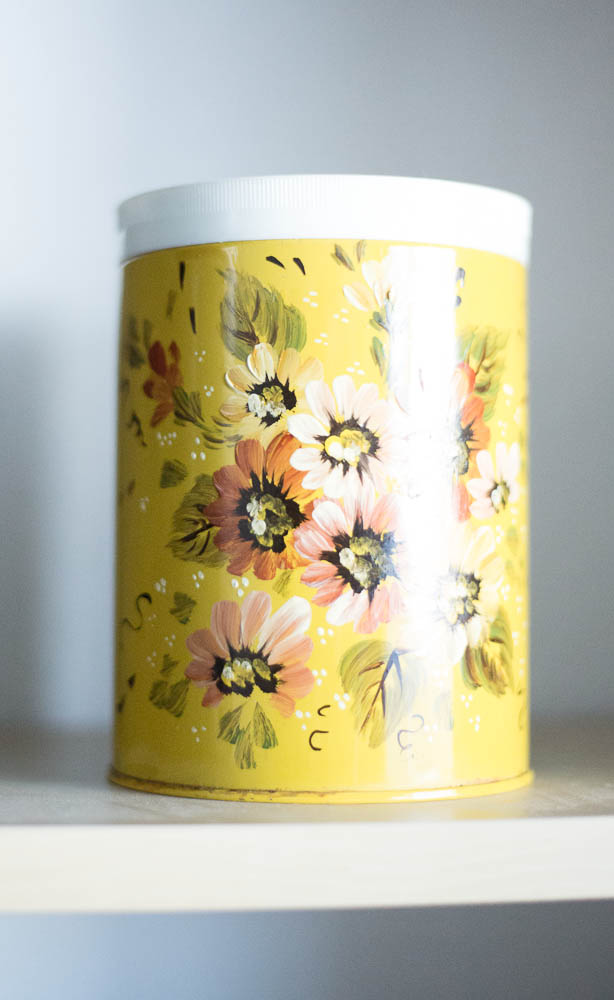
and also an adorable hand painted canister that I thrifted years ago. It is empty right now, but I’m sure I’ll find something to fill it with! (more chocolate?)
Next, I have my Silhouette CAMEO nestled in with a knit cover I made, knit fabrics, my Go! Baby and dies, and some wovens.
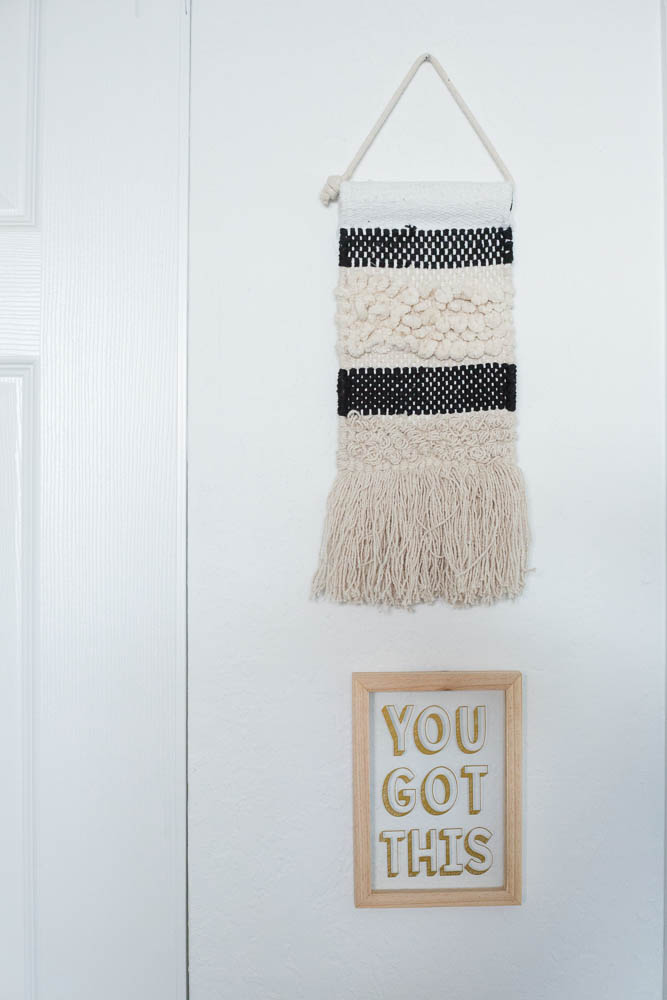
I didn’t get a shot of the wall with the closet and door, but here is all of the decorating done there lol-a couple of decor items I picked up on clearance at Target.
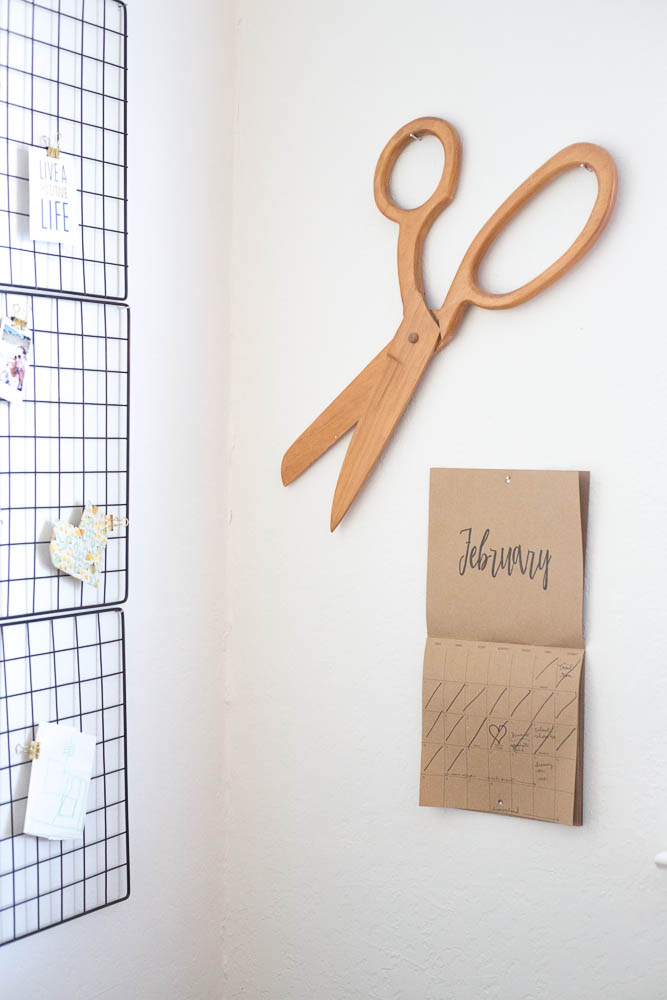
Then back over to this corner-I threw up 3 of these wire panels I had leftover from the closet (and need to level them lol) but they will be a fun place to hand sweet drawings from the kiddos, and cute mementos! I also have my wooden scissors my Dad and I made, and a (Target dollar spot) calendar handy.
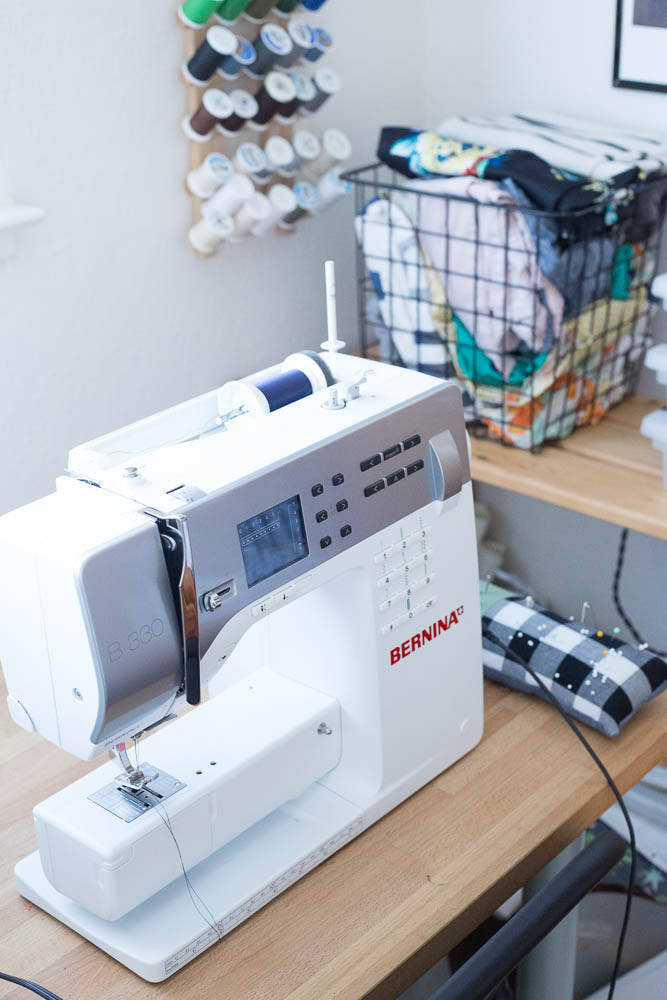
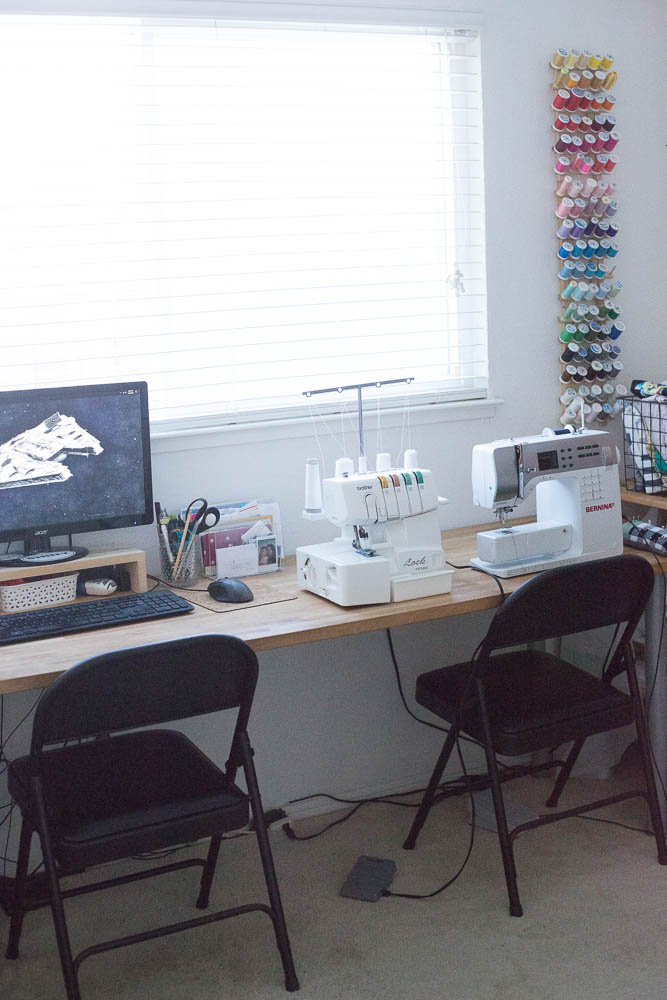
So here’s the window wall-and the floor (yuck we need new carpet)-which I set up my desk in front of-it made sense to keep the walls for shelves and storage, and the computer only peeks out a little bit over the bottom of the window. I got the desk ages ago from Ikea, as well as the little shelves the printer, paper, and office supplies are housed in. I keep my serger and machine out (with a dust cover on the serger sometimes), and just move the chair over a bit depending on what I need to use. The cords down below are a tangled mess, if anyone has a good tip to keep them wrangled, let me know! lol!
I have my thread up on the wall with three of these thread organizers, and I love the pop of color! Since I went pretty neutral with this room, it’s fun.
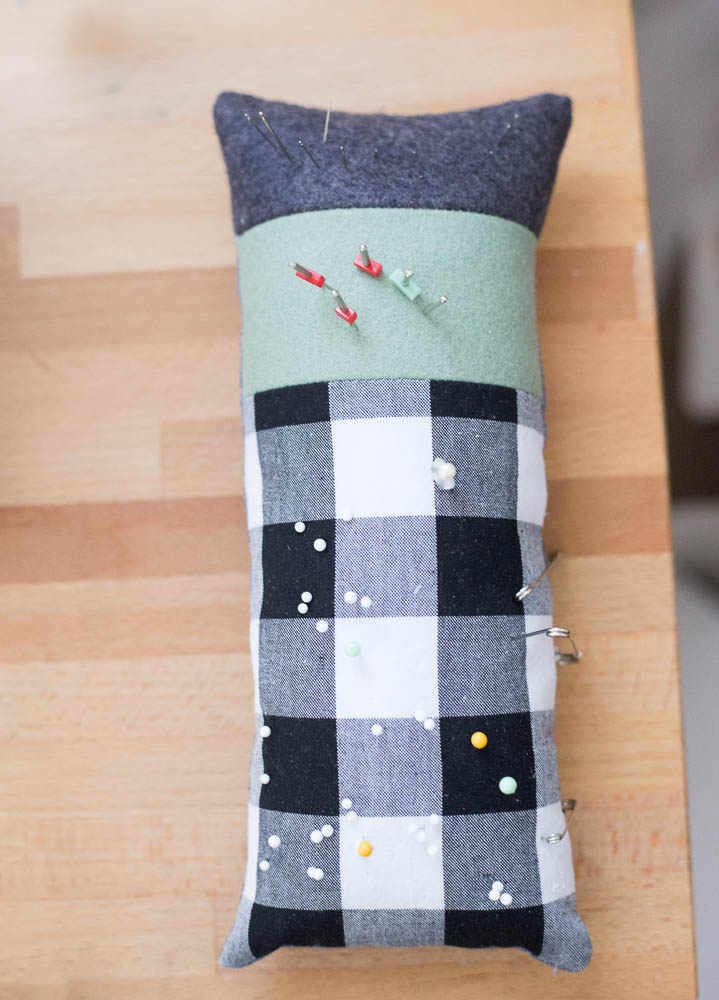
I made a new pincushion using the basic part of this tutorial, and I love it! I also used two colors of felt to organize my needles.
This wall is probably my favorite part of the room! There’s a lot to it, so let’s dive in!
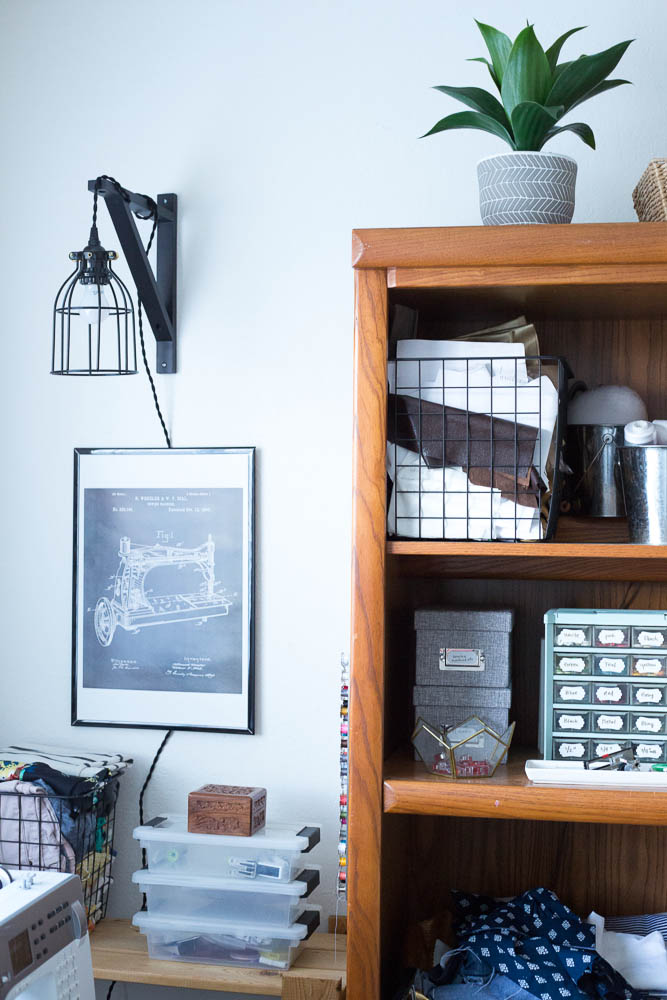
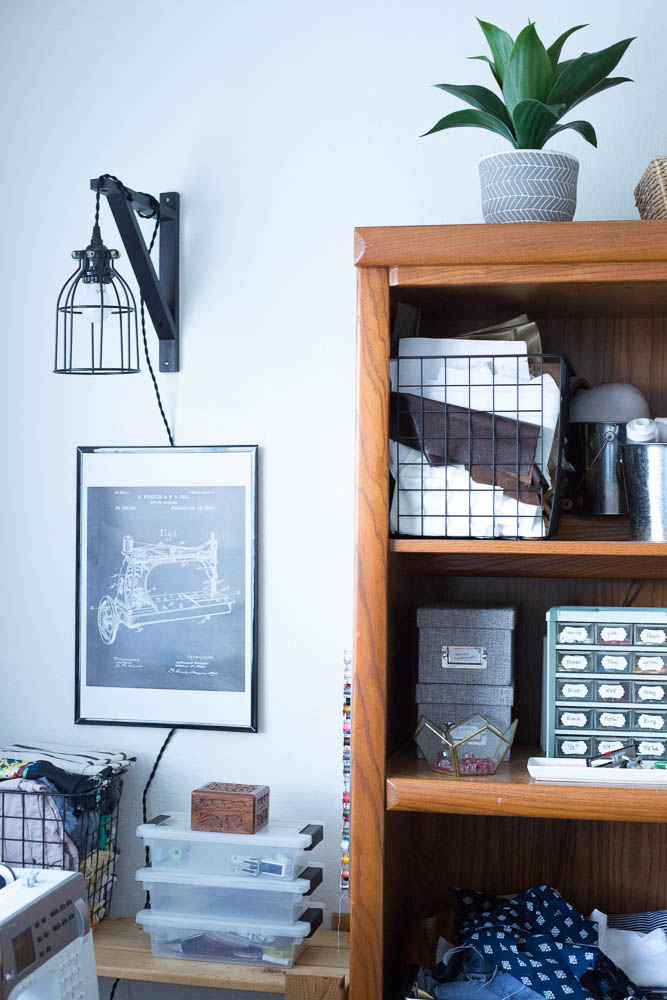
I store interfacing, random things on the bottom shelf of the shelf on the far left-then on top are works in progress & mending in the metal basket. In the stack of plastic storage, are sewing machine accessories, my hot glue gun, and the wooden box (from a trip to Hawaii) holds my new needle packs.
I got the sewing machine print awhile ago, not sure where from though! I decided this corner needed some light, so I found this bracket for a light or shelf), this cage for lights, and this cord and put it all together! It runs behind the large storage shelf and then I attached the on/off button to the side with command strips so it would be easy to switch on. I LOVE IT.
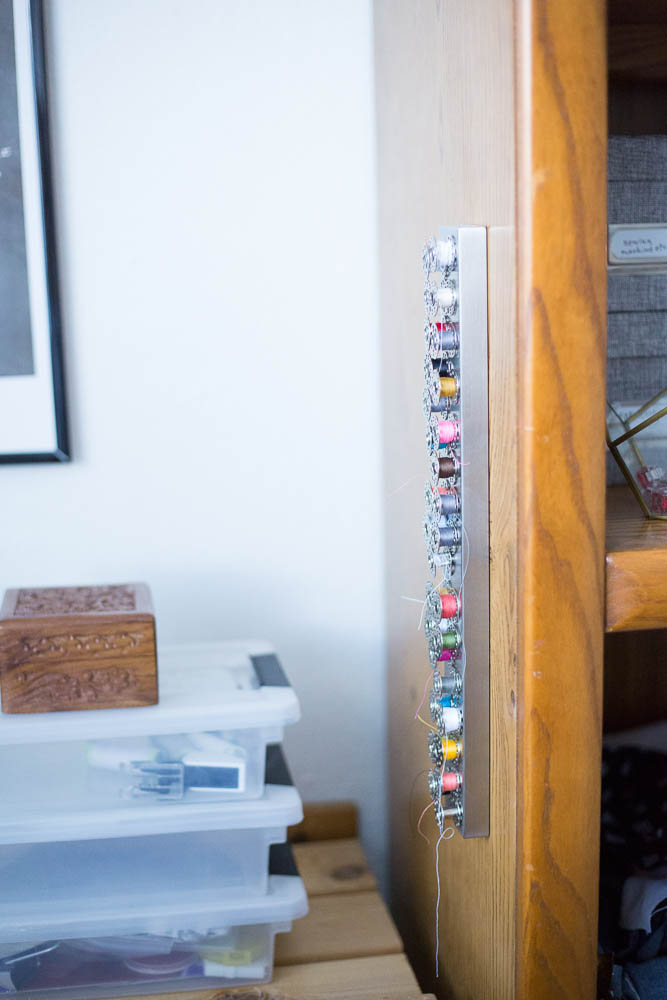
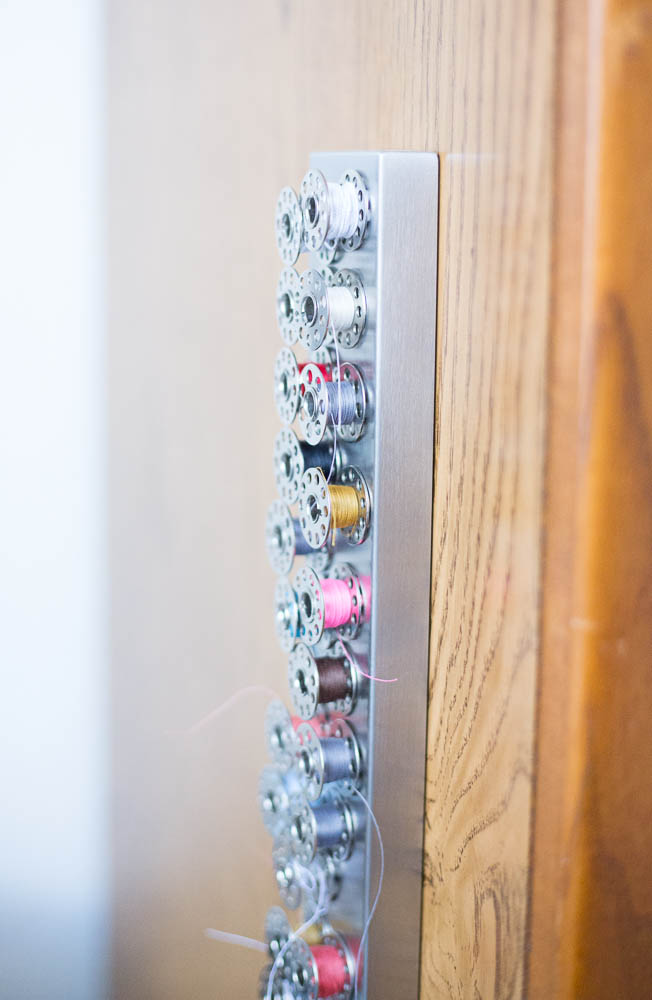
On the side of the storage unit (salvaged from my parents house ages ago-besides the ikea shelves, desk, and cutting table, this whole room is furnished with hand me downs!), I added a magnetic knife strip for my bobbins! It’s amazing so far and so easy to pop on and off and find the right color! I got the tip for this from my good blogging pal, Anna!
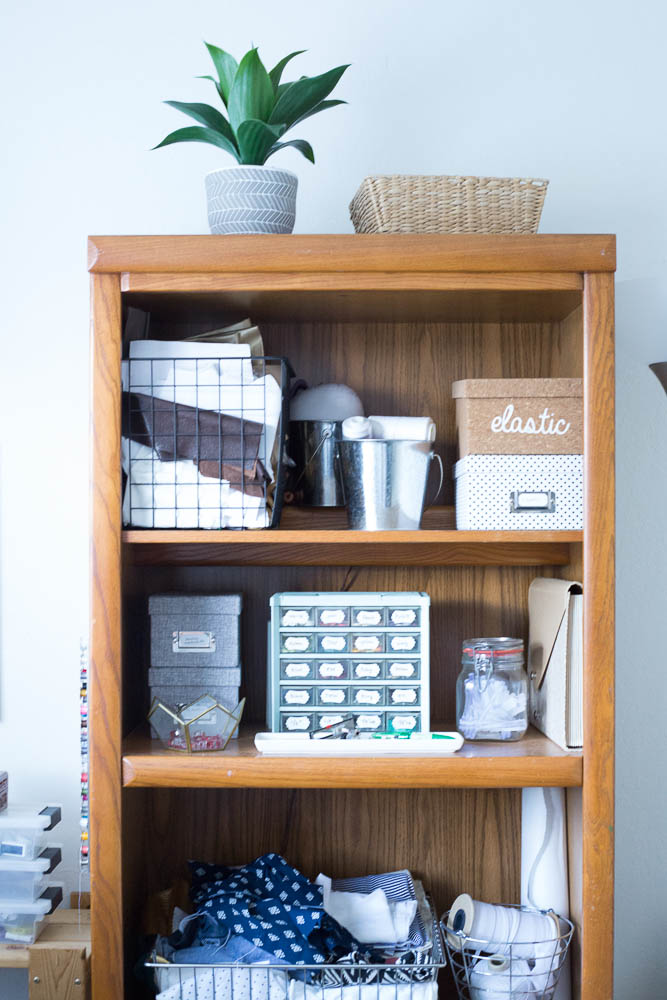
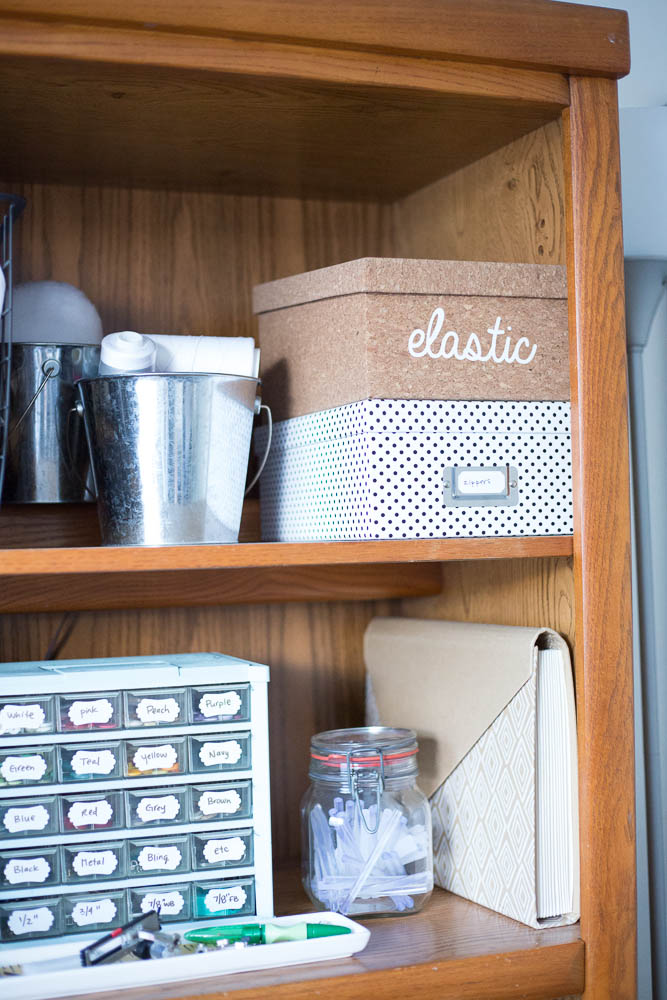
I have another faux plant on top (home goods), and a basket. The top shelf has a wire basket with some leather and random odds and ends in it, serger spools, and a pressing ham…then a couple boxes with elastic and zippers in them.
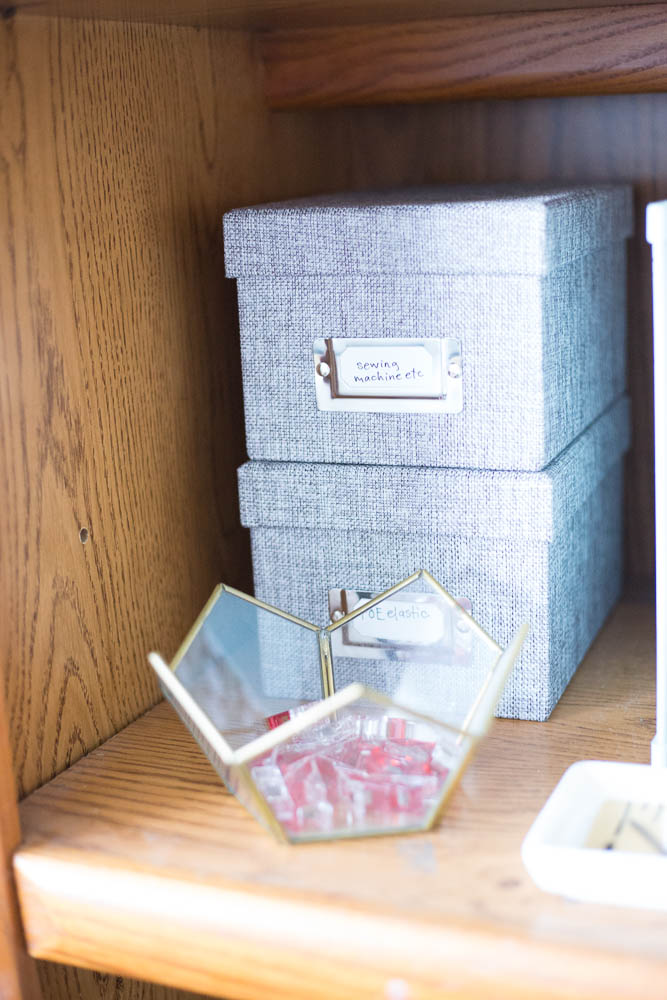
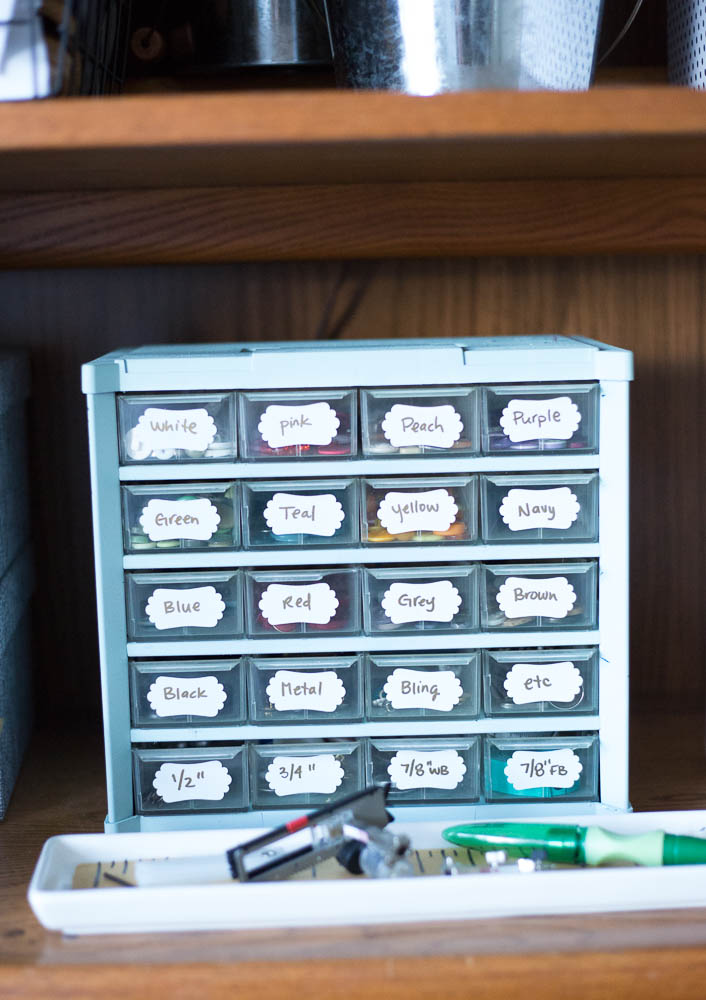
Second shelf has some storage boxes with FOE elastic and more sewing machine thingybobs! Also my thrifted and made over button organizer, glue gun sticks, and an accordion folder with boy patterns organized in it.
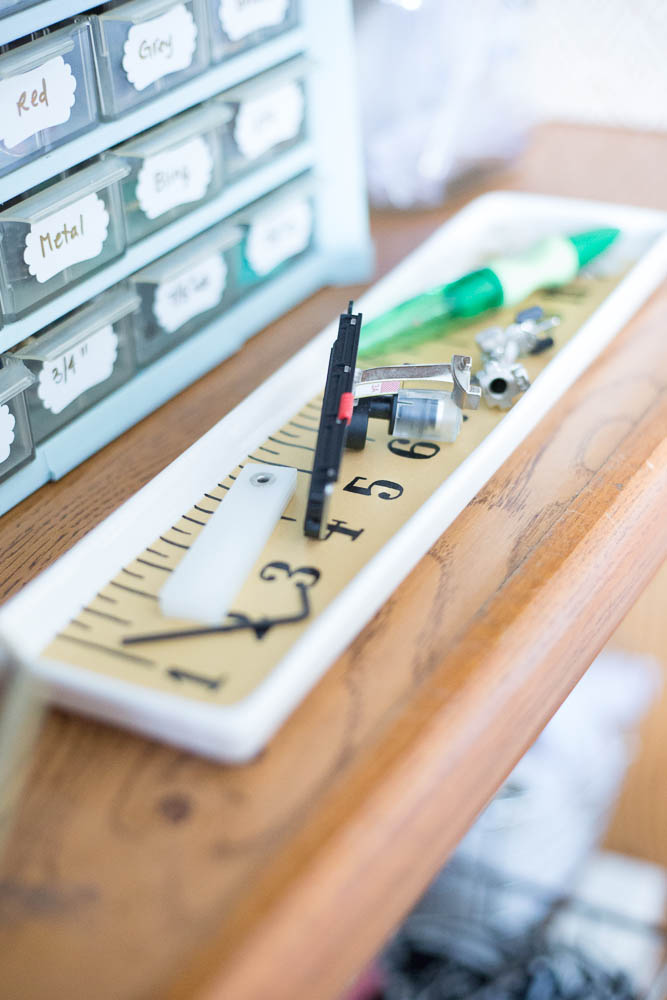
I love this adorable ruler tray I picked up at TJ Maxx a long time ago, it stores my machine feet and a couple of tools I use a lot.
Still love my thrifted button organizer!
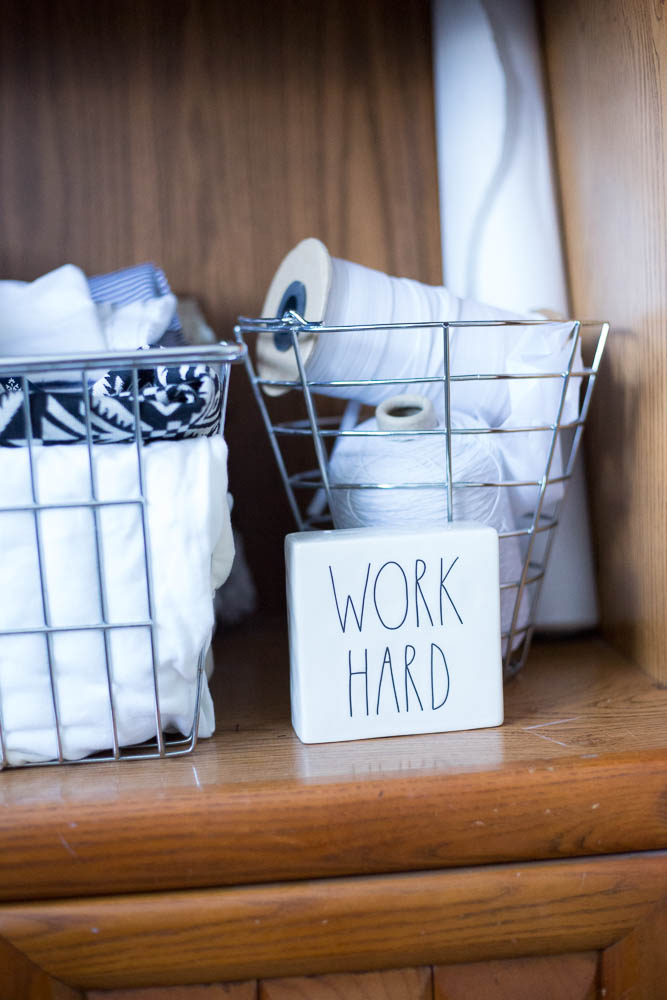
I love collecting Rae Dunn pieces and found this cute ceramic sign at TJ Maxx (sensing a theme…) so I grabbed it! It’s reversible-the other side says BE BRAVE.
Also on this shelf is my wire basket of scraps and another wire basket (all thrifted!) with some rolls of elastic inside.
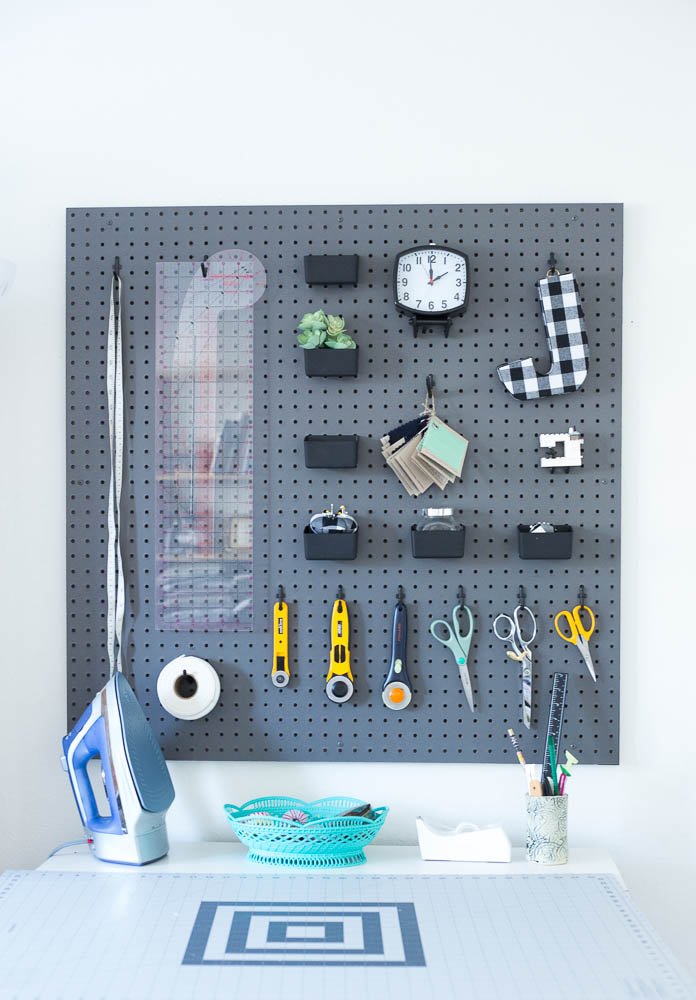
The newest addition to the room is this pegboard! I was able to buy all the supplies and use paint I had on hand (the color is Peppercorn actually leftover from the bathroom vanity), so it only cost about $20 to put together.
Rory helped me mount a frame to the wall, after my friend Alisa helped me cut the pieces and the pegboard to the right size (I think it’s 36’x36′) and then it was just as simple as screwing it to the frame and painting it! It was a simple afternoon project but has such impact!
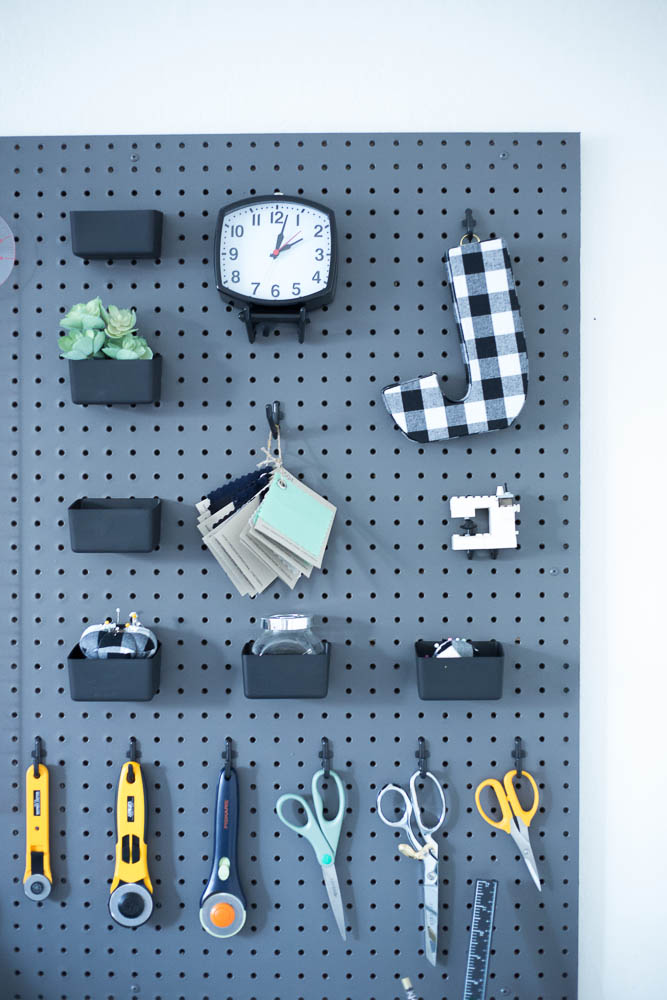
I love keeping my useful tools handy-like my large ruler (similar), measuring tape, and of course, cute mini clock! Also my cute lego Bernina my bestie made me for my birthday one year!
Got me a new cutting mat too! It was time!
I grabbed this set of hooks (spray painted the yellow bins with matte spray paint), and added my favorite tools- my small rotary cutter, large rotary cutter, metal fabric scissors, and my detail scissors.
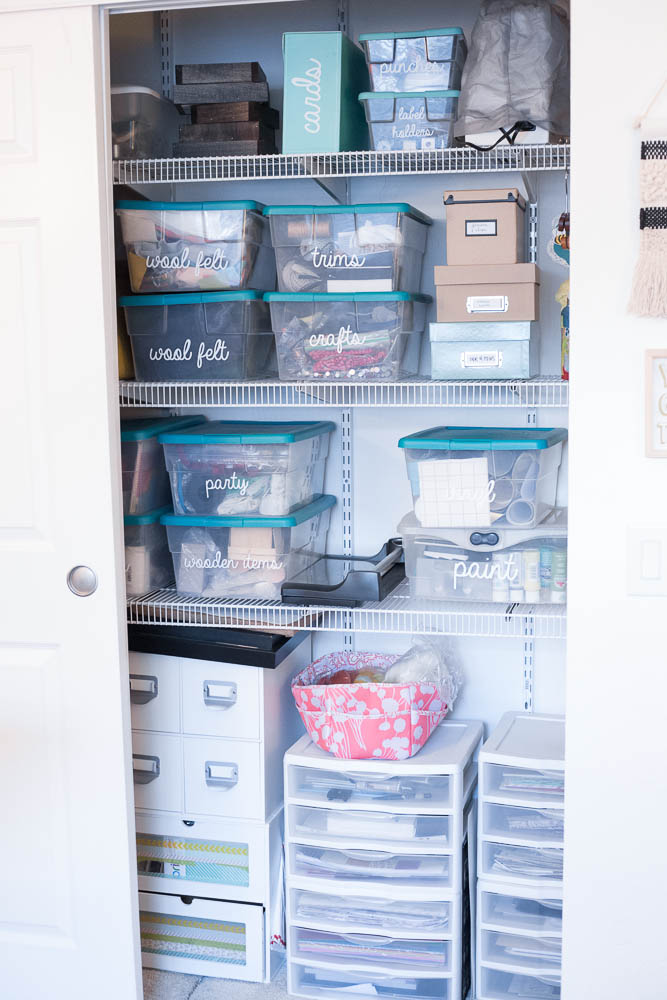
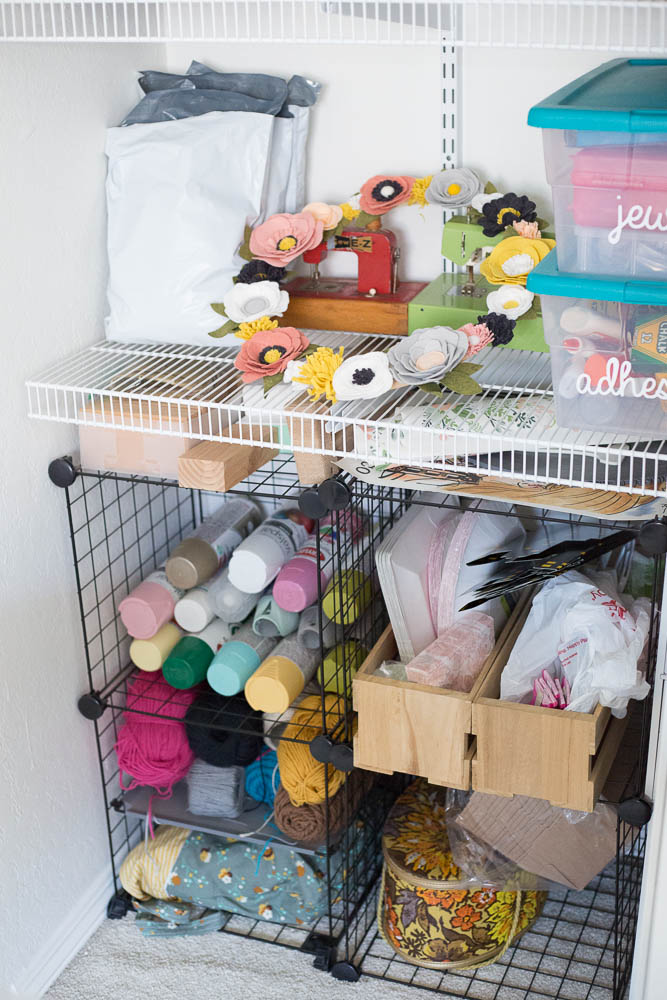
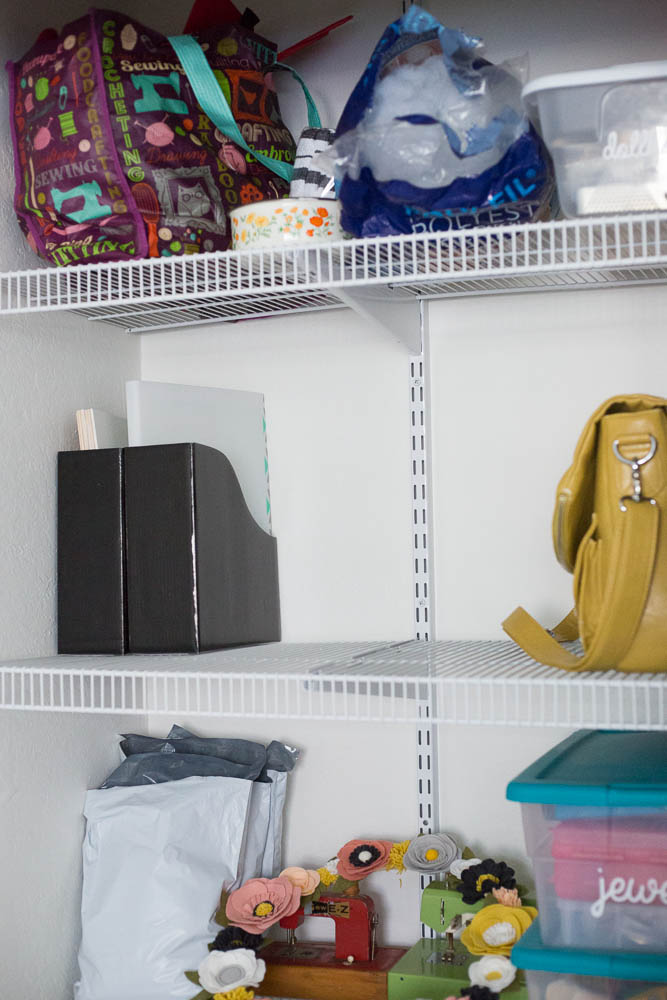
My closet is nicely organized now-with lots of clear plastic boxes from Target, and other storage thingybobs from Michaels, etc.
lots of other crap too. lol!
I love storing my spray paint and yarn like this-it’s fun to see the colors all stacked together!
Alright that’s it folks! Hope you enjoyed the tour!



That’s a cool craftroom!!
I’m curious about your labels (white stickers) for your boxes: did you make them yourself or did you buy them?
Cut them out of vinyl with my silhouette 🙂