


Get the full tutorial after the jump!
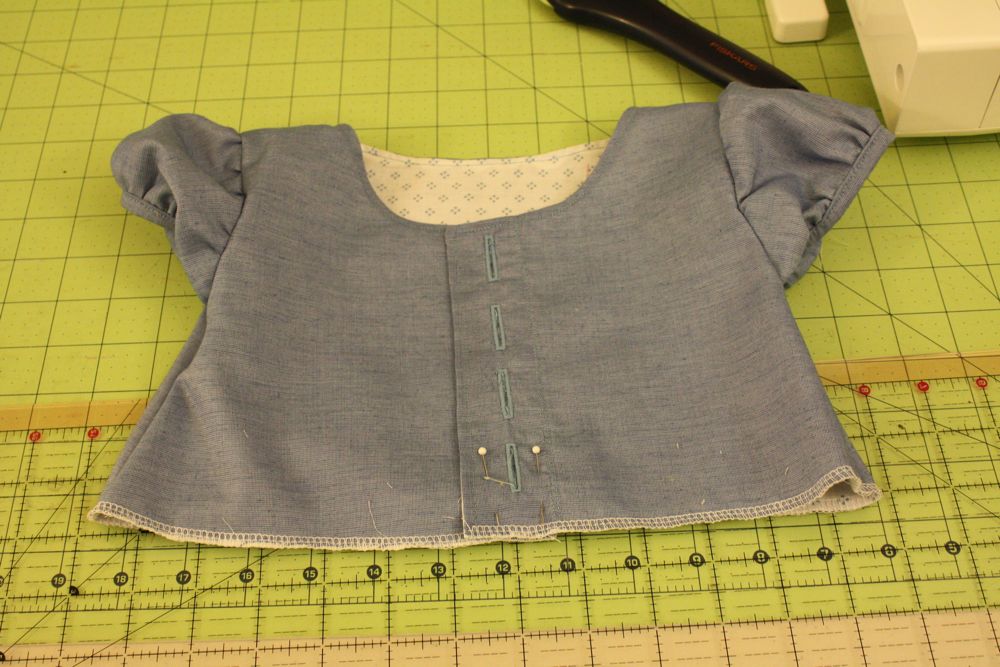
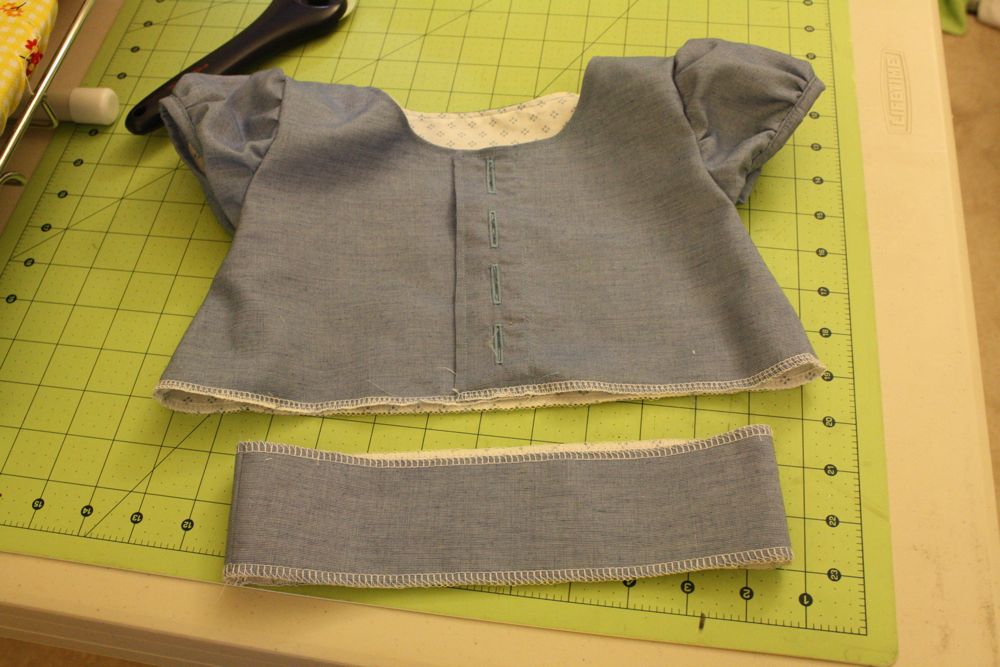
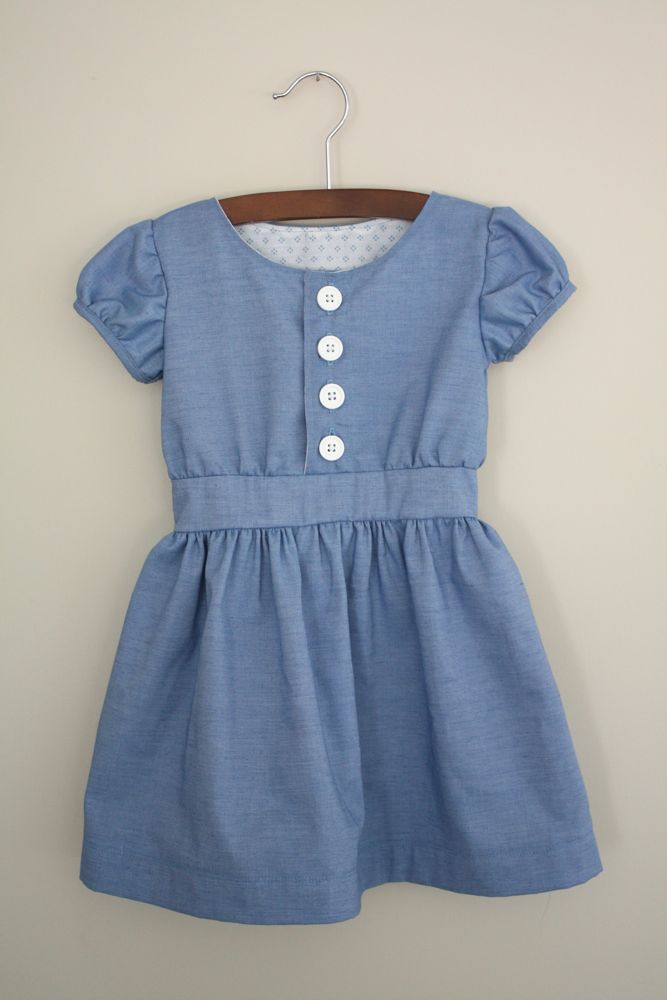
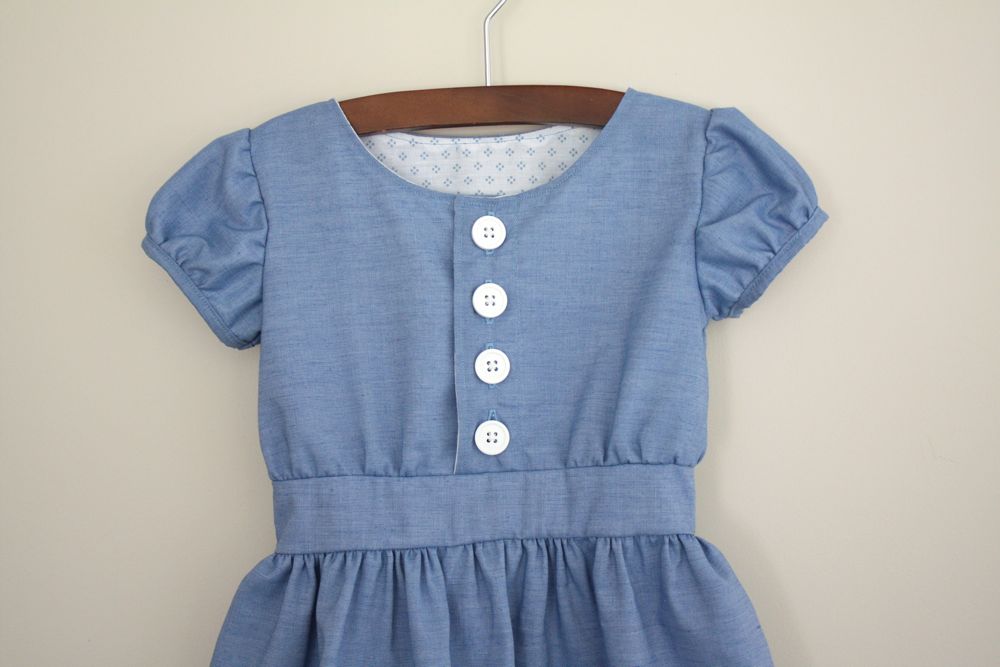
So here’s your finished bodice (I also serged around the bottom). You’ll need to pin the front
piece together where it overlaps, then sew along the very bottom, just underneath the
placket.
bodice ends) which was 19″, then added an inch for wiggly room. I divided that number in half, and on top of that I added the seam allowance, which was 3/8″x2, (for each side), so I cut my pieces 2.5″x10 3/8″.
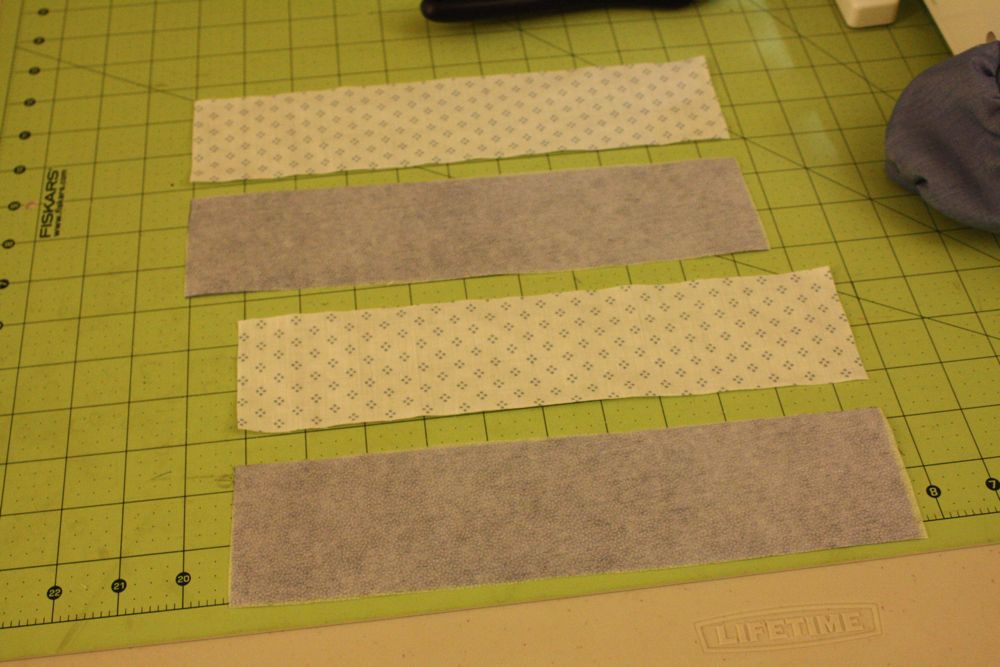
I cut 2 from the main fabric, 2 from the lining, and also 2 of some lightweight iron on
interfacing. Then I applied that to the wrong side of the main fabric with my iron.
(not shown) I serged (you could just baste obviously) the MF and lining together along the
long edges, wrong sides together.
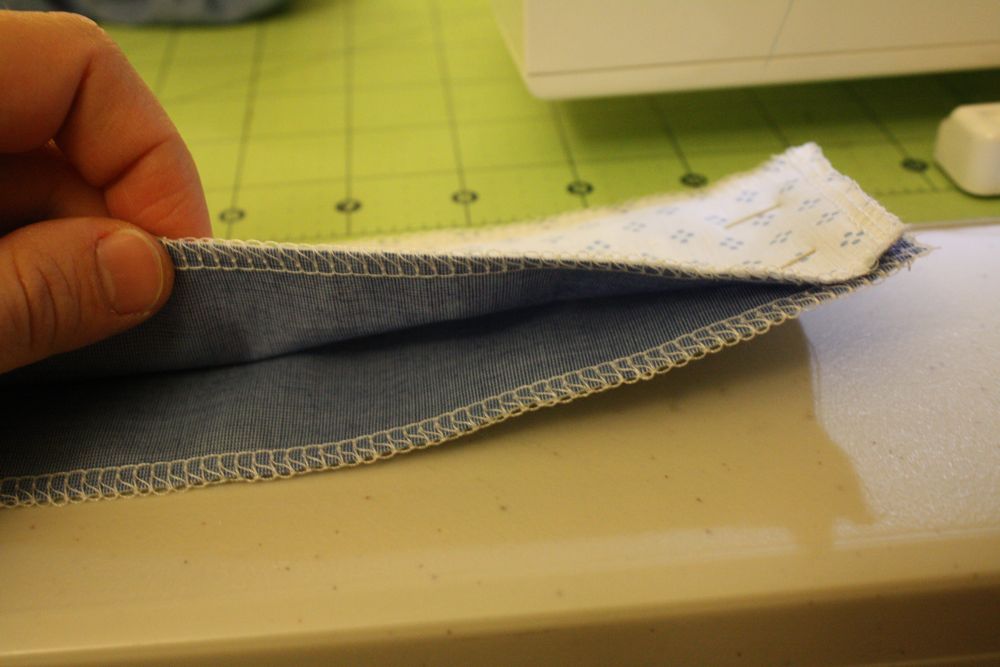
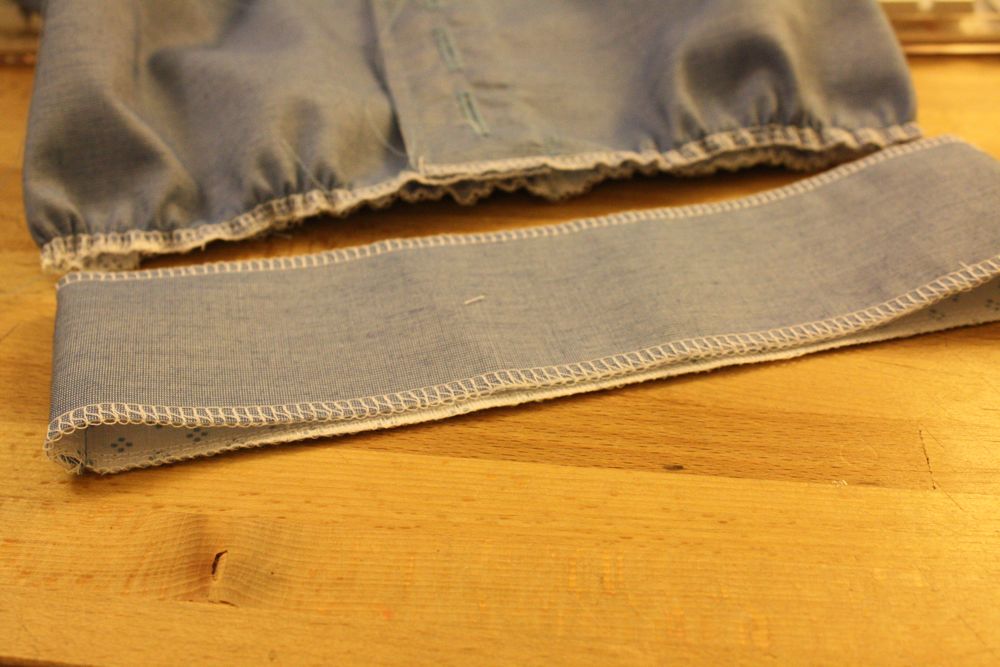
Then I pinned the two strips RST, and sewed together at the short ends. (serged the ends)
Pressed the seams with my iron and laid it out. You can see it’s smaller than the bodice, so
now let’s gather that bodice to fit the waistband!
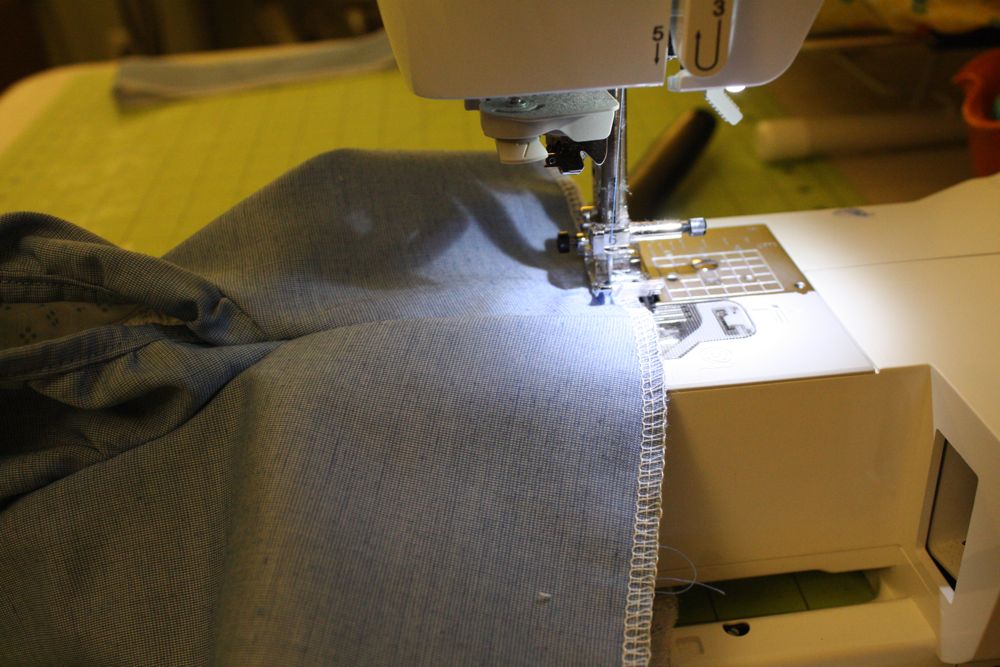
Starting on one side of the button placket, sew a gathering stitch along the bottom of the
bodice.
Make sure to leave a “tail” at the beginning and end to pull on!
Then gather the bodice in to fit the waistband.
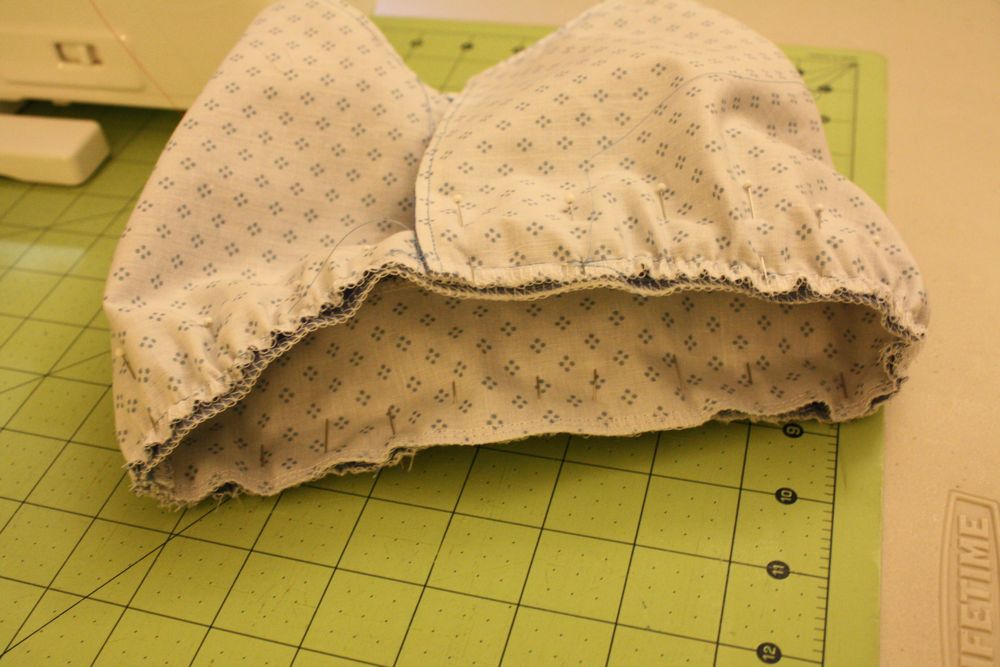
Pin them RST and sew around. Finish the edges if you didn’t already!

So let’s get that skirt made and finish the dress!
(sorry about the cruddy lighting)
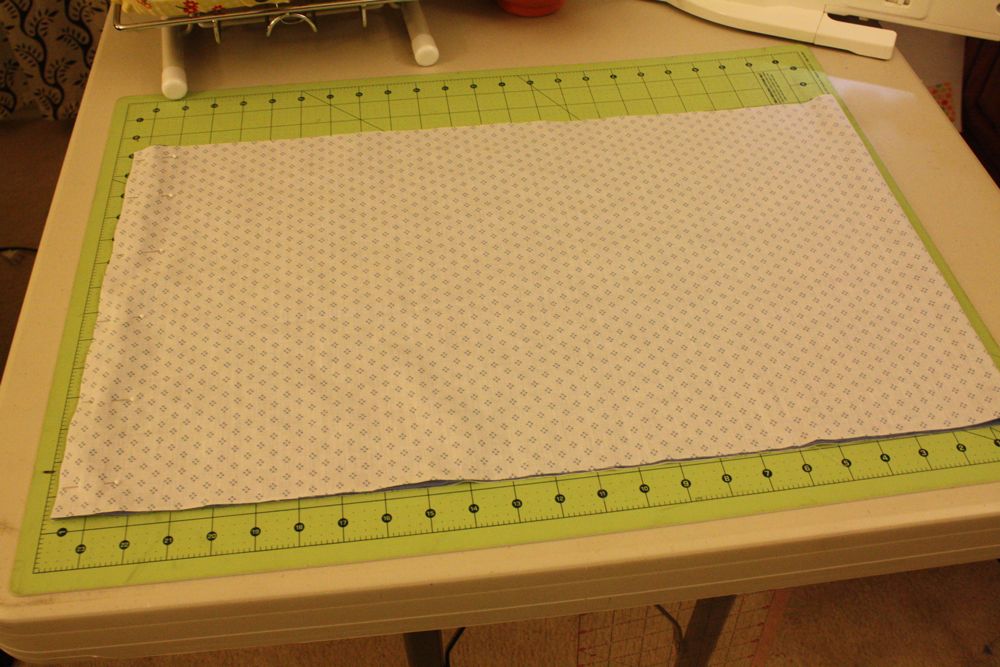
I cut out 2 pieces of fabric (MF and lining) roughly 50″ long, and 14″ long for my 2T size girl.
You can adjust if needed for other sizes, by using other dresses you like the fullness and
length of, to get measurements from!
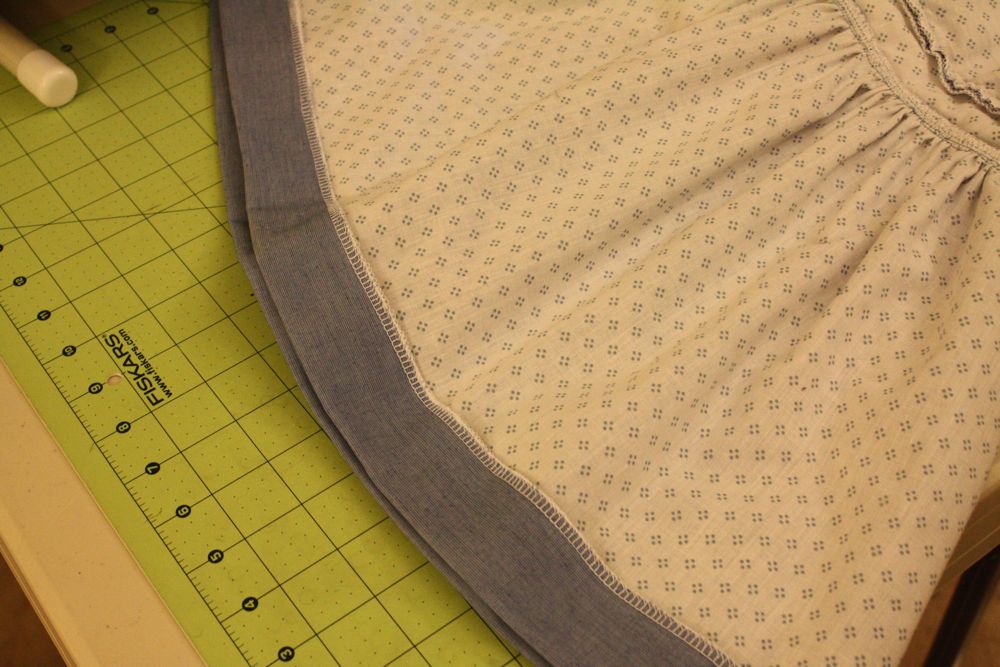
Also, you don’t have to do a lining on the skirt if you don’t want to, I just did since mine was
very lightweight and a bit see through! If you’re using quilting cotton, a lining isn’t really
necessary.

I laid my MF and lining out, wrong sides together (I cut them together so they’d be lined up
just right), and sewed the ends together, creating a tube. I then serged that edge (zig zag
works too!) and serged around the top and bottom of the tube.
means you’re less likely to break a thread when gathering thicker or layered material.)

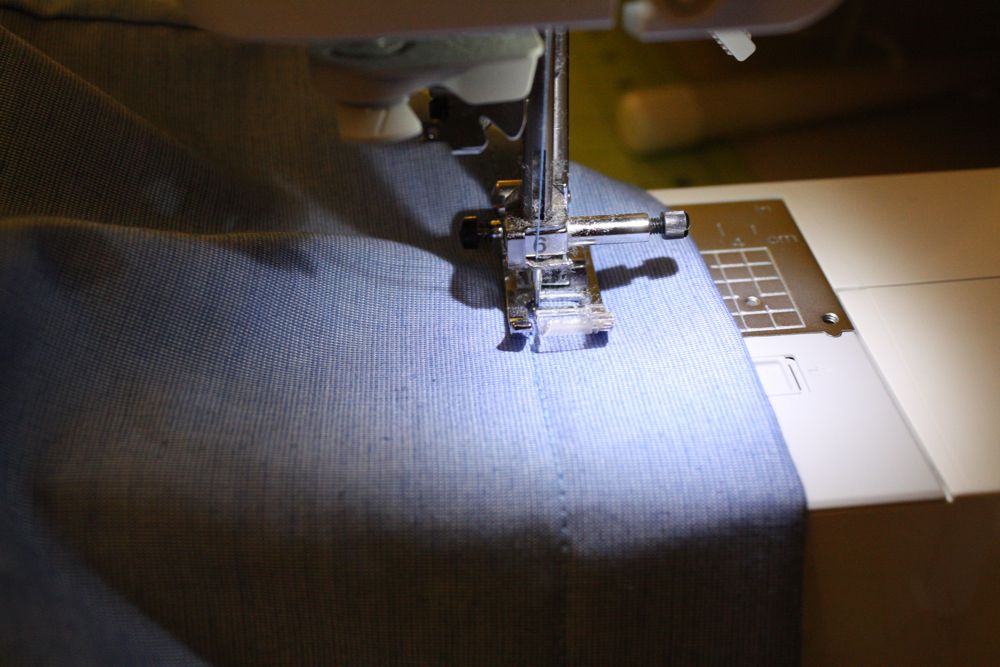
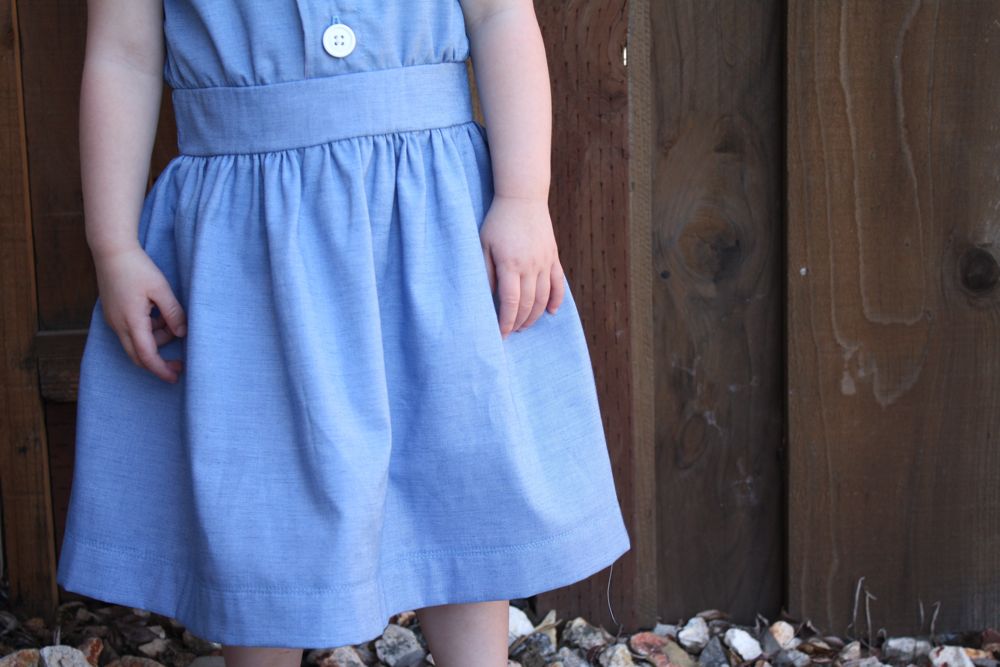
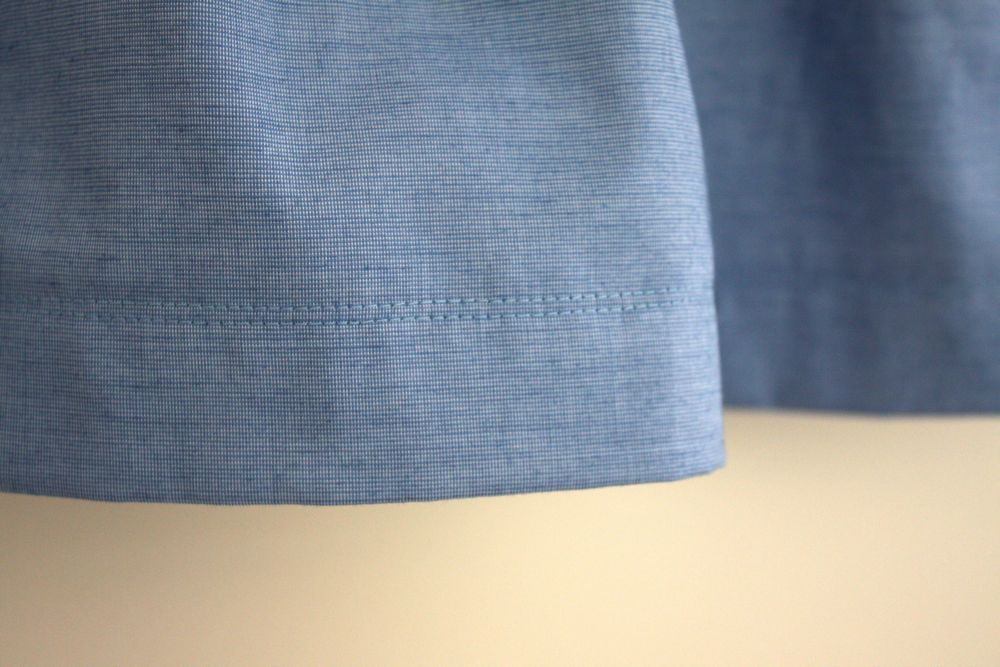
and then sewed two rows of stitches around the bottom. I love the look of the extra row-
especially with the chunky hem.
Yay! I’d love to see any Anna dresses you make! Feel free to add them to the Flickr group!

Thanks for sewing along!
Phew… just finished. Thanks Jess – I love it!
I finished! Again, I know I’m insanely late to the party, but I really enjoyed this one. My first garment on my new Bernina 350!
Thanks for the fun start! I’ll send you a picture via email. 🙂