


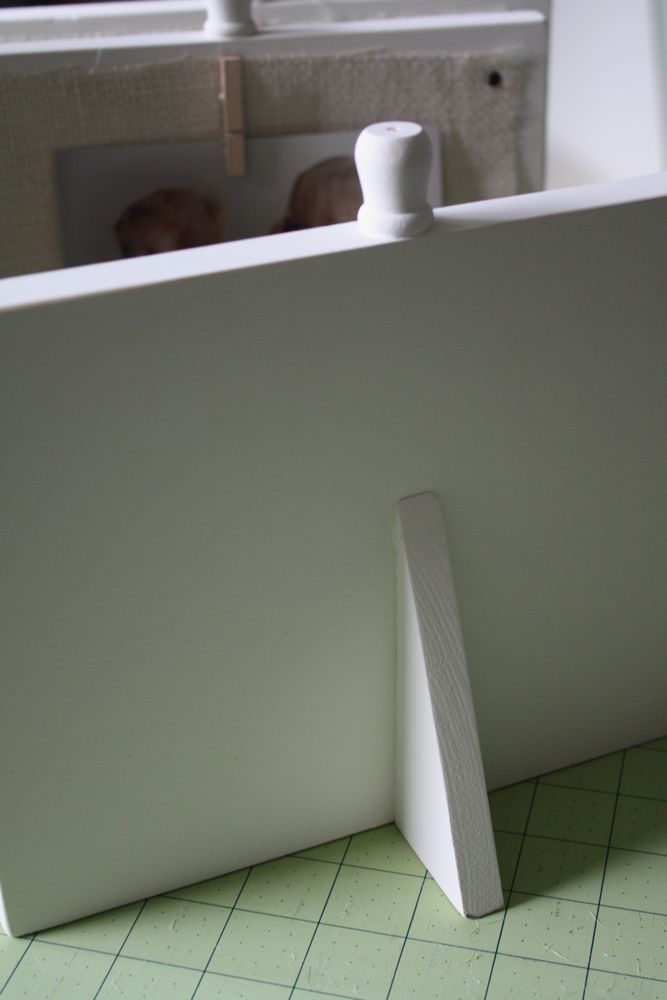
I saw this idea for a photo display a few days before Christmas and decided to make a few for some close friends and my momma for Christmas gifts. (and one for me, muwahaha) They were so easy and fun!
I forget how fun it is to get dusty and paint covered sometimes! (on a small scale, that is, haha)
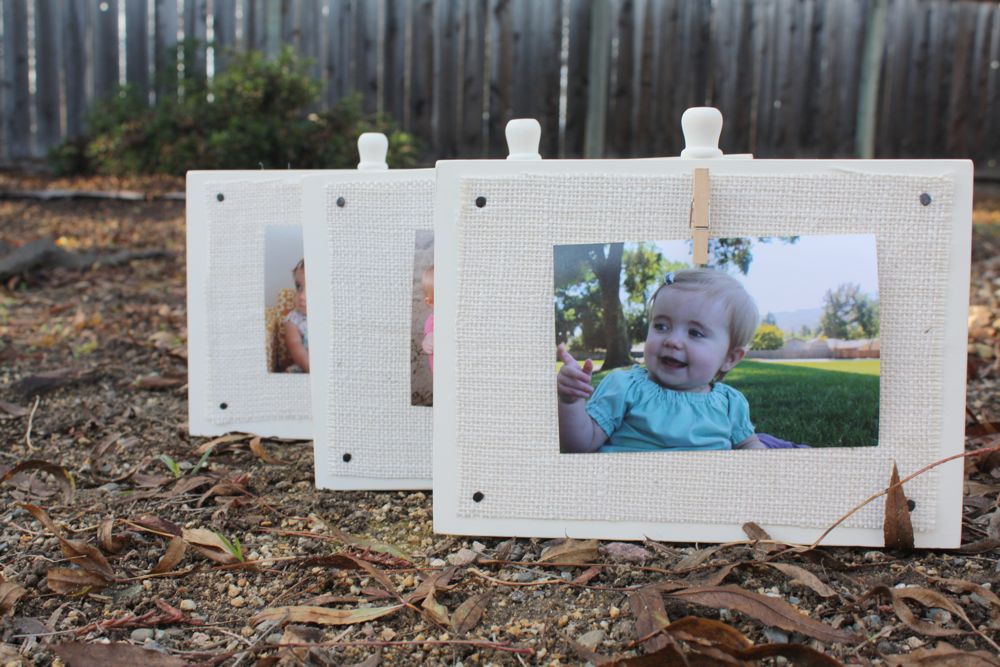
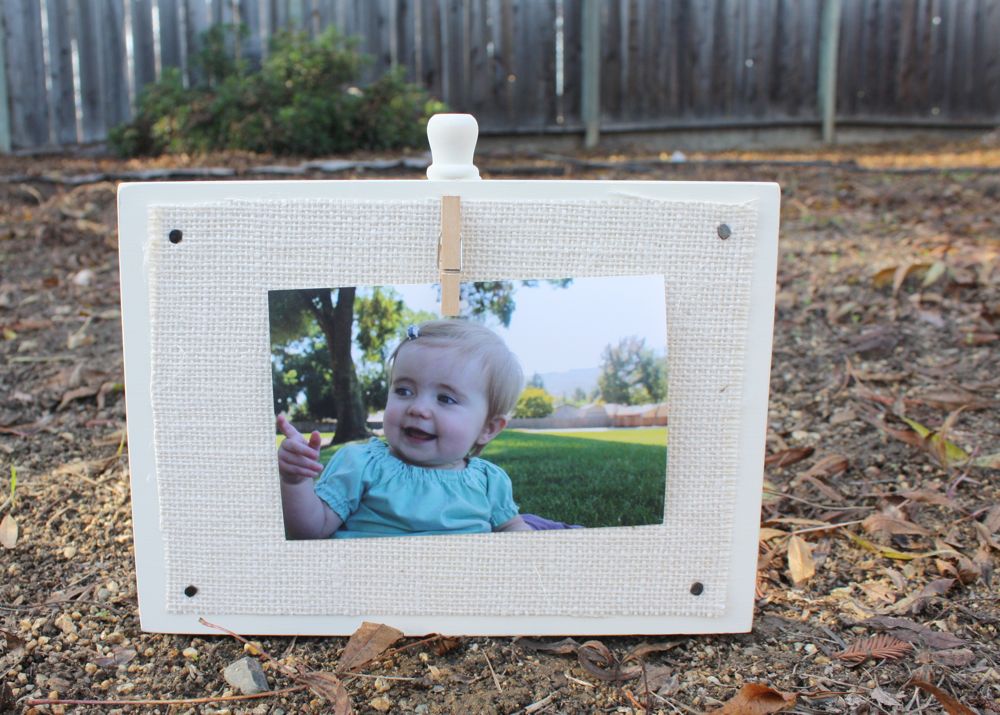
On a fun note-look at cute little baby Sadie in the pic above! It was the first photo I found on my messy desk. Crazy how fast they grow! I managed to find pictures of my friend’s kids with Sadie, so I clipped those to their photo board.
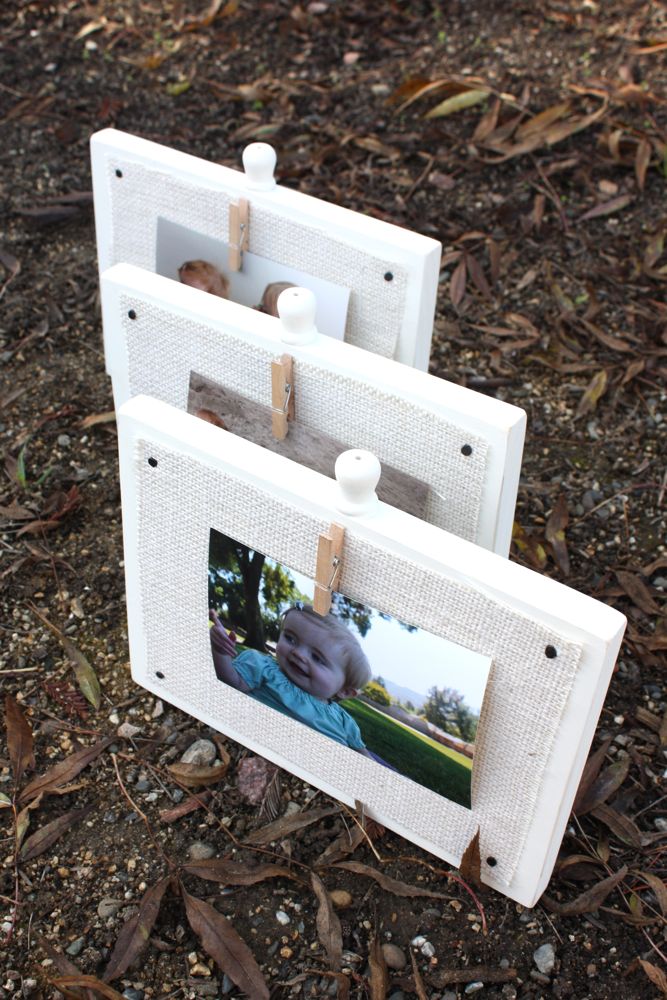
I love that you can swap out the photo in, like, .0005 seconds…..If you’re Superman….but still. Quick!
You could also use it for recipe cards, or…something else paper-related that I can’t think of…
So make sure to stop by and check it out tomorrow!
These are really beautiful, Jess! I love the burlap and the tiny clothespins. Great gift idea.
they look great! I love the idea, I may try it with some canvas and put them up on my wall
Such a fun idea! I love it in both the black and the white!
LOVE! This is a GREAT way to use up some extra burlap scraps, thanks!! Now I just need to find the room to put more frames around my house… or maybe my desk at work, hum…
Very cute idea. Here is a tip that works for me when distressing and the wood is too light. I have some Walnut Ink that is made by TSUKINEKO I pour some on an old cloth and then rub the areas you want darker. Test first, add water on cloth first if you want a lighter effect. My ink was 19.49 for a package of 4 bottles and it lasts a very long time unless you are doing these a lot!