


This dress is definitely a mash up of a few tutorials-my Rachel wrap shirt tutorial , the Ric Rac dress tutorial, plus the skirt from the Shabby Apple knock off dress.
So I’ve combined them all (mostly) into one big happy family. (not that they’re mostly happy, just most of it’s here in this post…I will refer you to another tute one or twice.)
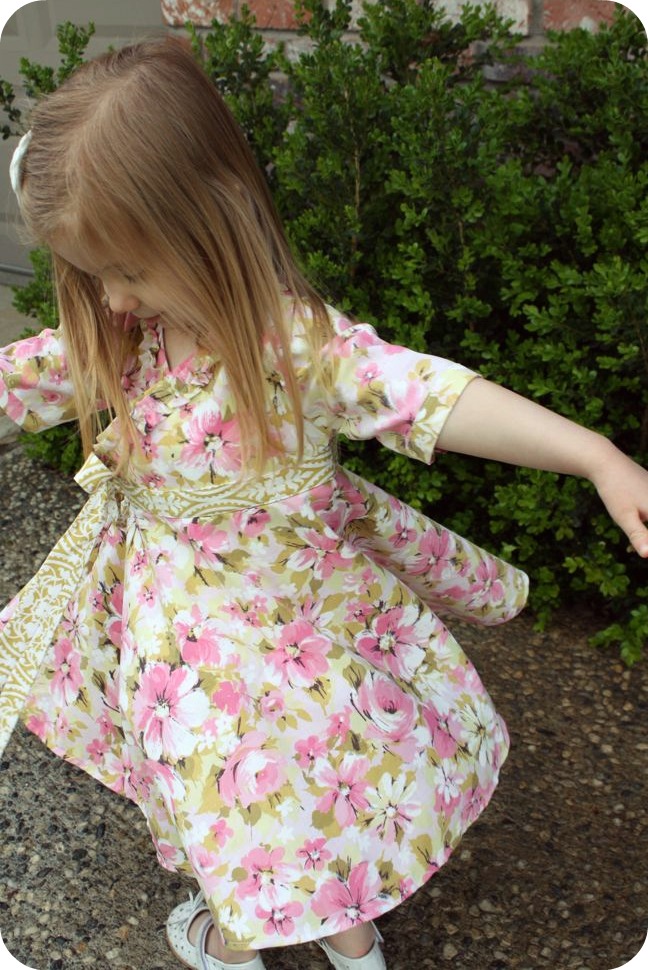
As you can see, it’s very spinnable!
Spinable.
Spin-nable.
Ok. I give up. it’s not a word.
See below for the tutorial!
You’ll need:
1-2 yards of fabric (I used probably close to 2 for Sadie’s 3T size-it was from a sheet so I’m not sure on the exact yardage)
thread
button
small piece of 1/4″ elastic

First off- you’ll need to make a quick wrap shirt pattern, using the Rachel wrap tutorial. Only make it shorter than the tute suggests. Unless you want a drop waist wrap dress…which in my opinion, would probably look weird.
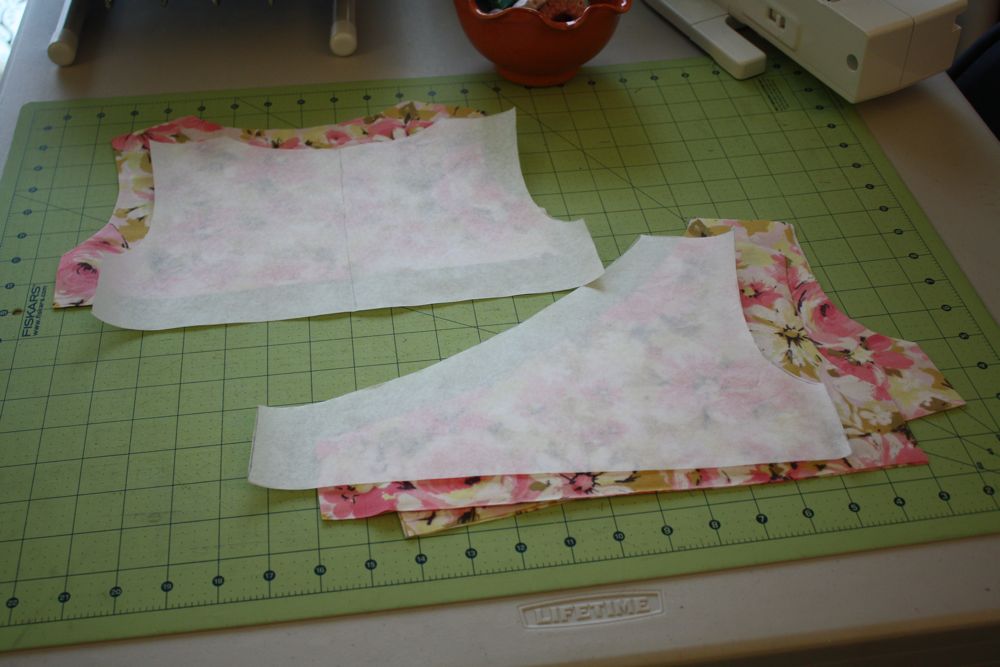
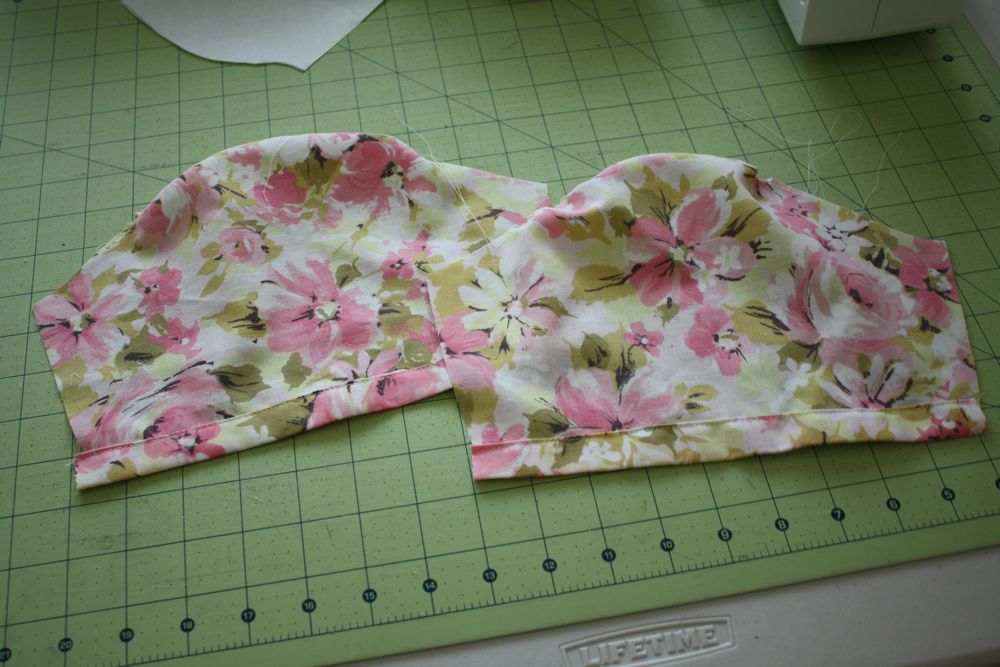
Then cut out your bodice pieces-for this dress I lined it, so cut two of the back on the fold, and 4 of the front.
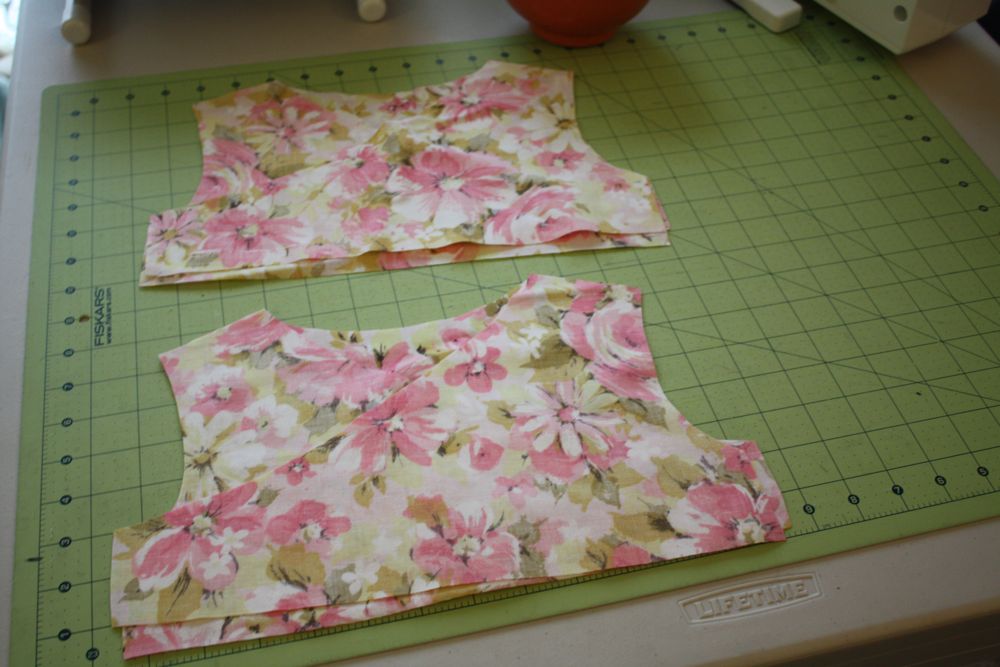
Then lay down the front pieces on top of the back pieces, right sides together like so. Sew together at the shoulder seams, then press the seams open.
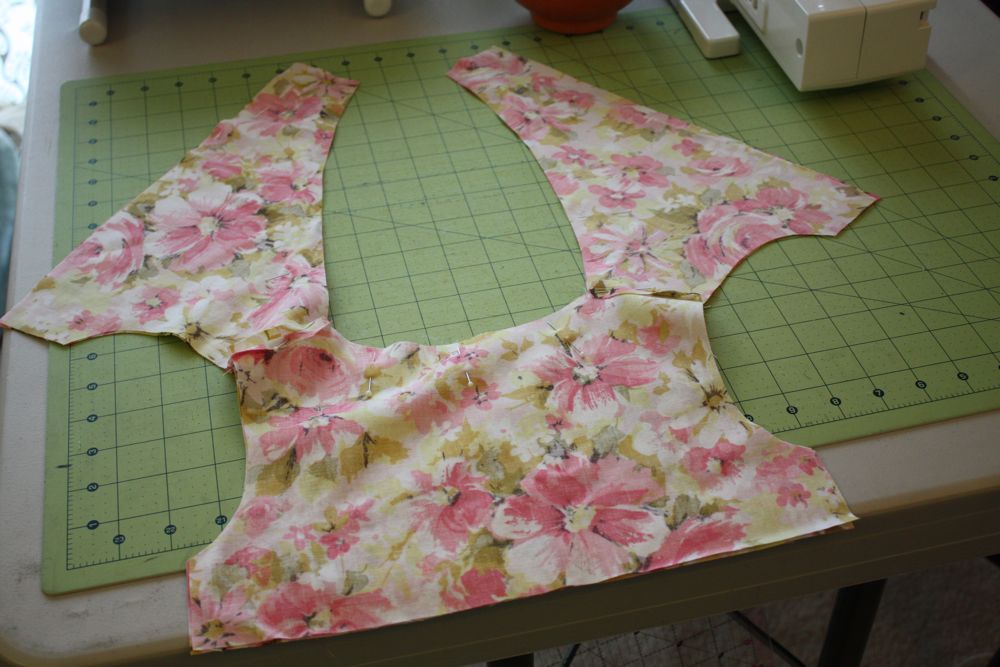
Next lay out your bodice pieces like so, right sides together, pinning around the inside (neckline and wrap.
I also cut a little bit off the front wrap pieces so that they curved better.
Then sew around where you pinned. Clip any curves you may need to, turn right side out, and press.
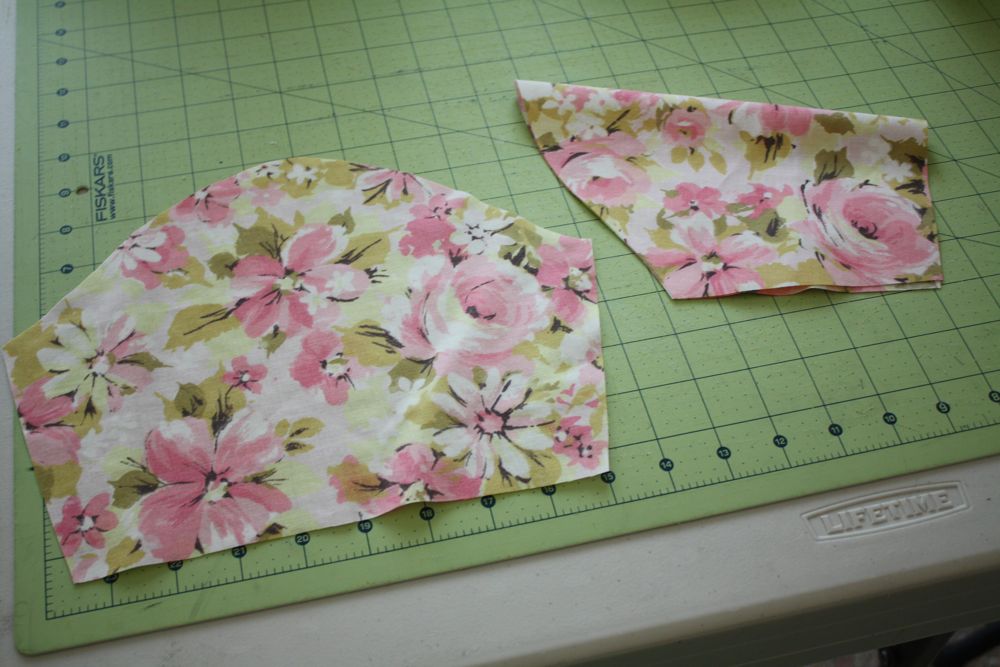
Next I made a pattern (see here for instructions) for a slightly gathered sleeve and cut 2 out on the fold. I also made them just above elbow length. Honestly, I never measure lengths for my sleeves, I just wing it.
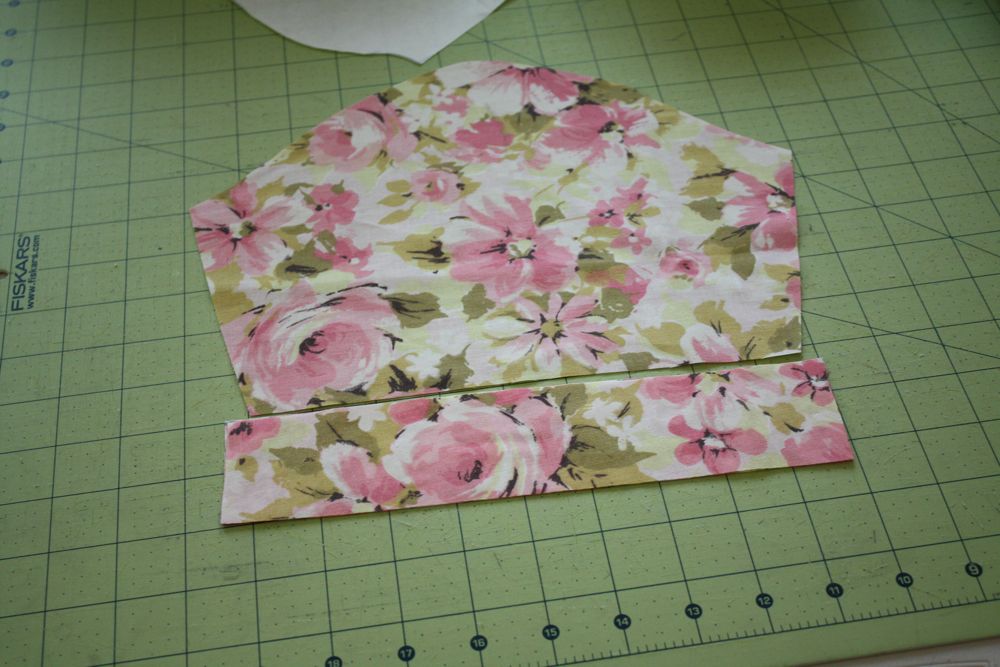
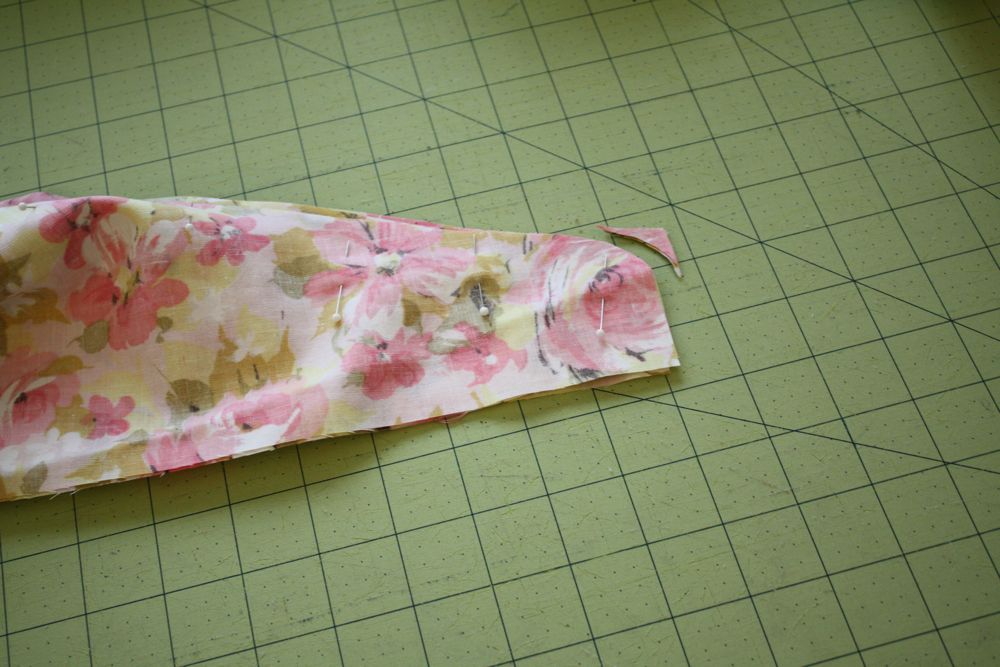
Then I cut two pieces the length of the bottom of the sleeve x 2″.
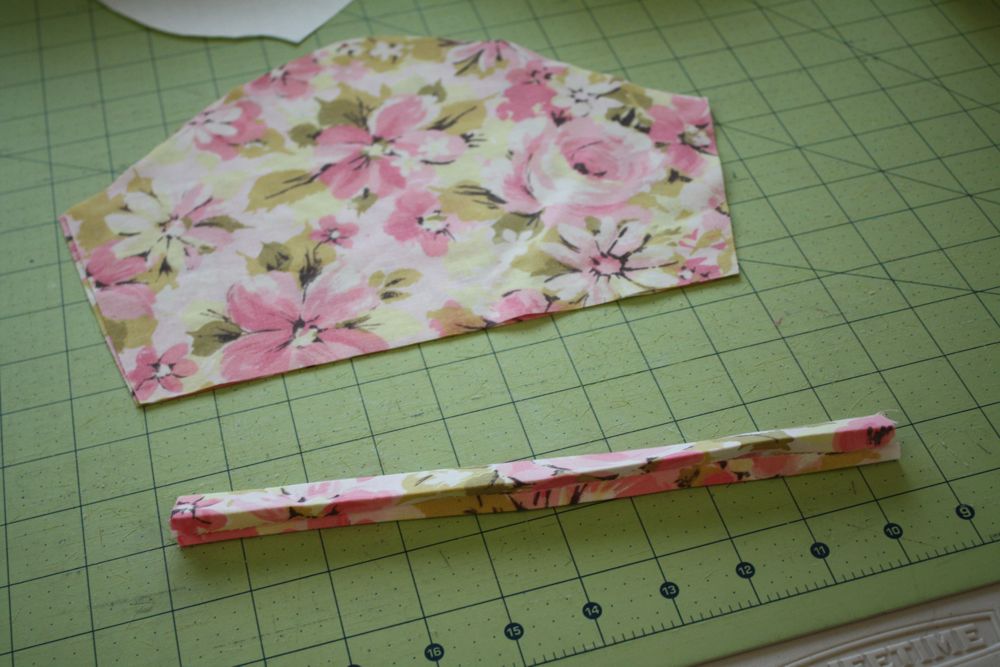
Press the long edges in 1/4″, then in half creating some bias tape. (not actually cut on the bias, but I don’t know what else to call it!)
Then sandwich the raw edge of the bottom of the sleeve in the bias tape, pin, and sew along the edge.
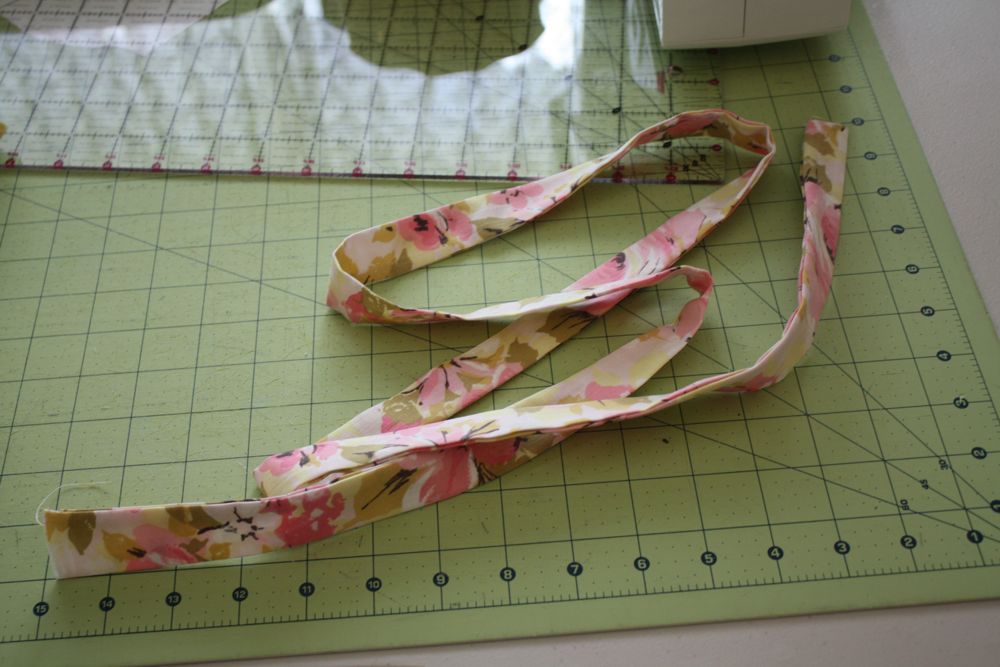
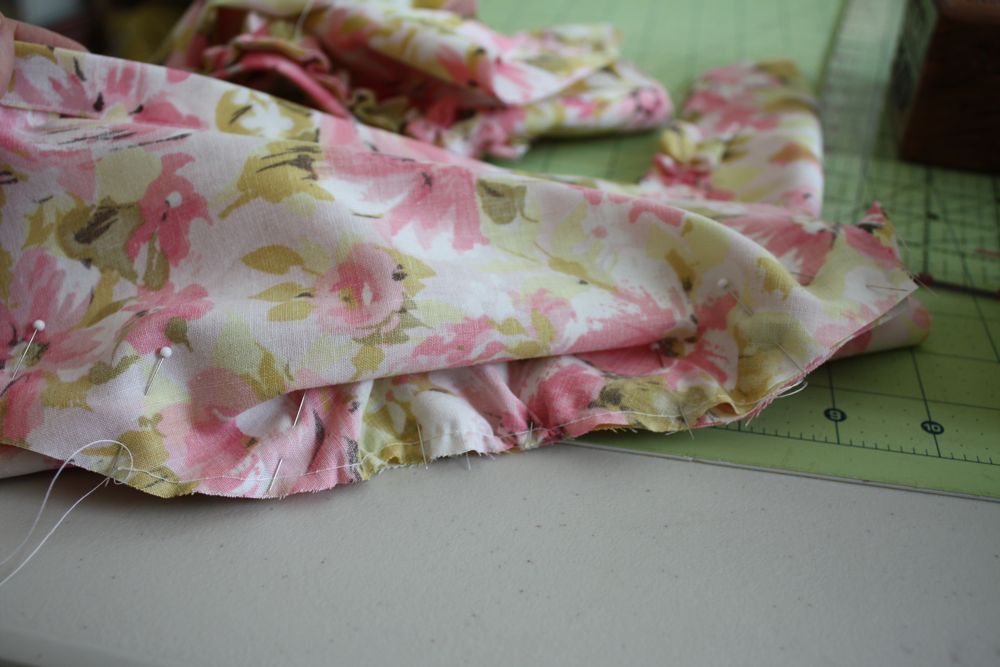
Next I cut two LOONG strips of fabric (again..I winged it. just make sure it’s loong and you can trim it down if needed…also you can piece it together, no biggie)
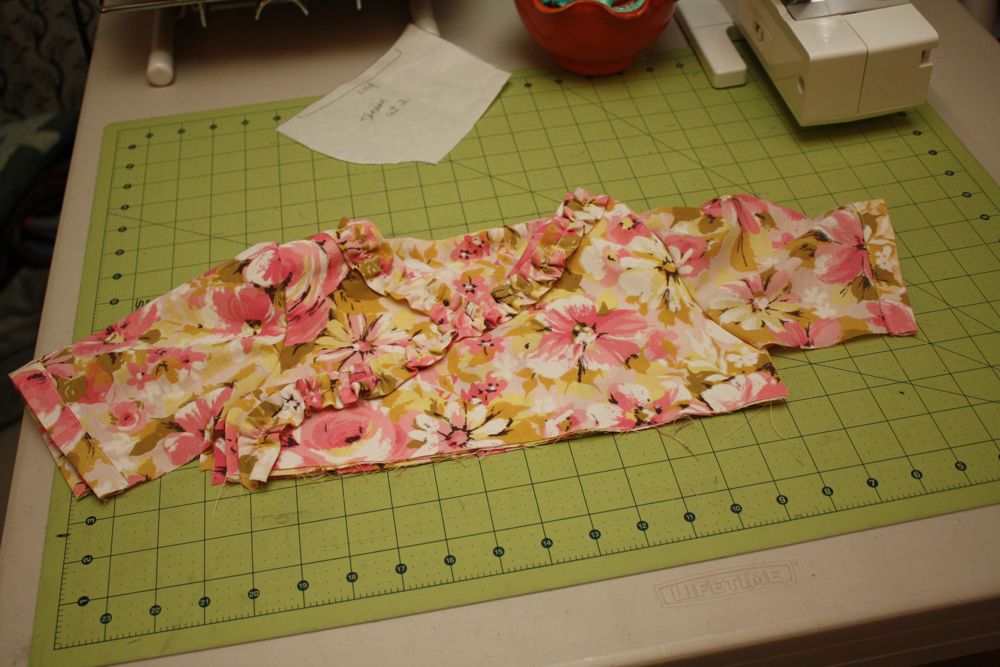
I cut them loong x 1.5″, then sewed (serged actually to make it quicker) the long sides right sides together. Left the ends open, then turned it right side out with a safety pin and carefully pressed it. I then sewed a long gathering stitch down the middle of the tube and gathered it to fit around the neckline.
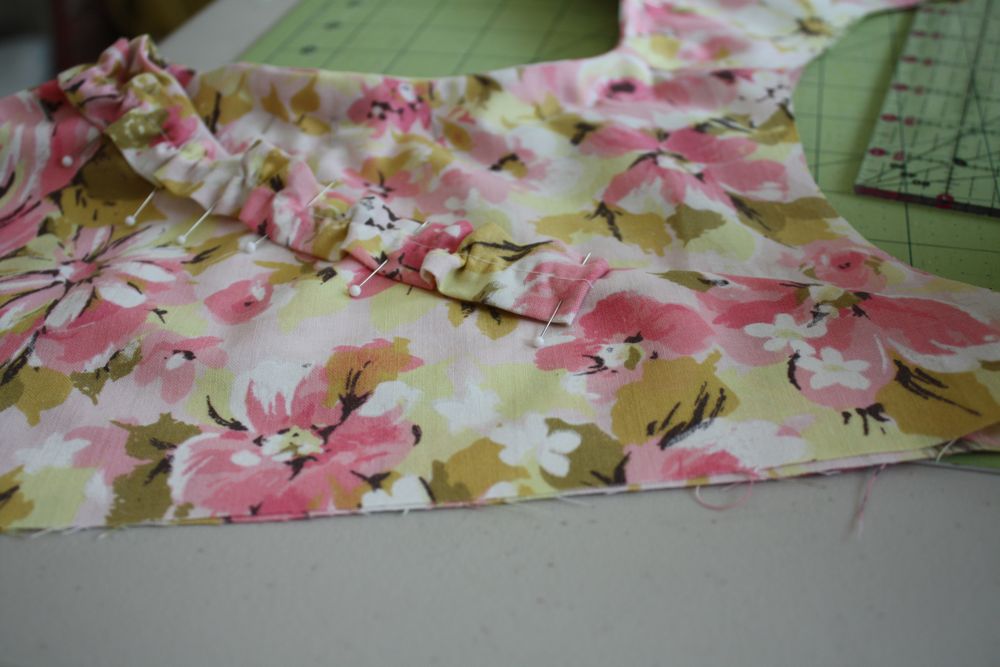
Well, not quite all the way around. I tucked the end under like so and started the ruffles like so, so that it didn’t get bulky where the top part wraps around.
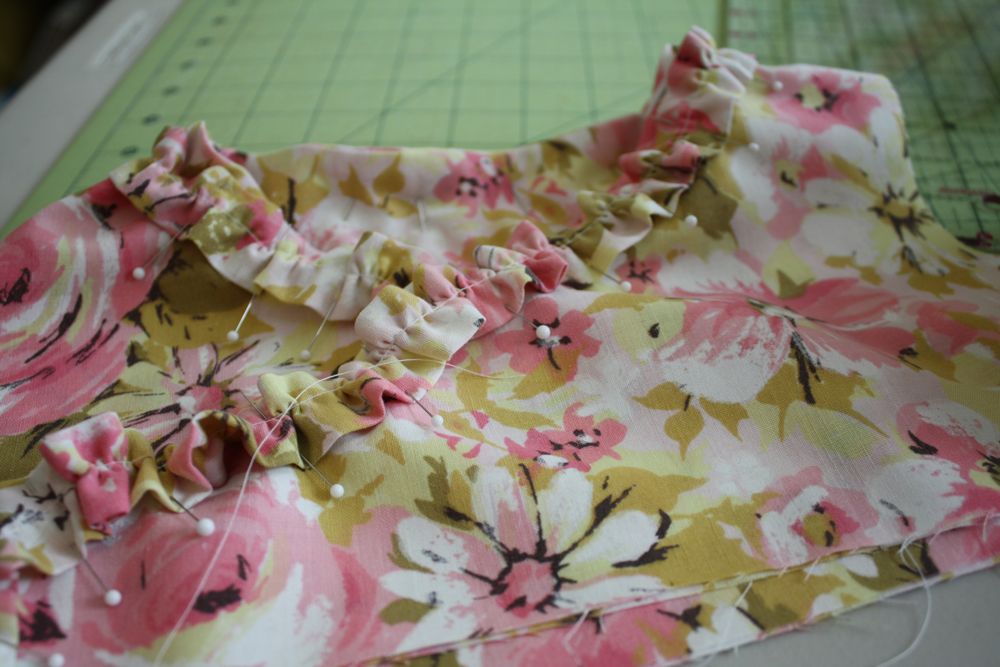
Then pin and arrange until you’re satisfied, and then sew down, along the middle again. I usually remove my gathering stitch with a seam ripper, it looks much cleaner.
Then I gathered the top of my sleeves and fit them into the armholes, pinned, and sewed, then finish those seams with a serger or zig zag stitch.
Fast forward a few hours (now onto the bad lighting portion of this tutorial)…and you’ll have this! I haven’t sewn the sides shut yet because we need to put a piece of elastic in the side.
First figure out which side will be wrapping over the other. You want to place the elastic on the other side from where the tie will be.

Then pin the side and under sleeve together like so, and then cut a 3″ or so piece of elastic, and pin in as well, about an inch above the bottom.
Sew the sides, and finish the seams.

Next I made a circle skirt using Dana’s tutorial. Hem the bottom and pin and sew the top to the bottom of the bodice, gathering if needed. Mine just fit perfectly-so make sure and see if it fits before you gather. Then sew them together and finish the seams.
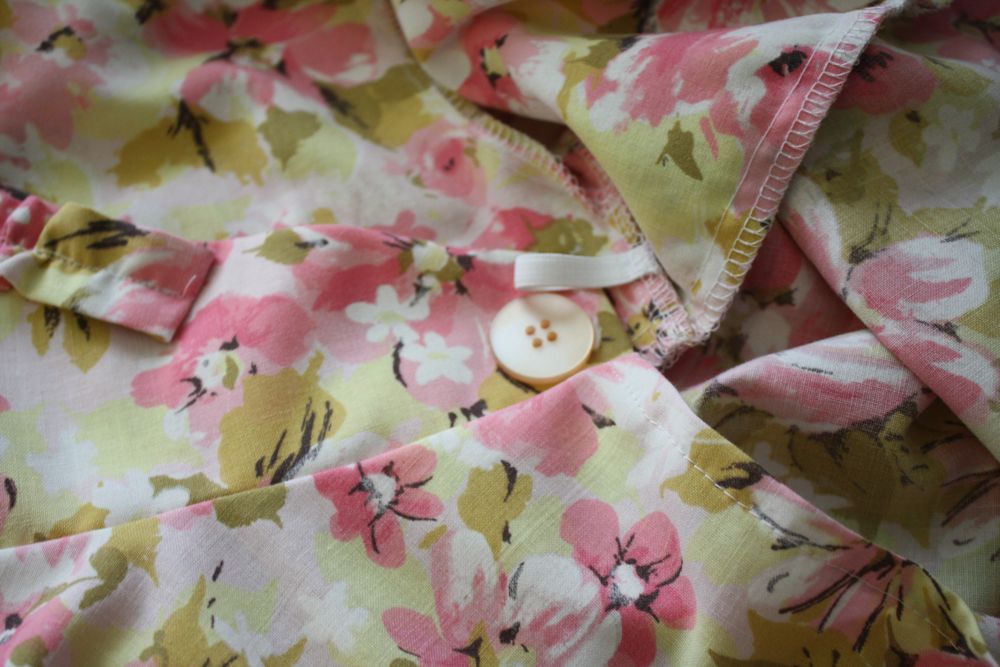
Next sew a button on the inside wrap near where the elastic is. tada!
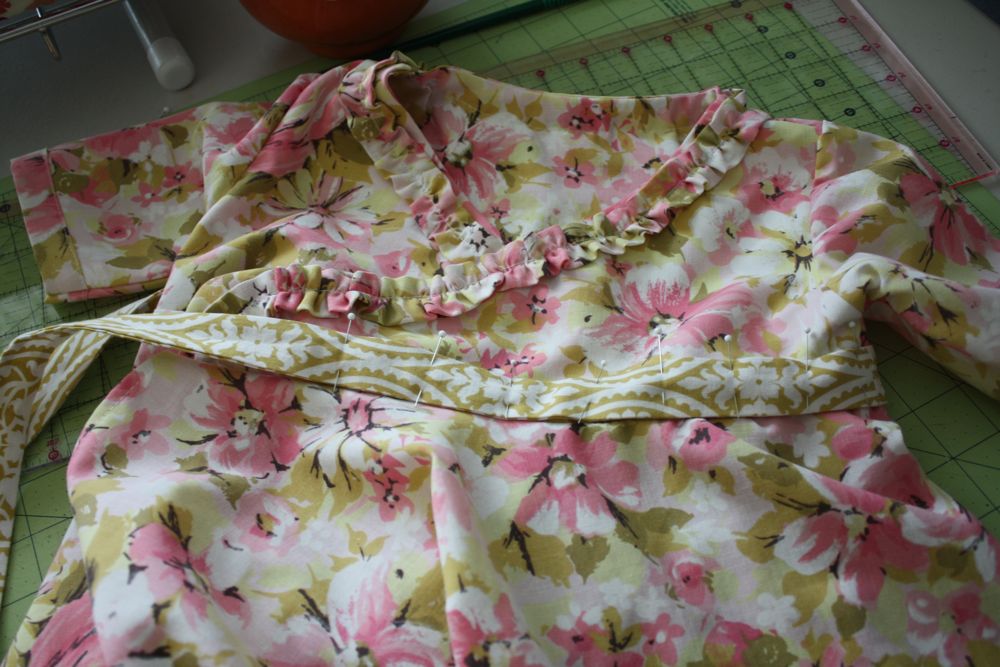
Next I sewed a similarly sized tube (just like the ruffle, only 2″ wide) and pinned it just above the waist, then sewed the top and bottom down. I stopped sewing just before I hit the ruffles on the top wrap, and at the side.

Tada! A cute ruffled wrap dress.
If Spinable is not a word, I don’t speak english….
Very cute!
oxox
Adorable! My girls Easter dresses are done! For my 3 year old’s I used your Penny dress tutorial. My first attempt at drafting my own pattern. It was a success! 🙂
Beautiful! I’ll have to make one of these for my Ruby – she’d love the spin-ability. 🙂
the bias not on the bias… I think thw word you want it binding. 🙂 Thanks for the tute! I’m spending my evenings on Easter dresses this week… one done, one to go. 🙂
good heavens! Typo city! THE word you want IS binding. 🙂 Much better.
Yeay! This is great! Thanks!!!
Love this! The more spinny the better. 🙂 Pinning to my to do list. 🙂
I wish I knew a little girl to sew for… Too cute and your model is simply lovely!
That vintage sheet you used is so hard to find! Lucky you for snagging one! Cute dress, I always love a circle skirt. 🙂
Love the “spin of it” as my little girl always said. By the way, she is not 28 and still tries out “the spin of it” on every spin-able dress.
sorry…typo, my little girl is now 28
You can call bias not cut on the bias either cross cut if it’s cut on the cross grain, or straight cut if it’s cut on the straight grain (parallel to the selvage). Thats how it’s referred to in the clothing manufacturing world. So profesh!
Sooooo cute!
Ooohhh, I just love this!!
Jess, I would like to say THANK YOU for that excellent tutorial. All of your tutorials are great, clear and simple, your blog is a great source of inspiration. I´ve just published a post about my version of this dress, I hope you like it 🙂
http://likeafeather-be.blogspot.be/2014/09/ruffled-wrap-dress.html
THANK you! I love the dress you made-it’s perfect! I am glad you liked the tutorial!
thank you for your briliant tutorial. i really love it!!!