


This master bathroom makeover has been needed for a looong time. I had always put it off because someday we plan on tearing out the hall closet and incorporating it into the bathroom so we can have a tub…but that’s someday. I finally decided that I’d had enough and in a whirlwind 2-3 weeks, made over the master bathroom!
It’s a tiny bathroom. Like, TINY. Which was good because it wouldn’t take much work…one would think. haha
Here is the (painful) before.
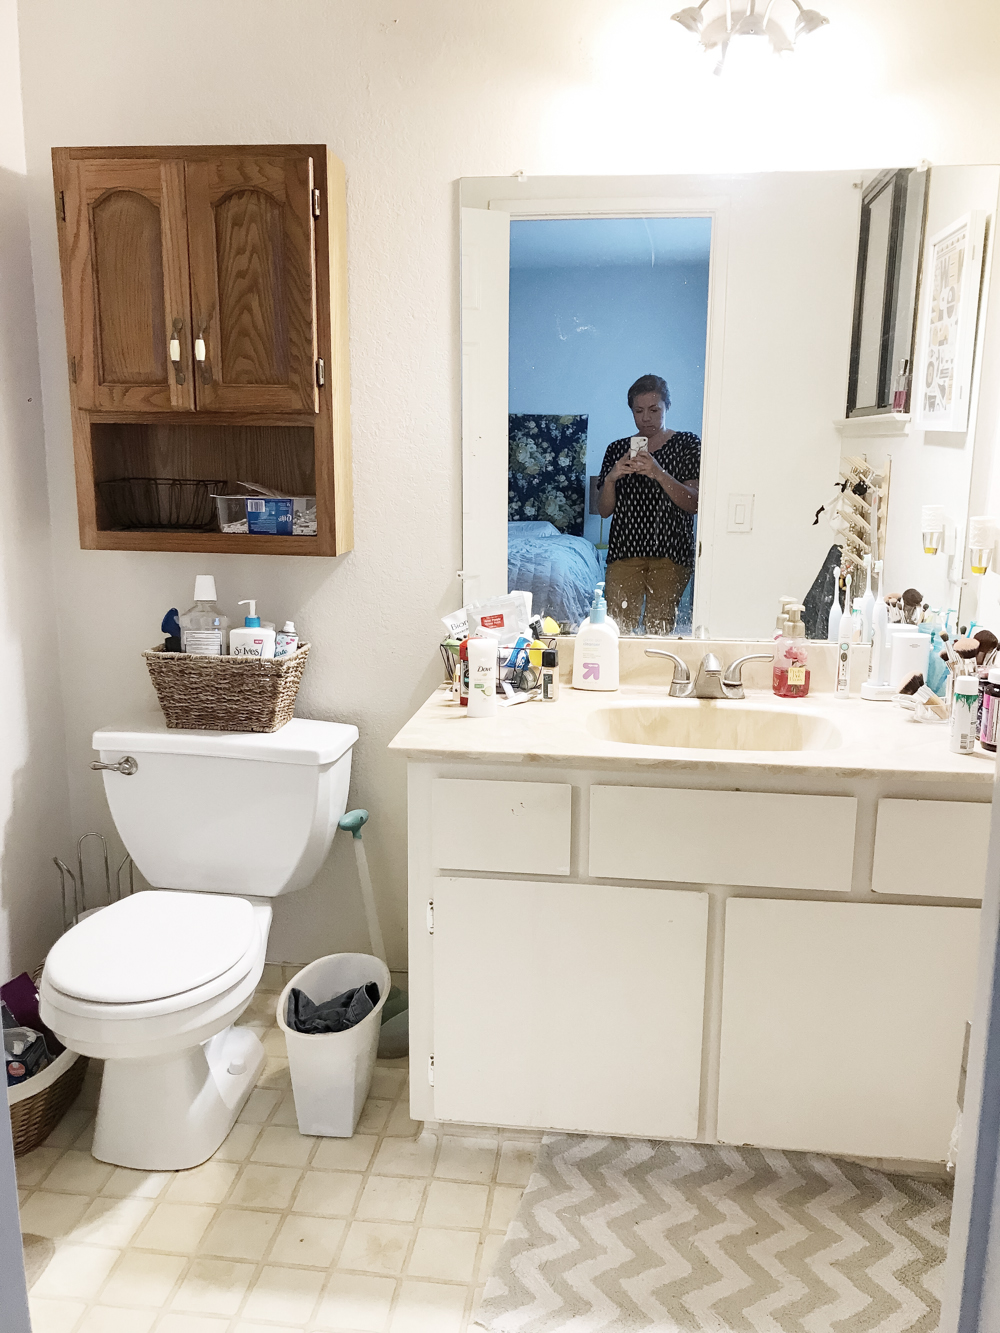
Ignore the clutter please!
(That was a whole different struggle after I redecorated…decluttering and streamlining the bathroom to have less on the counters.
I did win that battle though!
Pretty boring and had never been changed since the house was built in 1978. ugh.
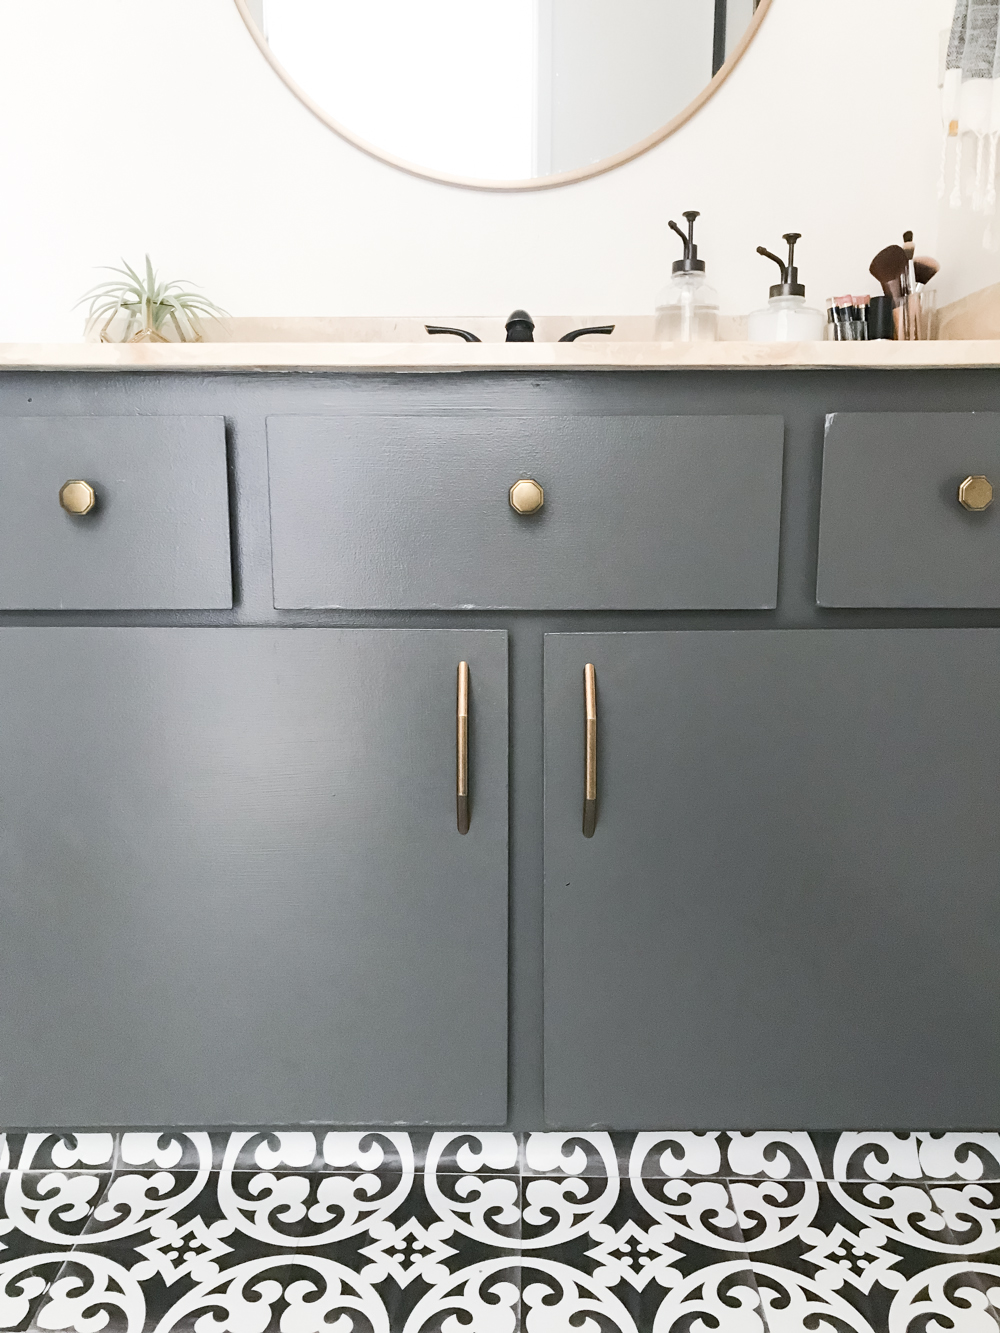
I started with paint. I chose Peppercorn by Sherwin Williams for the vanity. The reason we didn’t just replace the vanity and work with it was because of the coved floors. Our linoleum coved floors come up about 4-5″ up the wall and take a lot of work to rip out and replace. (more about the floors later! eek so excited to share with you!)
So the vanity (and countertop blech) were staying for now.
So. back to the painting!
The wall color is Swiss Coffee from Kelly Moore and is my favorite white! I used the last bit of it leftover from the girls room makeover. Down to the last literal drop. lol!
Painting went smoothly for the vanity! I cleaned it but didn’t sand it…it was kind of a get it done quick job since I only expect it to last for another few years. And it’s not the best quality so I wasn’t concerned too much about it.
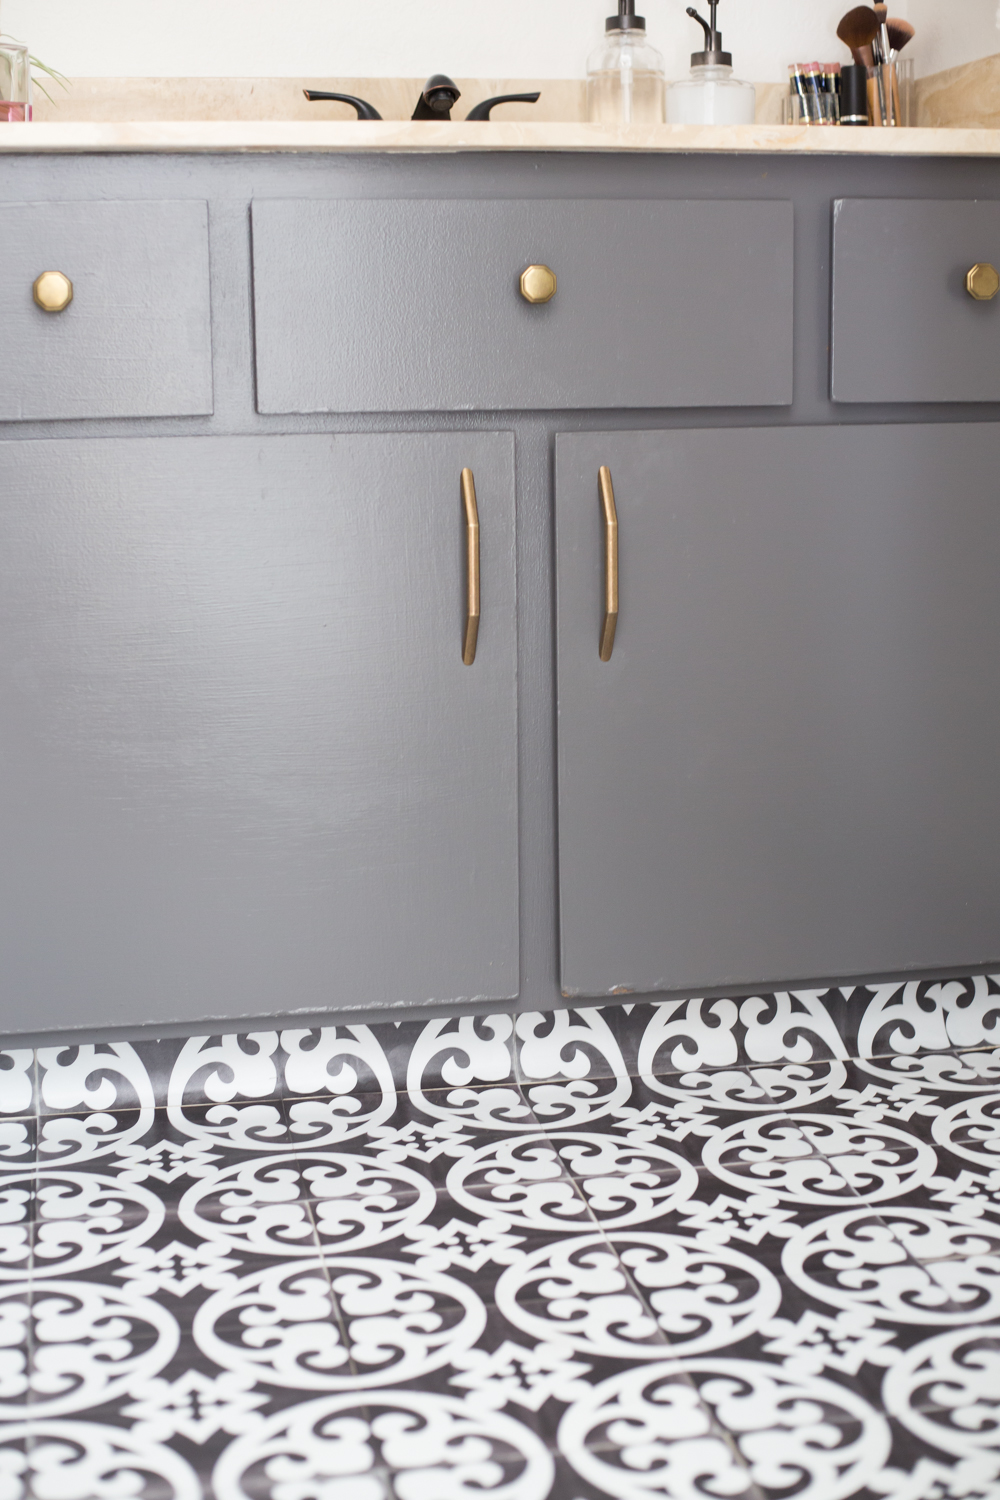
Those hinges didn’t bother me until I had the hardware on…I may go back and paint them later! Can you believe I’d never had hardware on this vanity? The things we can get used to, right? Here are the knobs and pull hardware…LOVE them. So gorgeous in person!
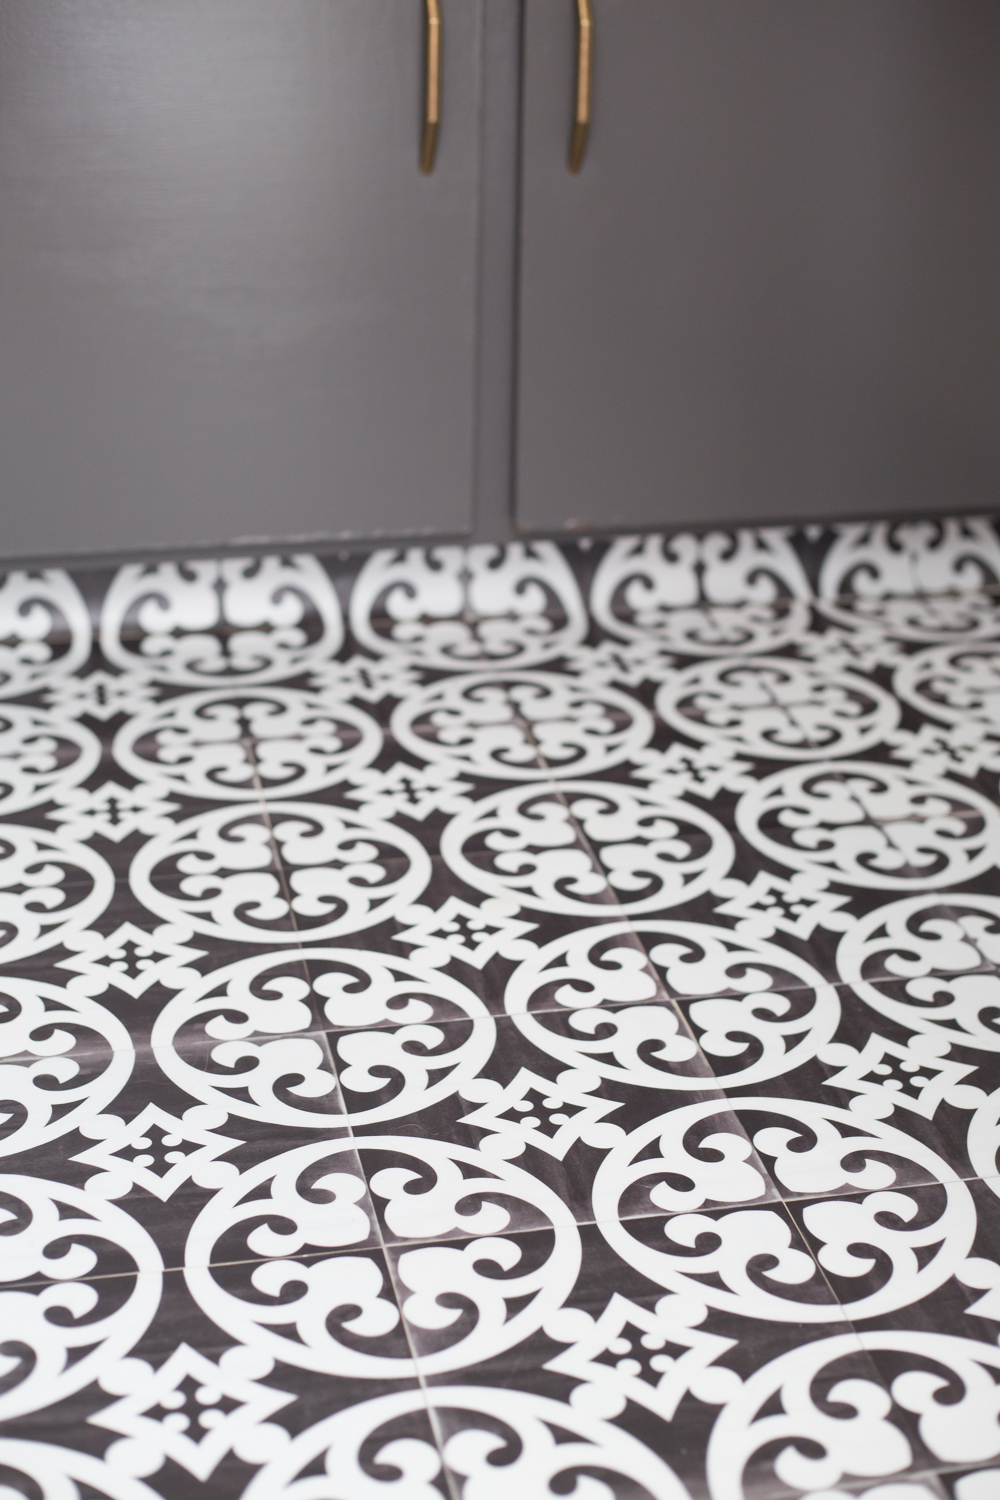
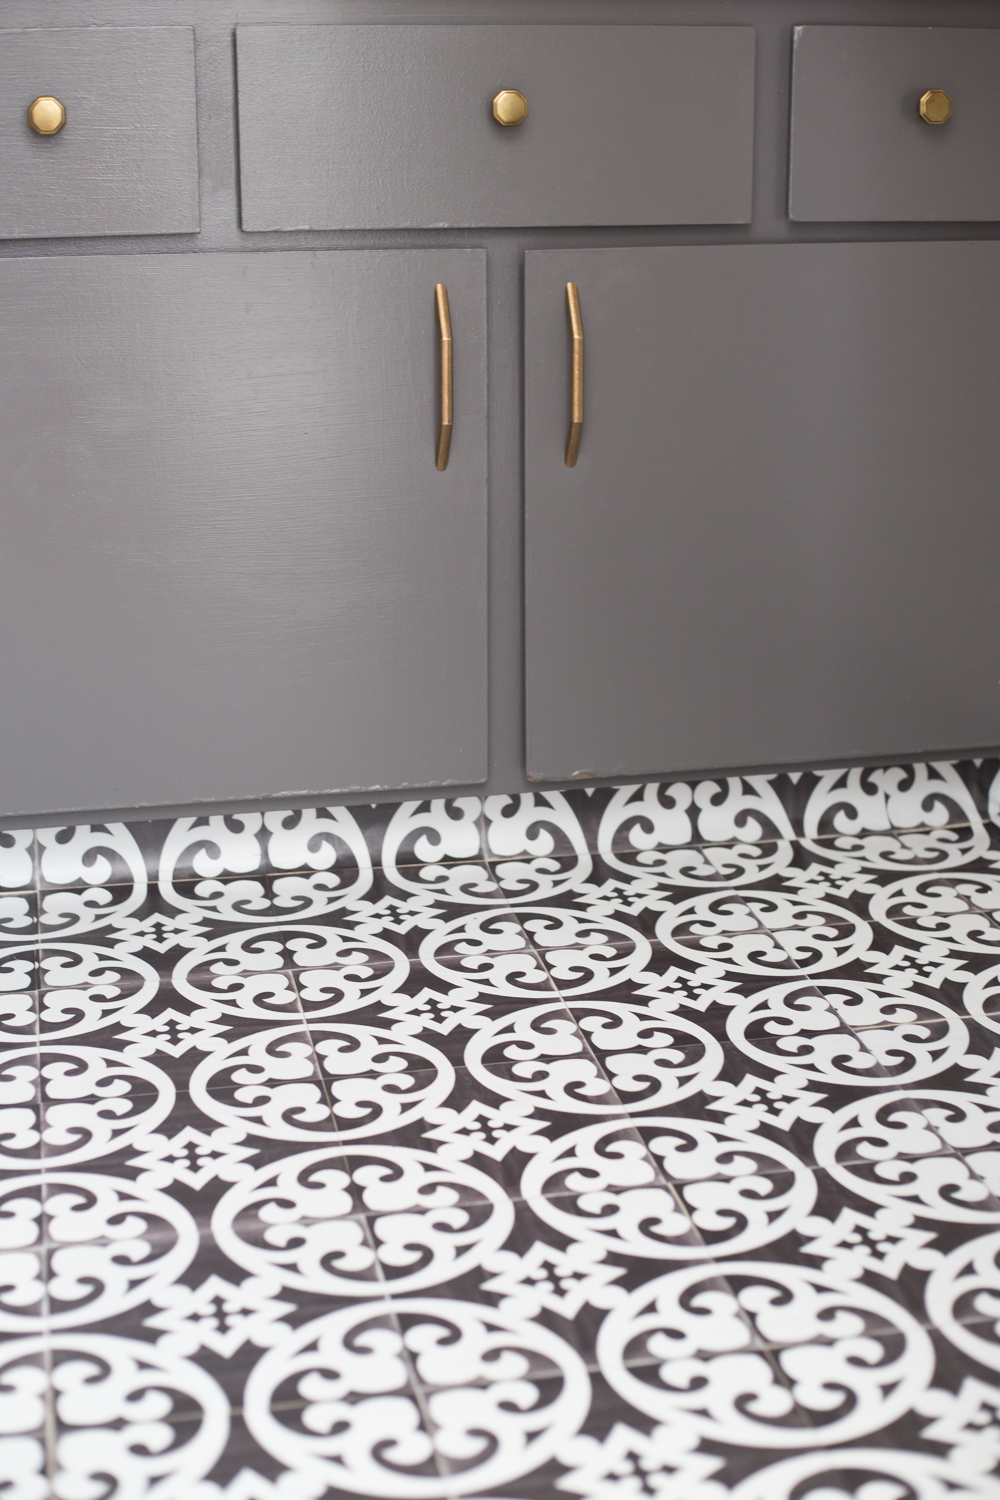
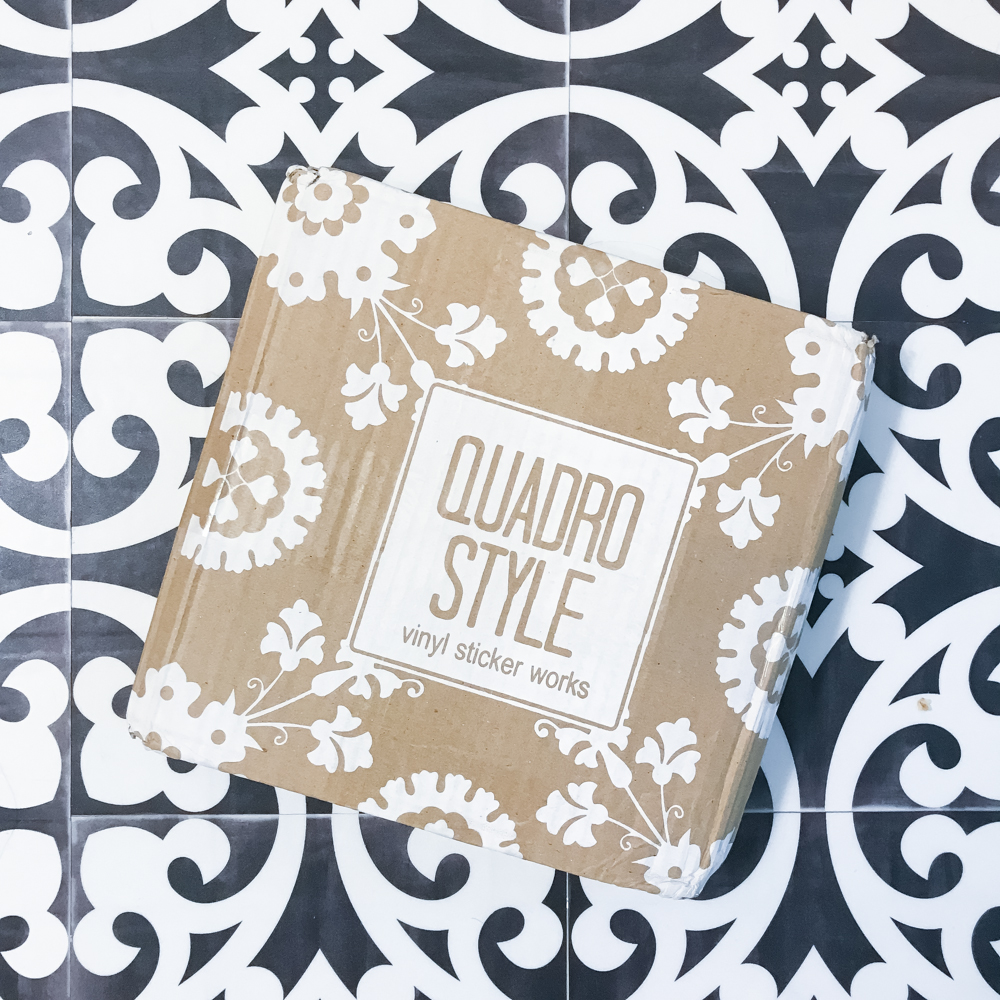
The FLOORS!! I am in love with how they turned out. At first I considered painting them. Rory kinda nixed that and I was a little intimidated by it too. Then I randomly came upon the Quadrostyle website.
They specialize in floor and wall stickers that can be placed over existing walls & flooring! I did some research on their site and was SO excited because they seemed to be the perfect thing for my coved floors. Basically I needed them to be more flexible than standard linoleum tiles to move with the floor up the wall. One of the awesome things about their website is you can order samples of tiles to ensure you get the right style/size/color! Shipping is fairly quick too!
They have a tile calculator as well to help you order the right amount! I ended up needing 4-25 packs of the 8″ or 20 cm size…with about 8-10 leftover. With the coved floors it was tricky to calculate but I got it done!
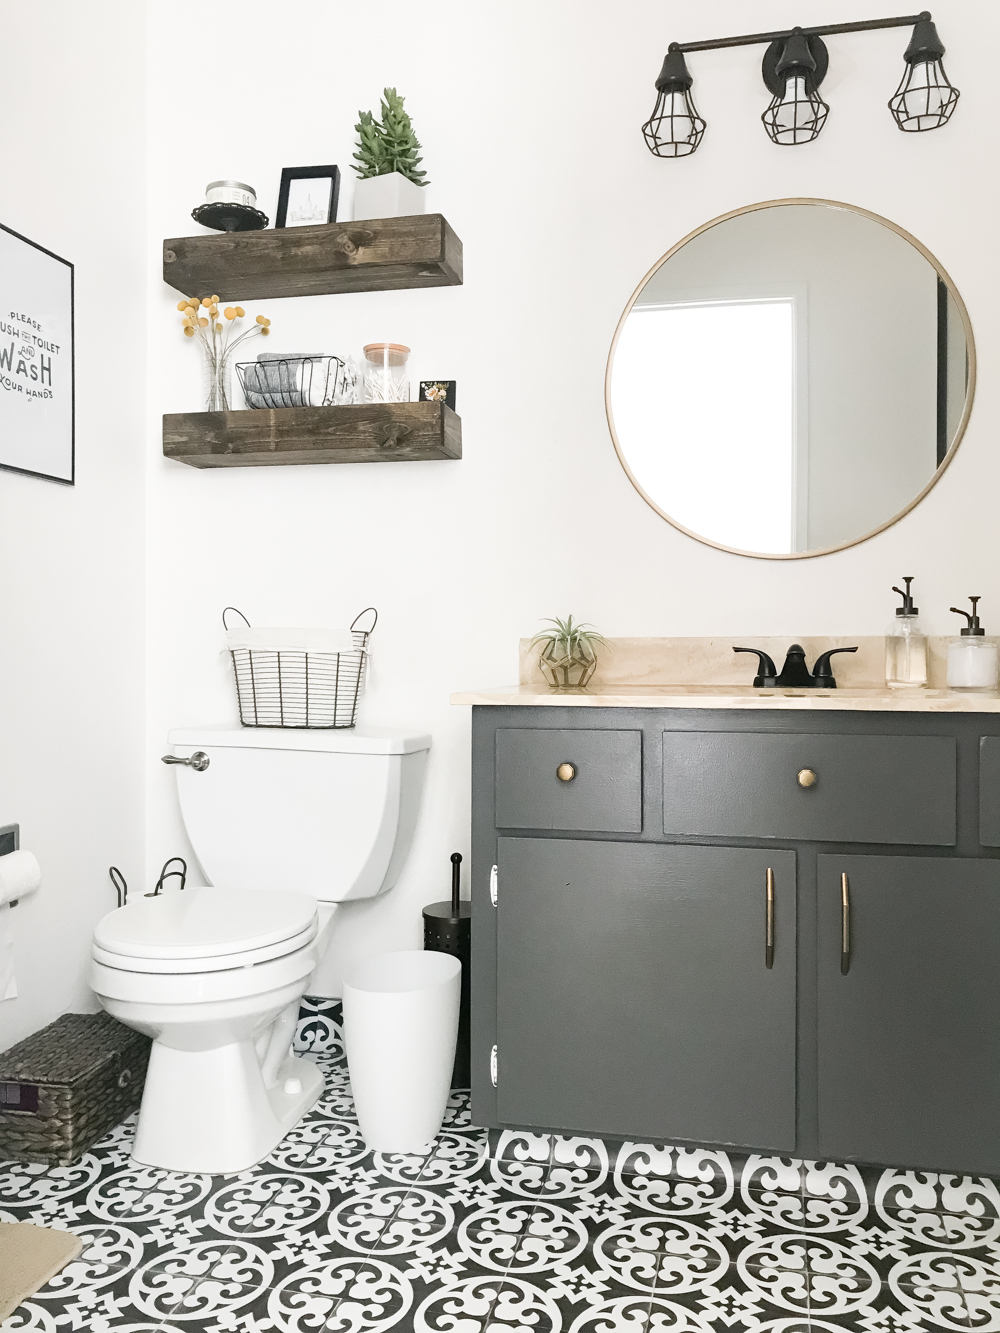
The tile pattern I chose was the Citadel in Black 8″ size.
Which….I am in love with! The small size of the room makes it perfect for a fun patterned floor. I plan to do a similar floor in my laundry room too when I move on to that!
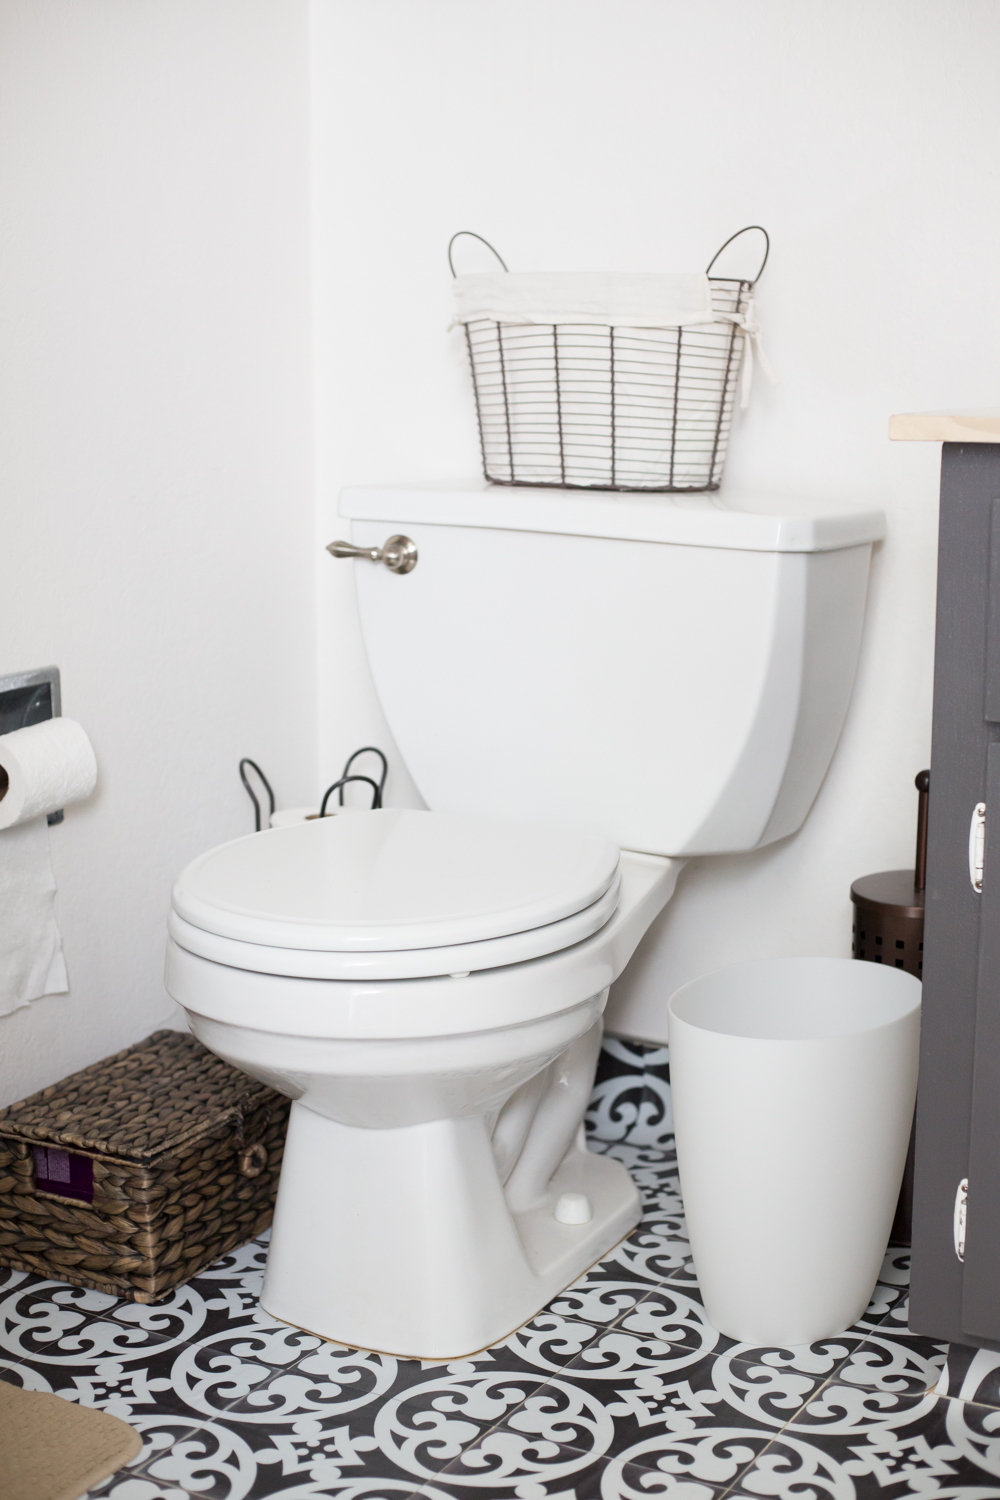
Let’s talk installation: it was not as hard as I thought it might be! I had some tricky spots because of the coved floors though, and if I’d had a flat floor like most people (our home is so high maintenance with it’s weird 1970’s style elements lol), it would have been even easier!
Honestly, it was kinda fun to put in! I started at the door and worked my way from there to the back of the room, and creating templates for around the toilet and doorjams etc, was a cinch. I used the paper backing of the tile so it was the right size and used that to make the template. The tiles cut easily with scissors-no problem! Then you just peel off the back and pop them on the floor!
Here is their installation page for more details but it really was so easy! It took a few hours (again, longer for me because of the coved floor), but I turned on a couple of podcasts and it went quickly!
Here is their FAQ’s page if you’d like to learn more!
Here’s the exciting part of the post!!
Quadro Style is generously offering CINO readers a coupon code!!
Use code SALEDAY15 and receive 15% off any order over $125.00
WOOHOO!
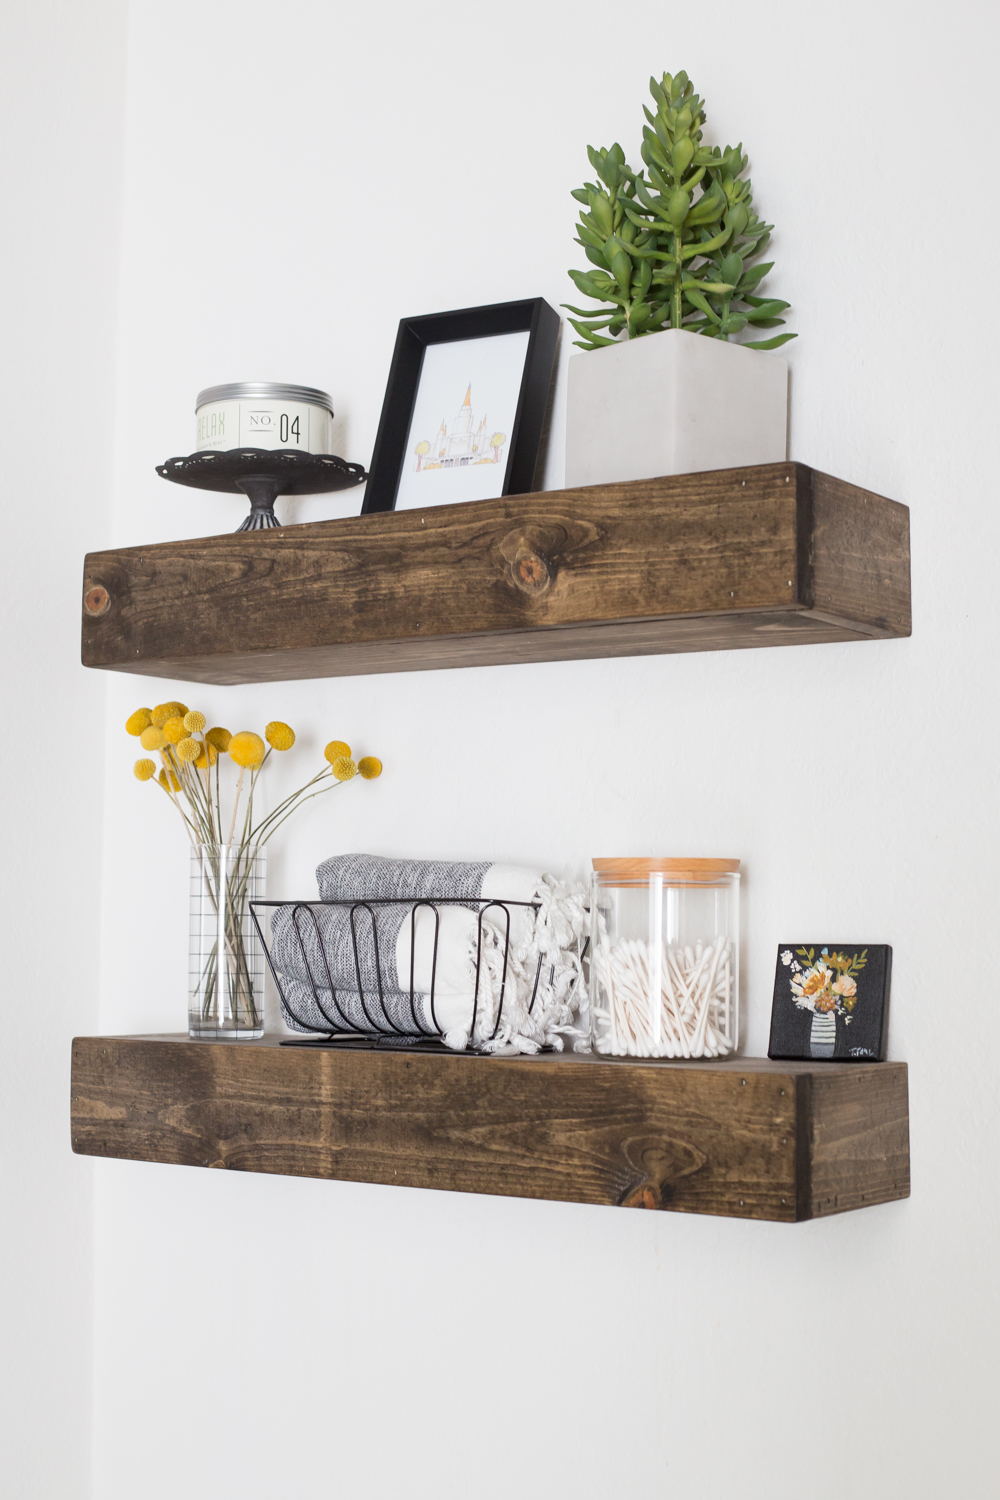
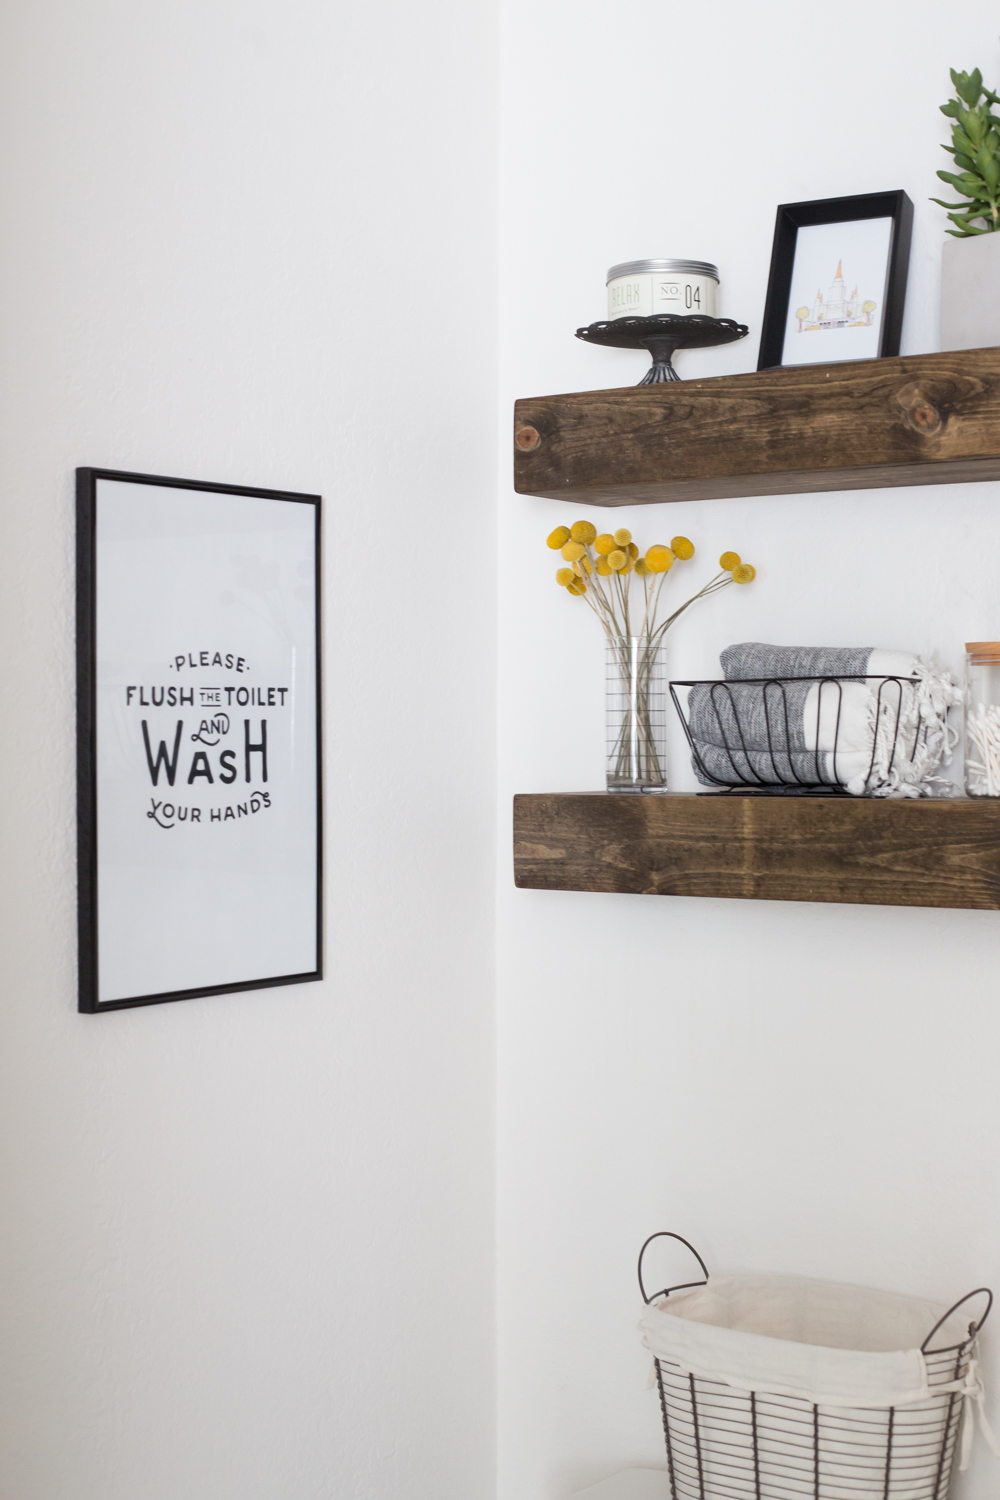
After removing the medicine cabinet and painting, I went for clean simple lines with some floating shelves!
That I built. ALL BY MYSELF.
Ok, Rory helped a little, since I don’t have four arms and the capability of holding shelves together and nail gunning at the same time. I used this tutorial, the only thing I changed was to make the width less to fit the space I had.
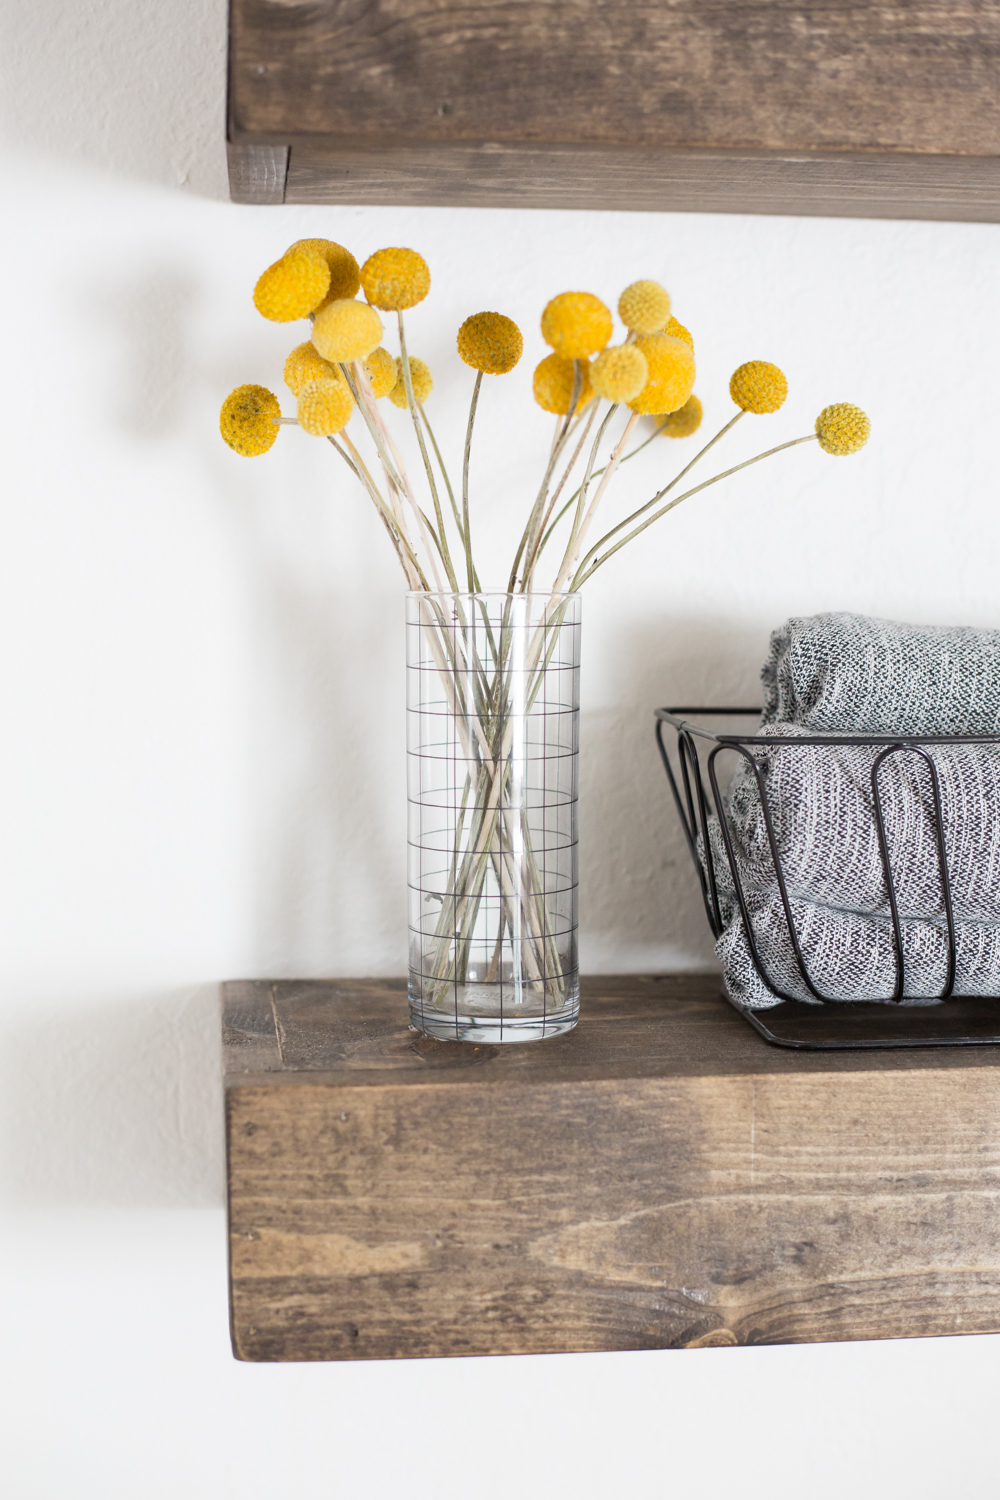
I filled the shelves with things I love! First, a Kate Spade glass I thrifted and repurposed into a vase with some billy buttons from Trader Joe’s in it!
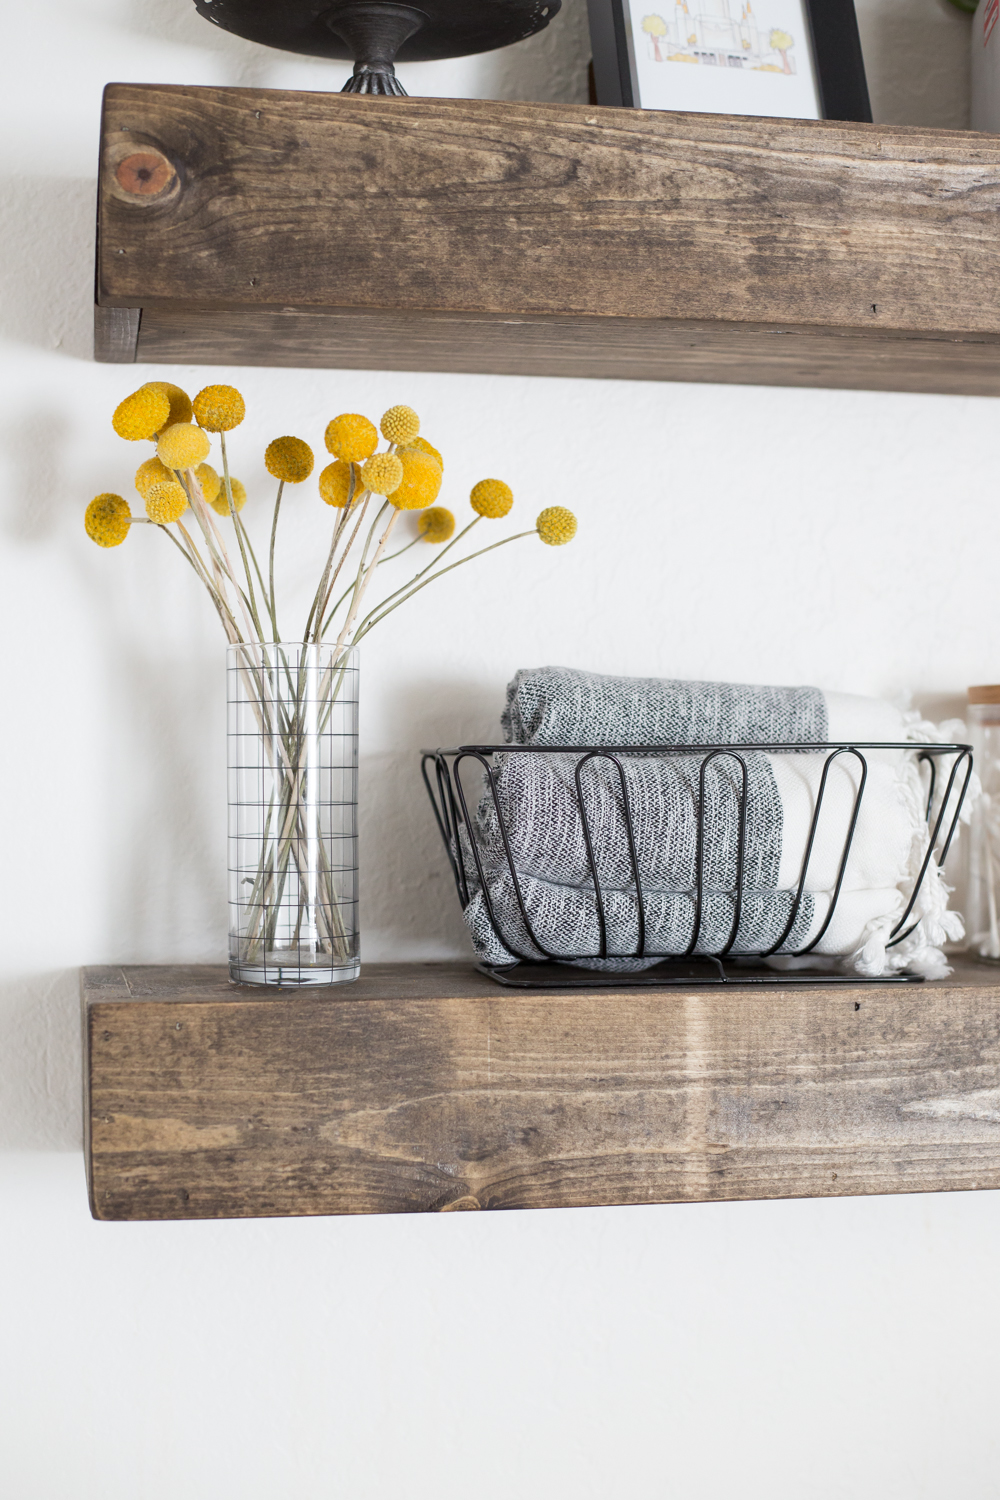
I also grabbed these lovely Turkish towels and rolled up the extra ones not being used in this wire basket.
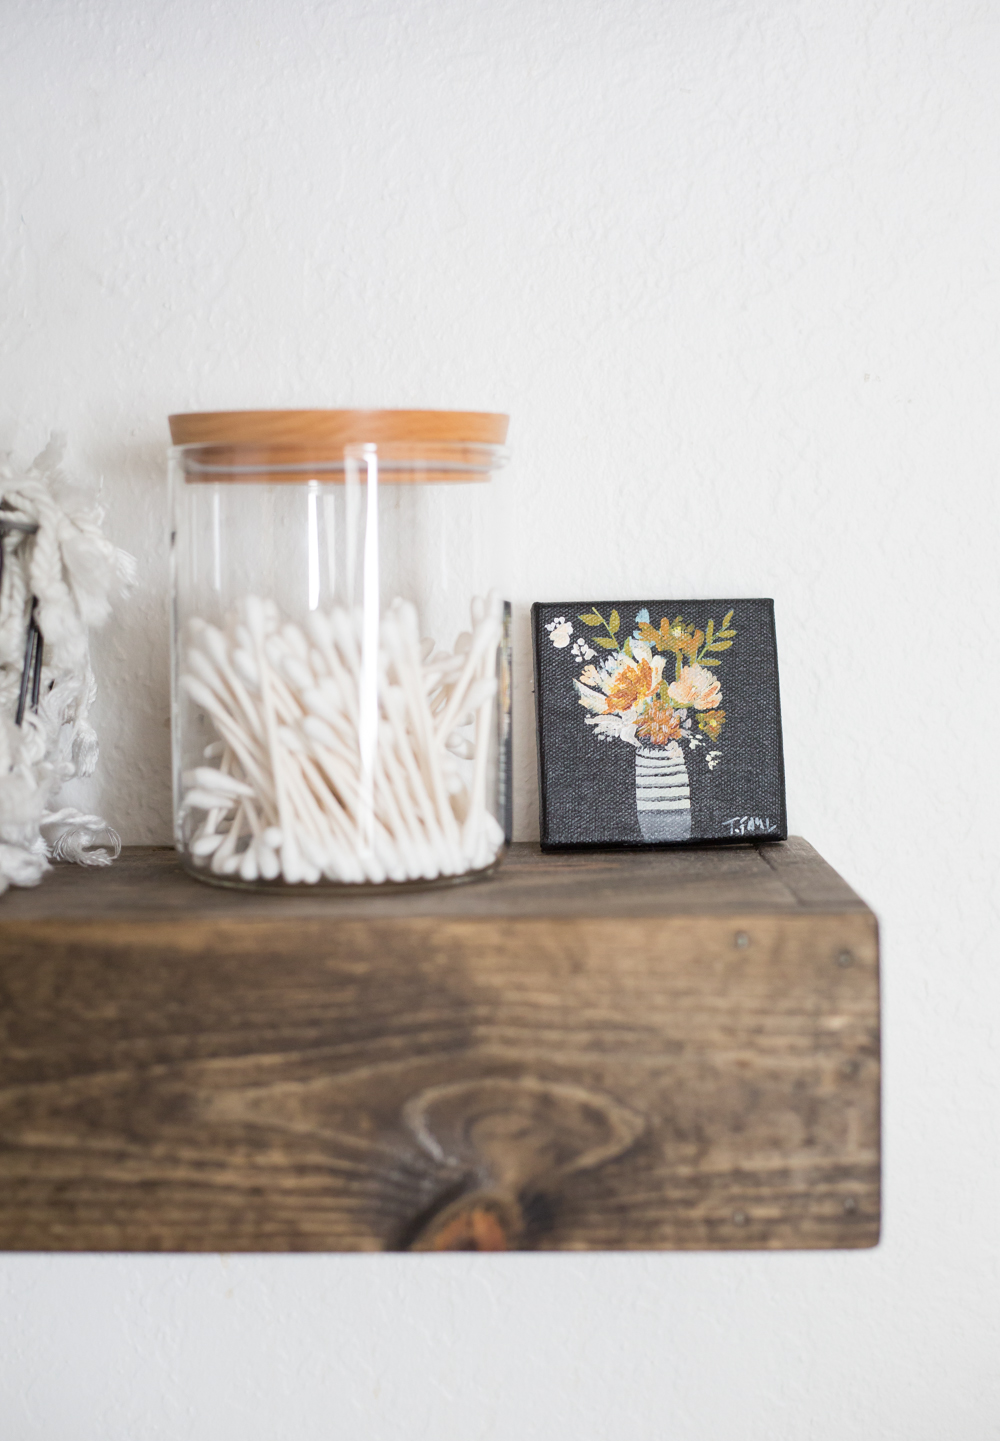
I grabbed this cute jar from Hobby Lobby and filled it with Q-tips, and nabbed this amazing painting by my friend Tara Faul. She does the most beautiful minis and larger pieces too! I have an amazing Princess Leia painting she did, and another floral in my living room. #obsessed
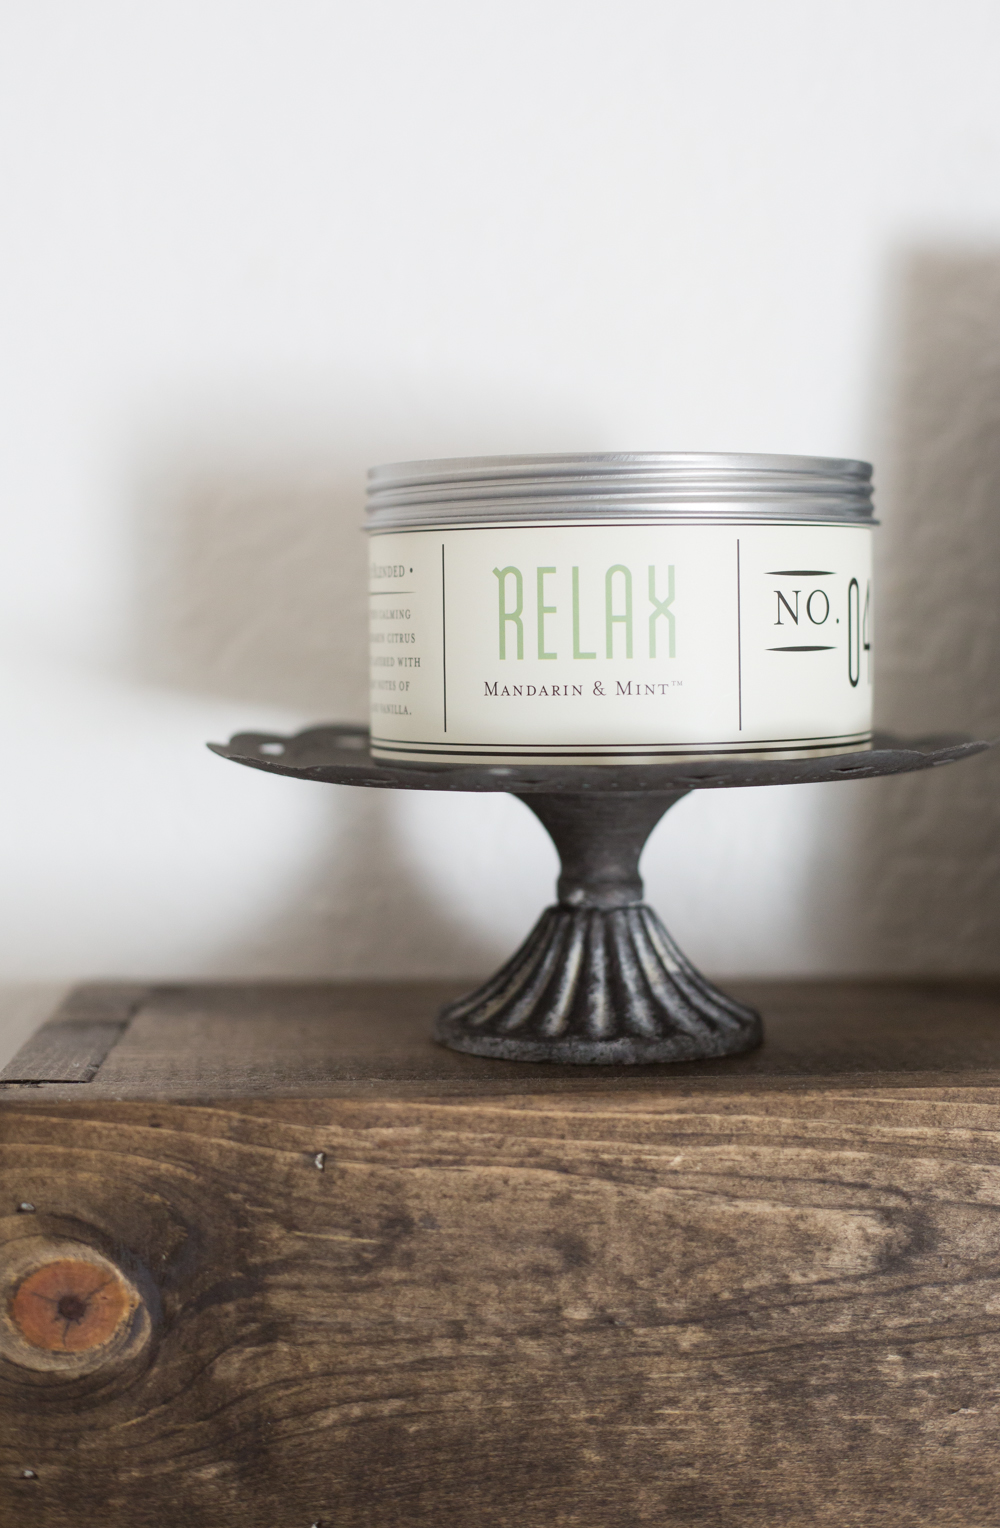
On the top shelf, I grabbed this candle from Hobby Lobby as well (mostly for the packaging but it also smells DELISH-bonus!), and placed it on top of a cute tin mini cake plate from Michaels.
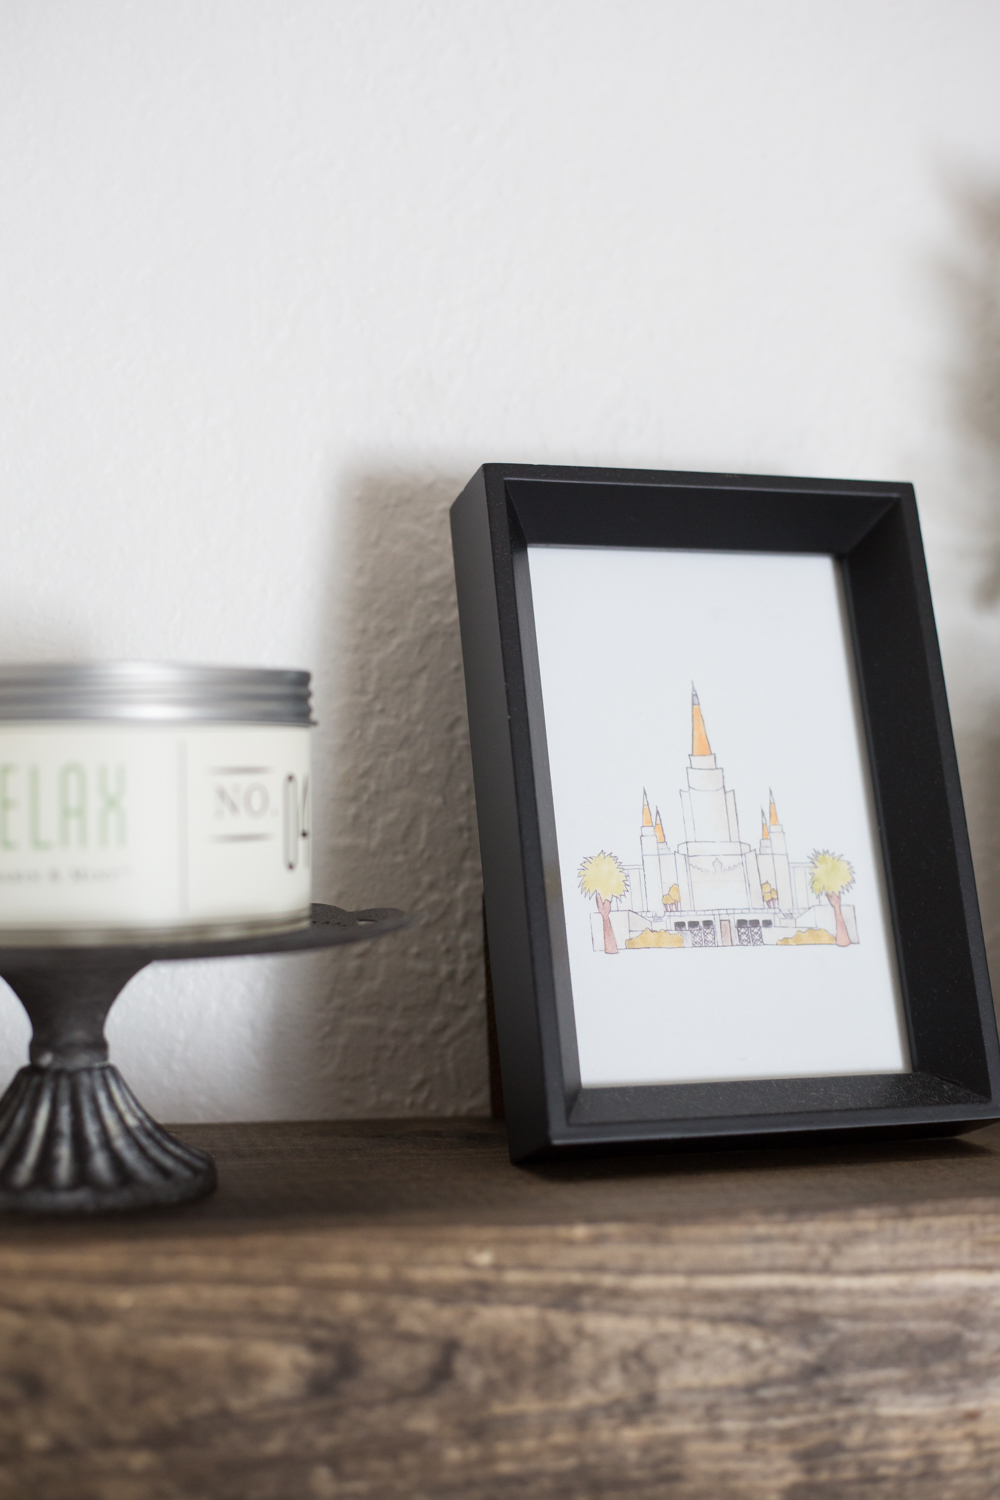
Grabbed a cute black frame from Home Goods and popped some more meaningful art into it!
My sister water colored this painting of the Oakland Temple, where Rory and I were married. LOVE!
I added a faux succulent plant in a concrete planter from Target and called it good with the shelves!
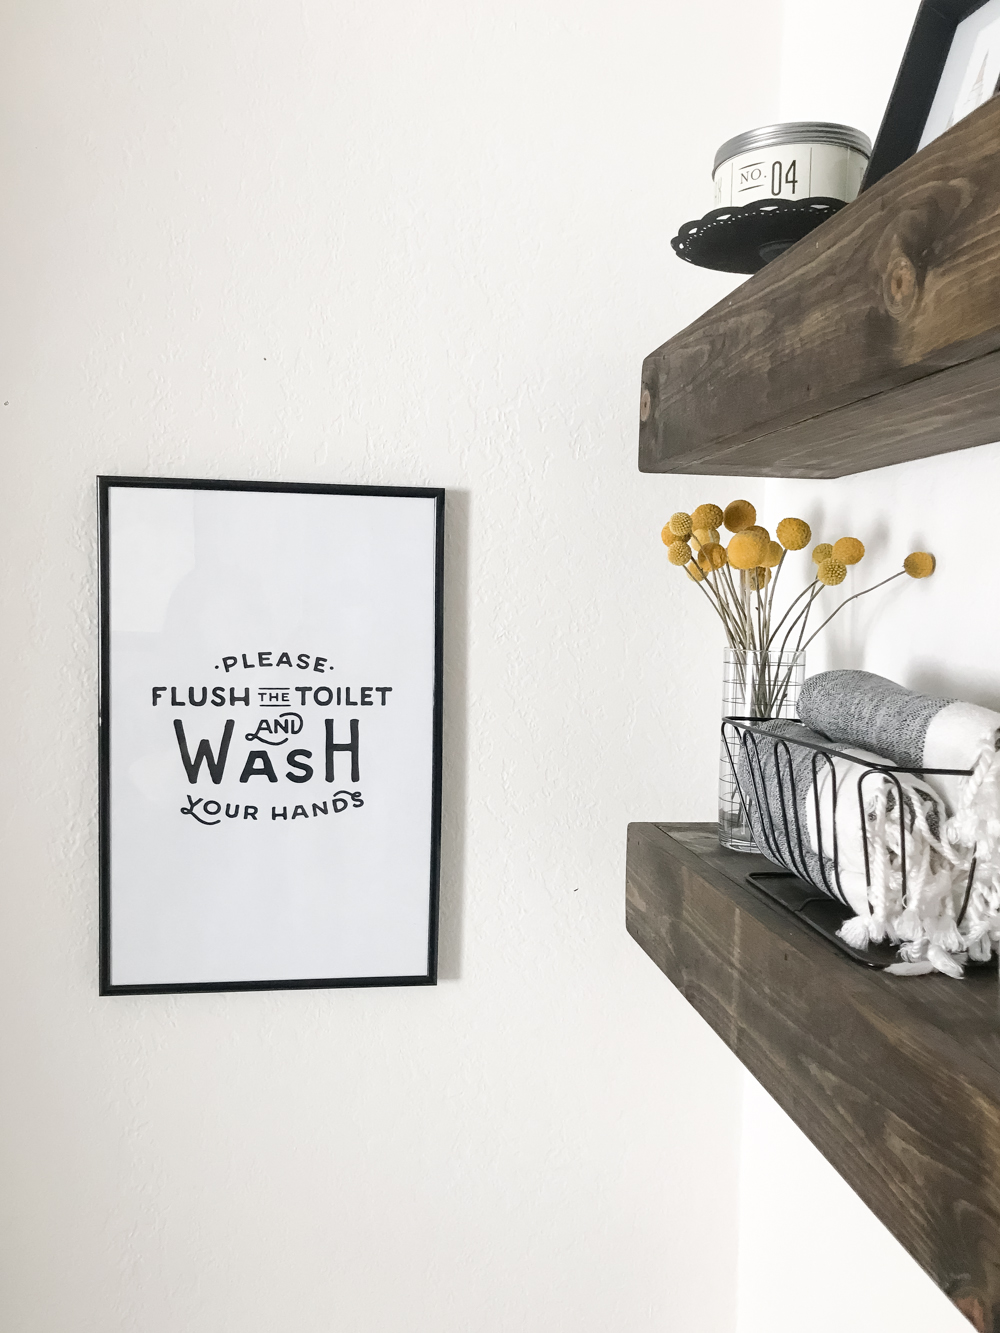
I had this 11×17″ frame in my closet that I wanted to use, and managed to find some printable art on Etsy to fit! I love it-it came in a bunch of different sizes too! I printed mine off at Staples for I think less than 50 cents…awesome!
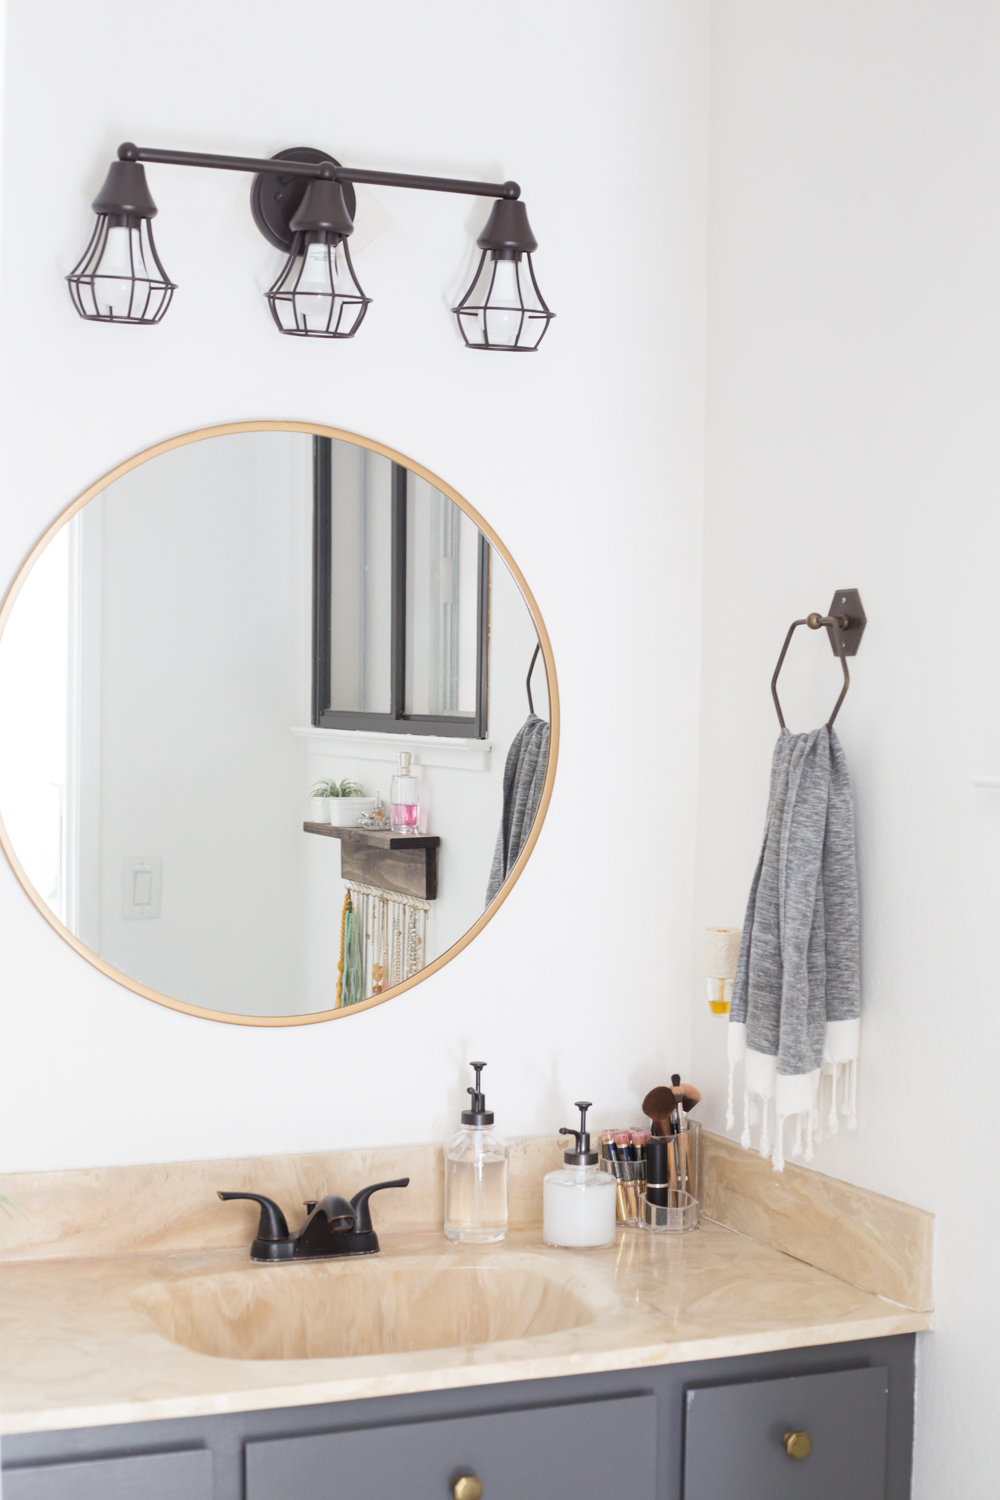
Let’s swing over to the top of the vanity now! I removed the large squareish mirror and replaced it with this round brass one from Target.
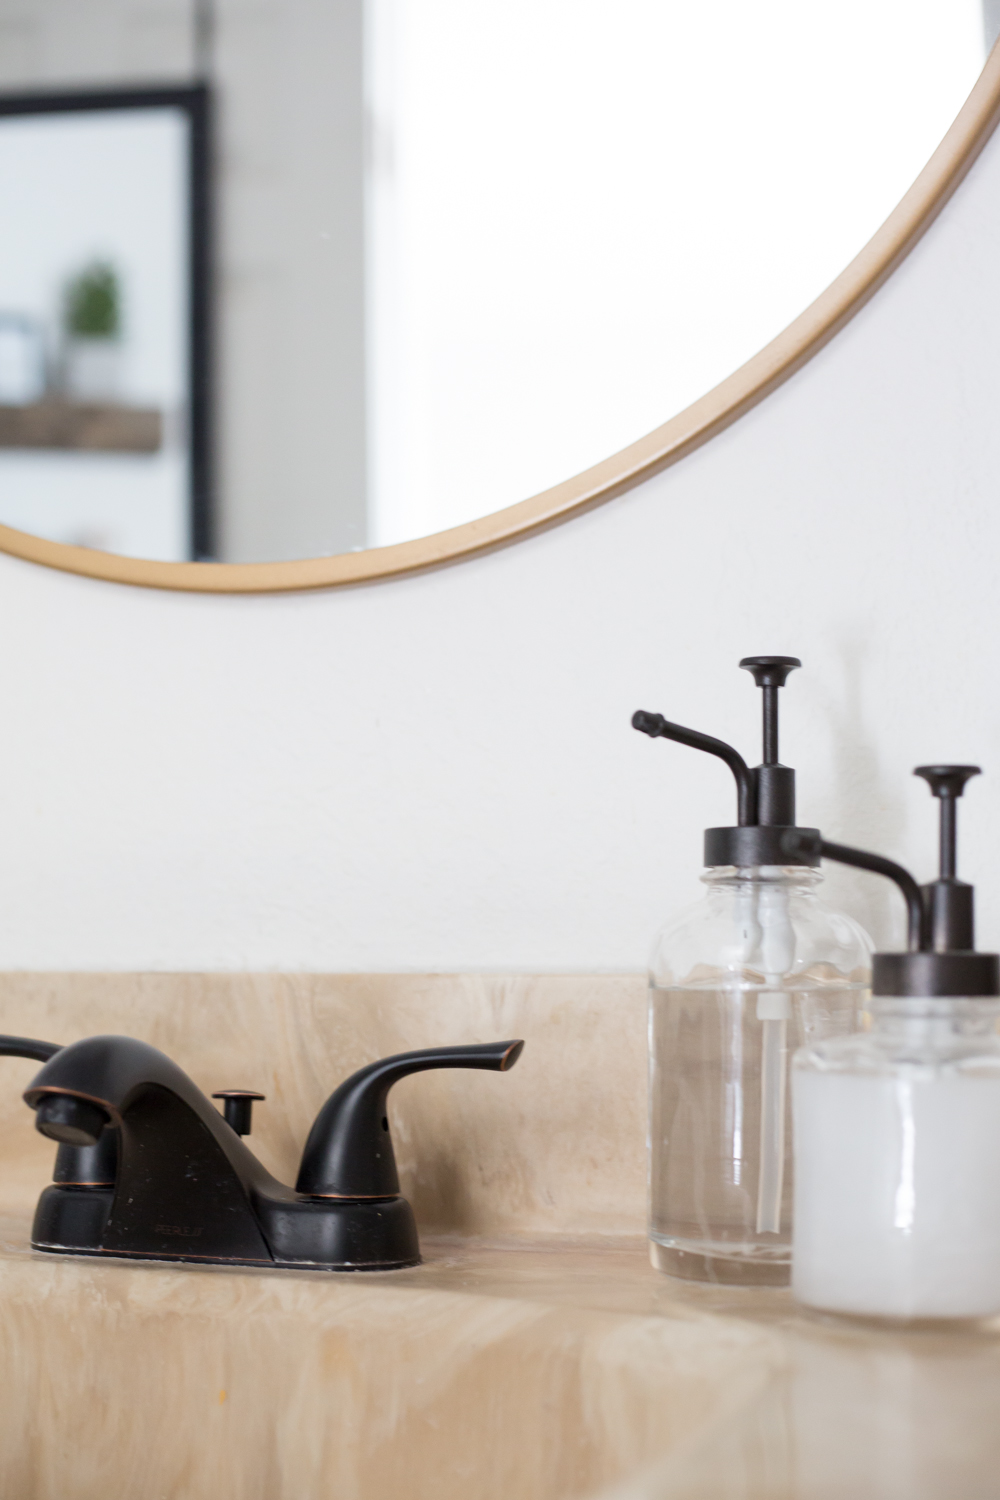
I nabbed this new oil rubbed bronze faucet and Rory was nice enough to install it for me! (also, the light fixture…thanks hun!)
The oil pump soap dispensers are from Target, and it looks like they only have the small size now. 🙁 I originally saw it in my sister’s bathroom when we visited them this summer and loved it! I spray painted the metal pump part with oil rubbed bronze spray paint from Rustoleum. I have hand soap in the larger size, and my face wash in the smaller size.
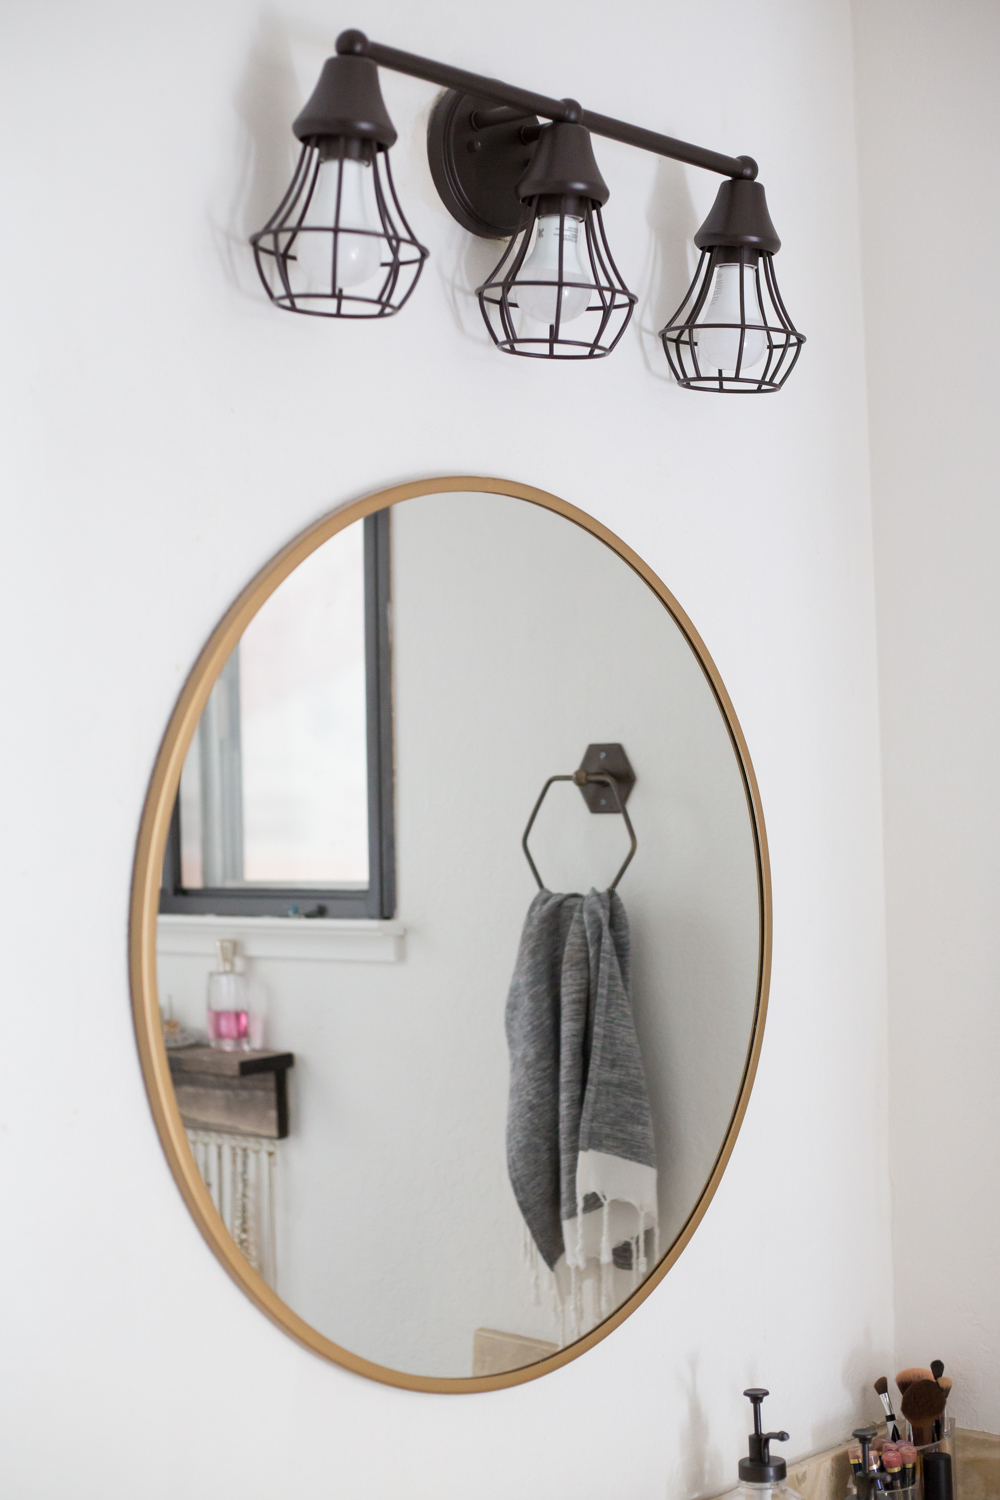
I fell in love with this light fixture! Great price, too!
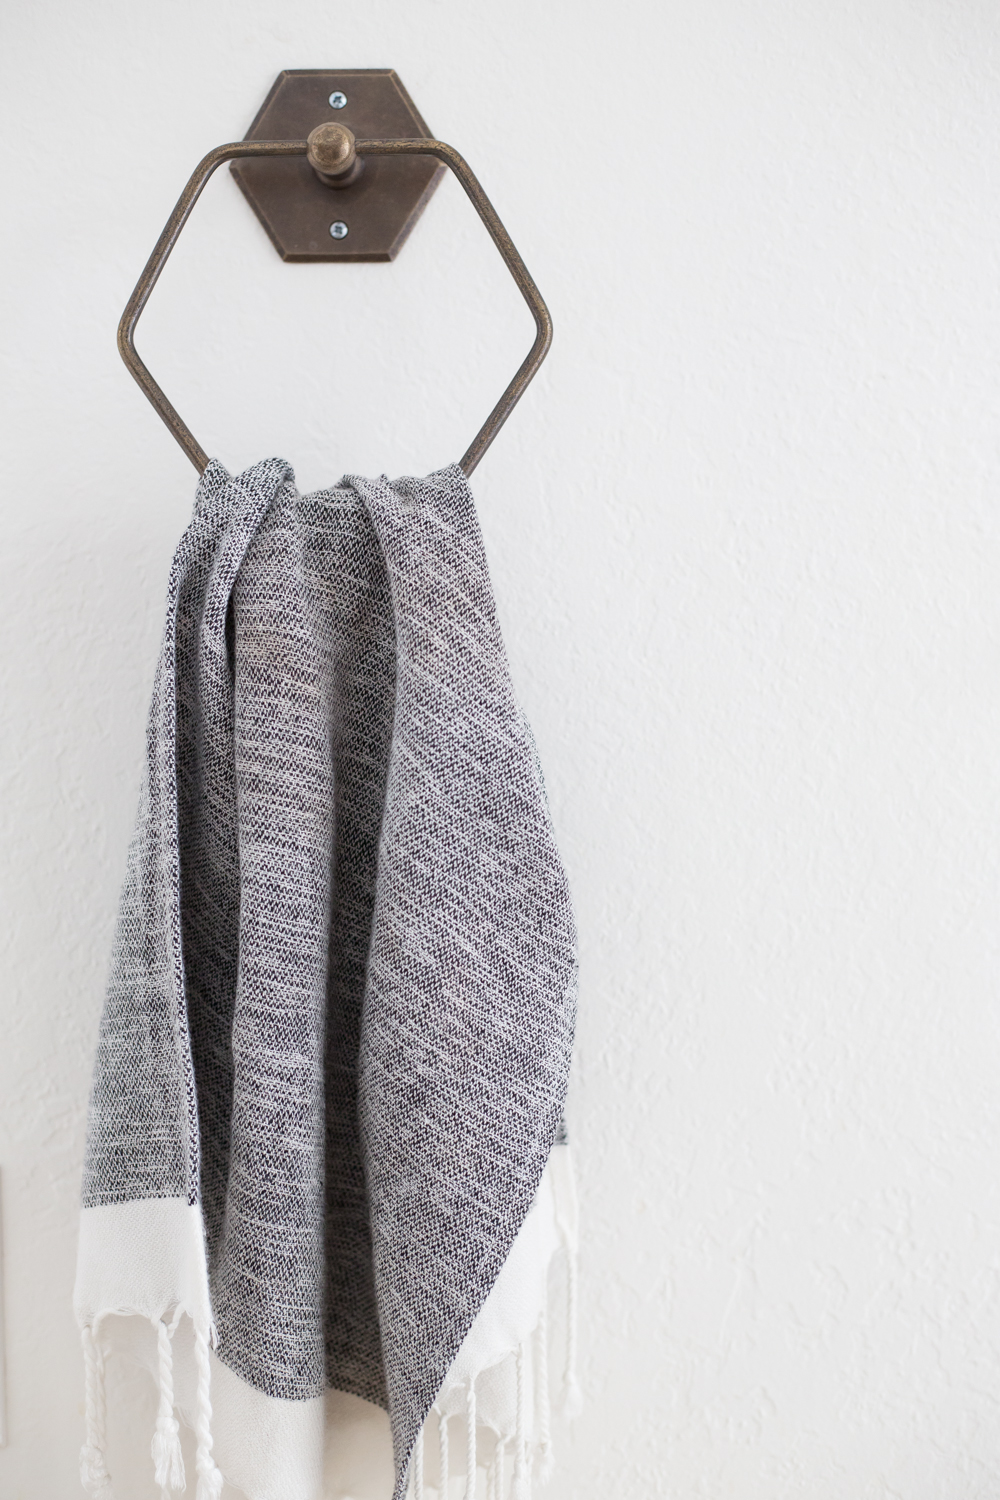
This was what kicked off the makeover, honestly. All I wanted was a towel hook, we’d never hung one in this bathroom before…so this is where it spiraled, folks!
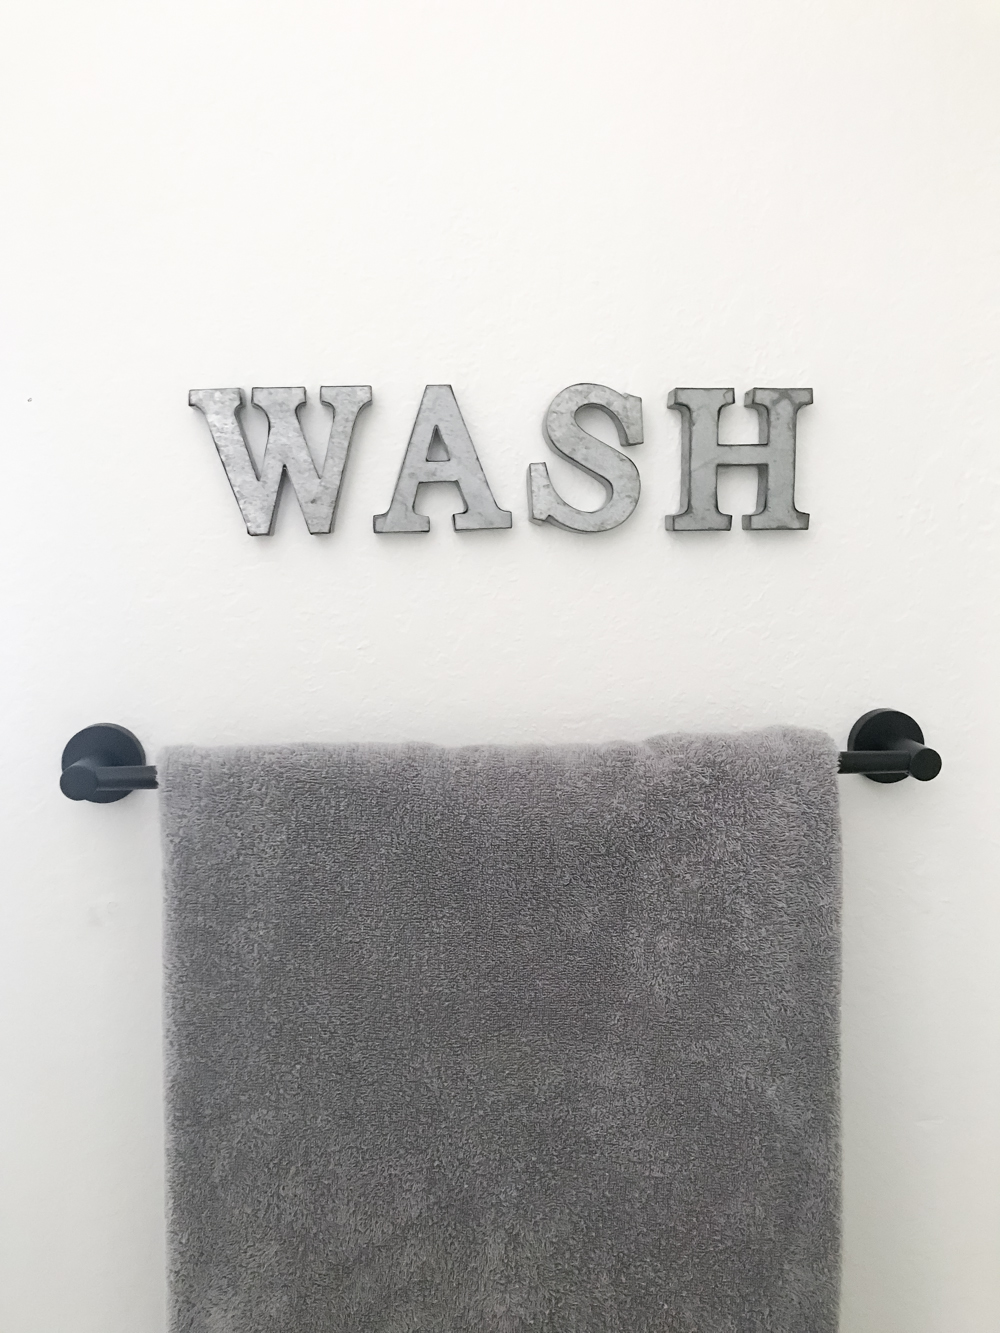
Behind the door, I hung a new towel rod and some cute metal letters from Hobby Lobby!
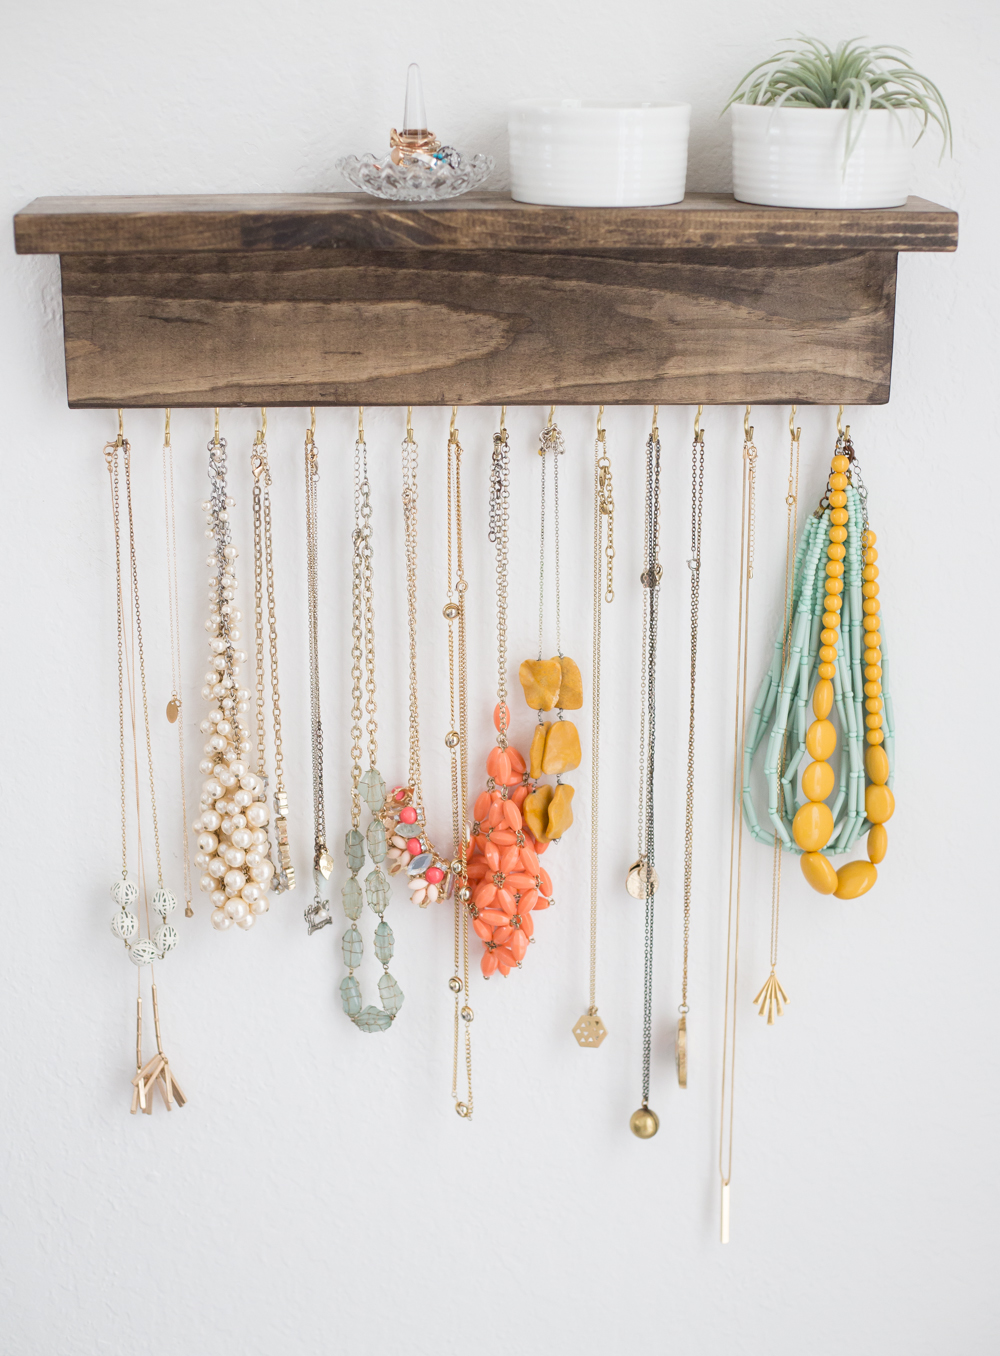
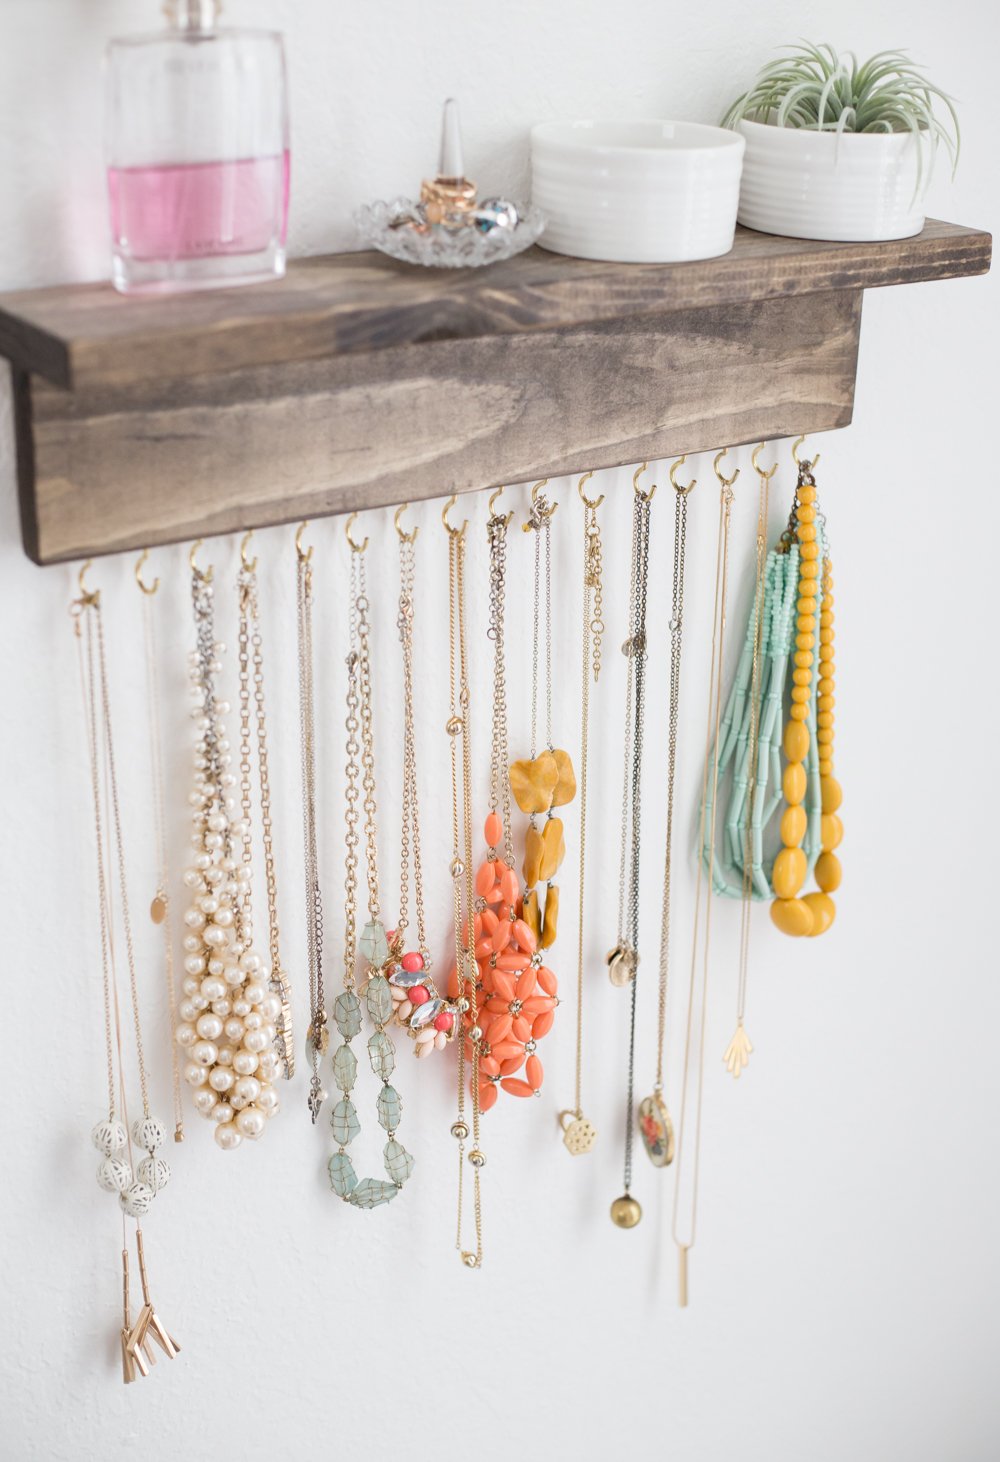
I made this sweet and simple jewelry rack with my friend Alisa, and they turned out so cute! (she made one too!)
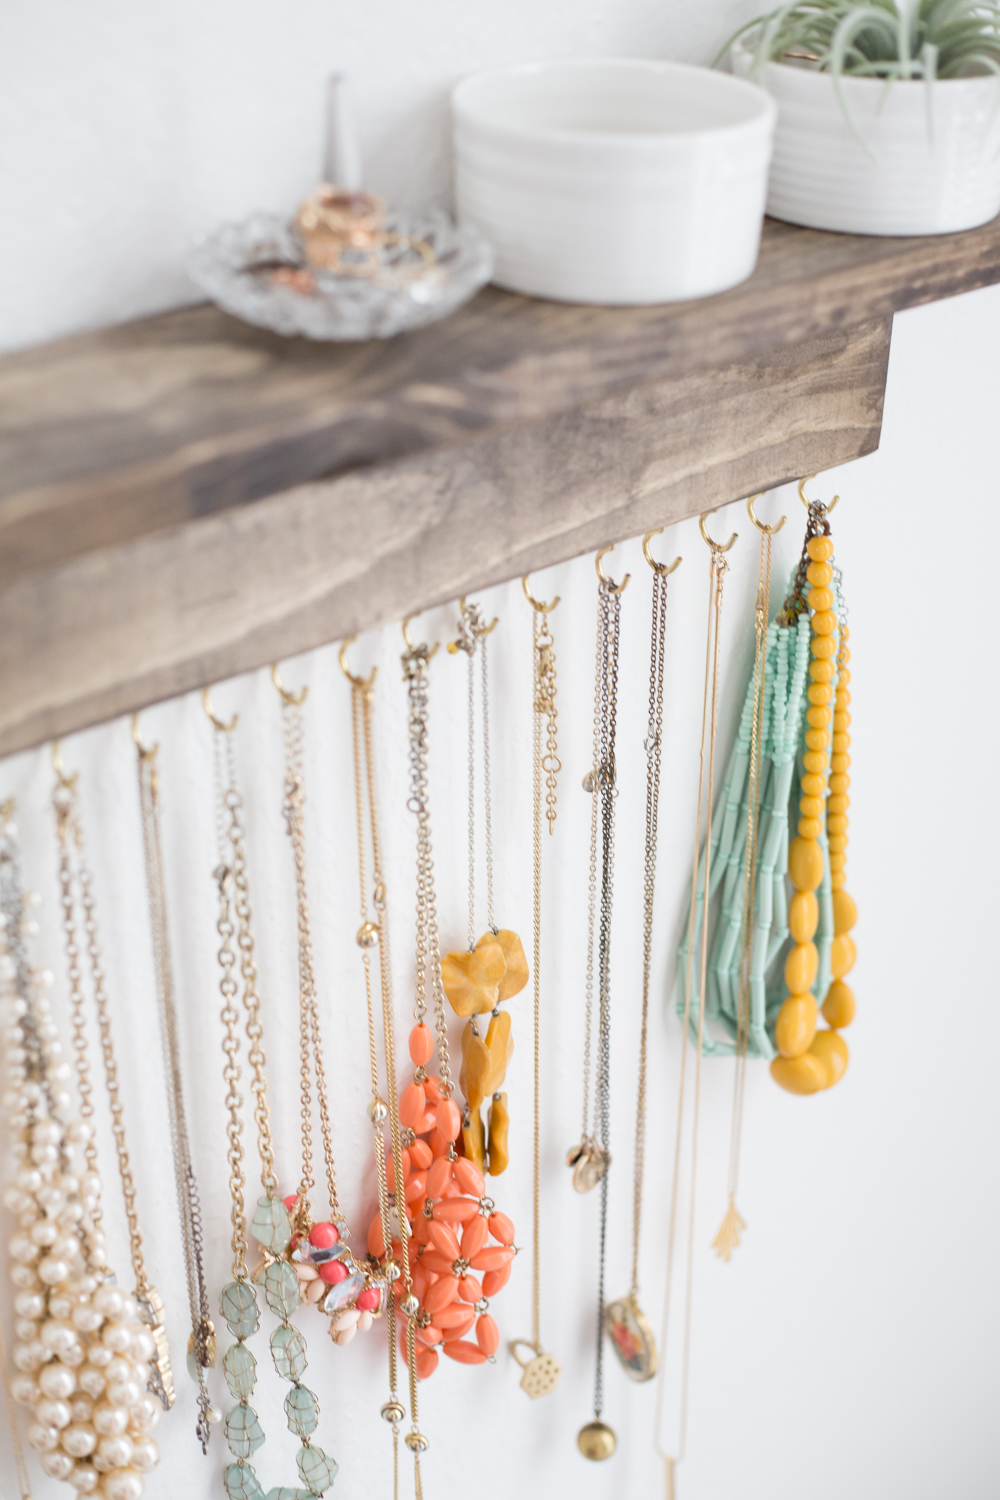
It’s a simple shelf, with gold hooks in the bottom for necklaces.
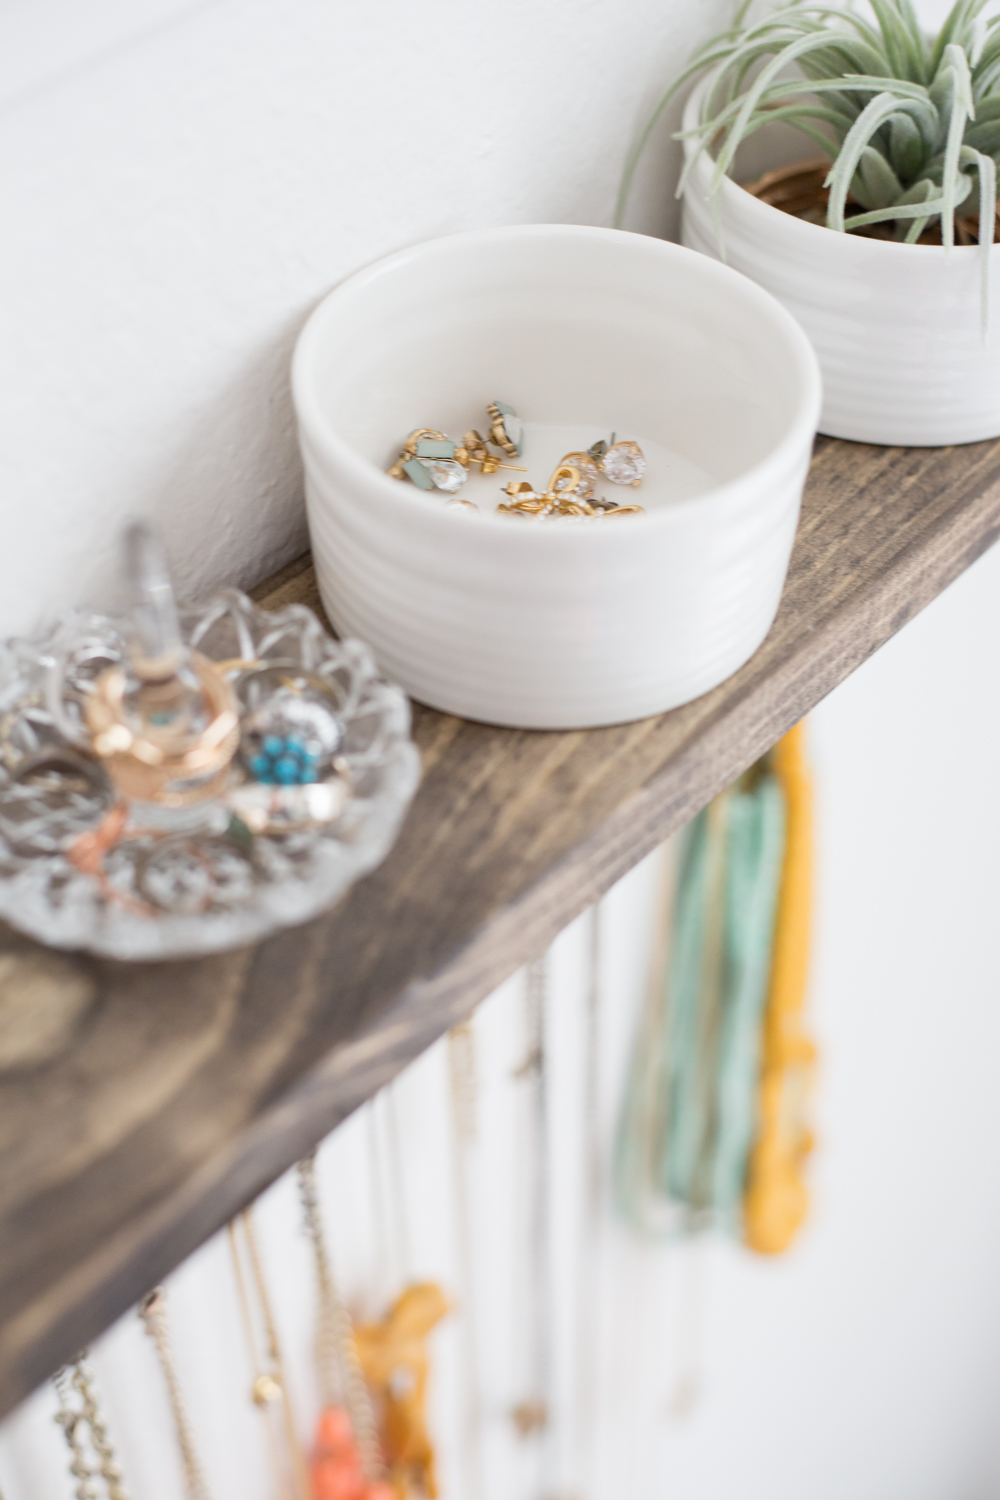
I loved that I could place my ring holder and a few small dishes from Home Goods on top for my bracelets and earrings!
Whew you made it though this post! Congrats!
I haven’t been blog reading in a while, but my sister told me I had to see this. I’m preparing a mini Reno for one of our bathrooms and you have me so inspired! So well done! The tiles are fantastic and the jewelry holder is exactly what I need! Totally copying you!
thanks!! Honored that I pulled you out of your blog reading hiatus! (I kinda do that too, lol) would love to see what you do!!
I love it! You did such a great job!
thank you!!
Looks awesome! I need to do a spruce up in my half bath and I love the shelving you used…Getting some ideas!
thank you so much!!
Can you just come over to England and diy makeover my whole house?!
hehe!! wish that were my job sometimes!!