


OK so I lamed out and couldn’t think of a “name” for Sadie’s Easter dress, but Charlotte-well I just went with her middle name. Easy peasy.

See below for the tutorial!
You’ll need:
1-2 yards fabric (depending on the size of course)
thread
buttons

So first off I drew a basic bodice pattern by tracing a tee folded in half. Then I drew a square neck and drew a line across like so. Add seam allowances!

Then I used that bodice to draw a longer tee, essentially. We’ll add width later.

ok, right now! For the bottom of the dress, add a few inches to the fold (left hand side), for gathering.
Also I sketched out a quick gathered sleeve pattern.

For the back pieces, cut out 4…and extend it about 1.5″. Or less if you want only two buttons. This overlapped more than I was expecting so I added 2 more buttons than I was planning. I kinda like how it turned out, but of course it’s up to you.

So then cut out 2 of the skirt panels on the fold, 2 front bodices on the fold, 2 sleeves on the fold, and 2 strips to make bias tape. (measure around your kiddos arm and add seam allowance for the length. I cut mine 1.75″ wide)

I also cut (selvage to selvage) a strip 2.5″ wide (for the strip across the front bodice), and two strips 1.5″ wide (for the bow)

Next lay the back pieces on top of the front pieces right sides together, and sew the shoulder seams together. Press open.

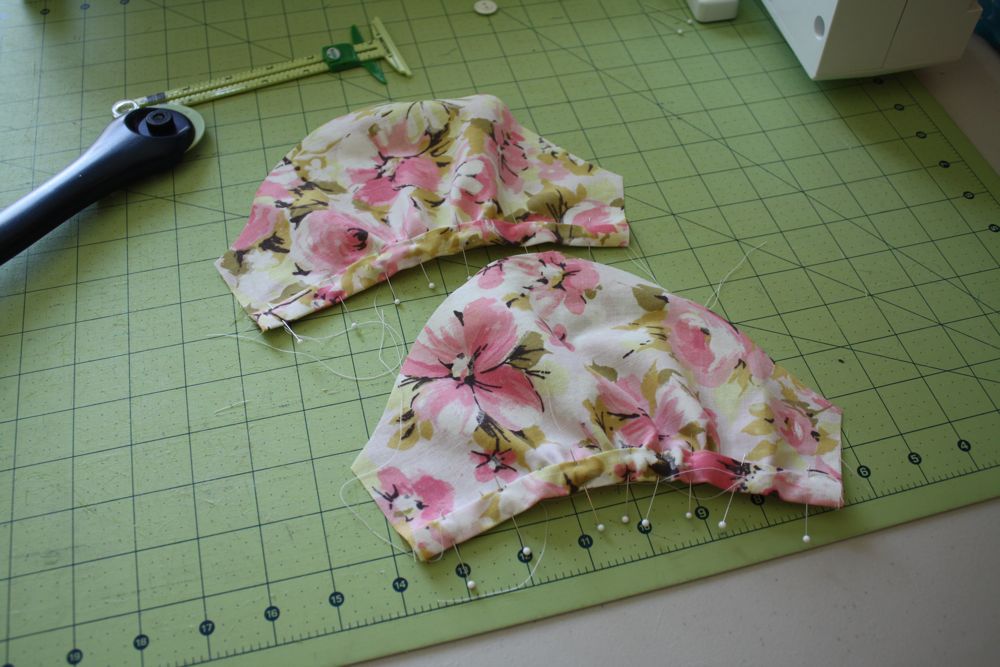
Then pin the bodice pieces right sides together like so (make sure to line up the shoulder seams!), and sew up one side of the back bodice, around the neck, and down the other back piece.

Then clip into the corners like so, but don’t cut too close!

Also clip the back bodice corners like so.

Then turn the bodice right sides out and press around the neckline and back. I also top stitched around it as well.

Then overlap your back pieces and figure out button placement. Make sure they’re above the seam allowance on the bottom!

Put your buttonholes in, and also baste the overlap together on the very bottom.

Next take the 2.5″ wide piece you cut and fold it in half, wrong sides facing. Press. Then line up the raw edge with the raw edge of the bottom of the bodice, and pin. Trim the sides to match the armholes.

Baste the bottom of the strip down, then top stitch the top down as well.

Next I gathered the skirt panels to fit the bottom of the back and front of the bodice.

Pin, sew, and finish seams.
Next I gathered the bottom of my sleeves to fit the strips of fabric I cut earlier (which I made bias tape with, ironing the sides in 1/4″, then in half again), pinned the bias tape over the raw edge, and top stitched it along the top of the bias tape.

Then I gathered, pinned, and sewed the sleeves into the armhole. Finish the seams.

Pin and sew the sides of the dress together. Finish seams of course!
Then I sewed the long sides of those long strips right sides together. Left the ends open, then turned it right side out with a safety pin and carefully pressed it. Tuck the ends under and top stitch, then tie into a bow and pin with a safety pin to the dress on top of the strip you sewed on! You could handstitch it on, but I find bows don’t wash very well…so I do this most of the time. Oh, and sew on your buttons too. Tada!

so adorable! I love the fabric too
Cute – might have to try this for my granddaughter
love it! i am burning out… think i will use this to make one of the Easter dresses… almost halfway there… 2 dresses (almost) done. 2 to go!
thanks!!!
I love the dress and the headband!
I love everything about this dress. The fabric, the style!
So adorable, such a cute Easter dress.
Thank you for this :]
Thanks for the tutorial, I think i’ll have to have a go at making this one. Love the fabric.
Every time I see a post by you, I want to stop whatever I’m doing and start a new dress for Ansley. Lovely job!
Darling!
I love how you gathered the front and back and then sewn the seams together!!! That will make a pattern I have so much easier. I love this dress and am going to try and make one for my daughter. I’ve been failing at making my own pattern from her current clothing but I think I can do this!!!!
The dress is adorable but what I really want to know, is how do you get them to just stand quietly in front of a wall and pose? Do you pin them in place like the patterns? Mine little guy runs away when he sees the camera or teases me, smiles and just as I’m about to click the shutter turns away or runs!
What another beautiful dress! I don’t comment very often, but I have to say your blog is one of my favorites. I am constantly amazed by the number of dresses you create using your own patterns. You truly have a gift! I would love to see you make something for yourself. I also only sew mostly for my daughter, just haven’t ventured into sewing a dress for me. Maybe you can inspire me 🙂
thanks for the tut! the dress is beautiful on your daughter:)
Thank you fore the tutorial!
This dress is wonderful!!!!
Bye
Paola
Jess, I’ve been following your blog & I really enjoy it. What type of paper do you use to trace your patterns? It looks to thick for it to be freezer paper. You always make sewing “so easy”
Hi, Jess
I enjoy following your blog, but tday I just could not resist and just followed your instructions to make thid nice dress. I made it for my almost 3-yo daughter. I am not very good at sewing, but I liked how this one turned out. What do you think? http://lammersvei.blogspot.com/2012/04/nora-dress-for-greta.html
She is pretty darn adorable! Cute Easter dress!
I used this tutorial for yet another Easter dress- I swear I am not a crazy stalker here- I just have a lot of girls! 🙂 I made some hair clips, too. Linking back to you, of course!
http://pacountrycrafts.blogspot.com/2012/04/lydias-easter-dress.html
What is the size please?
Cute dress, I am sewing for my grand daughter, and she is 18 months old. I’d love to know the size for this tutorial.
Thanks so much…
New to sewing and just Love your tutorials will definitely be trying this one out. Thank you. Faiza
Had a great time sewing this dress! It was an easter dress for my 2 1/2 year old. I am a relatively new sewer and overall this was easy for me to do. The only problem I had was complete user error as my daughter is in between sizes and I realized I need to up her shirt size when drafting patterns as it started out snug… but after redoing the side seams with a narrower seam allowance and making some slightly bigger sleeves it turned out wonderful and she had a great time in it all day on Easter. She had no problem with easter egg hunts or play ground activities and we got lots of great compliments! Do you have somewhere for your followers to show off their work? I am always curious to see ho the dresses look when others make them up! Thanks again! Love your site!
thanks Marie! I am so glad to hear it! You can upload pics to my flickr group here:
https://www.flickr.com/groups/1218187@N25/
I absolutely love this dress! I plan to make this for my granddaughter. I think it will be beautiful!
yay!