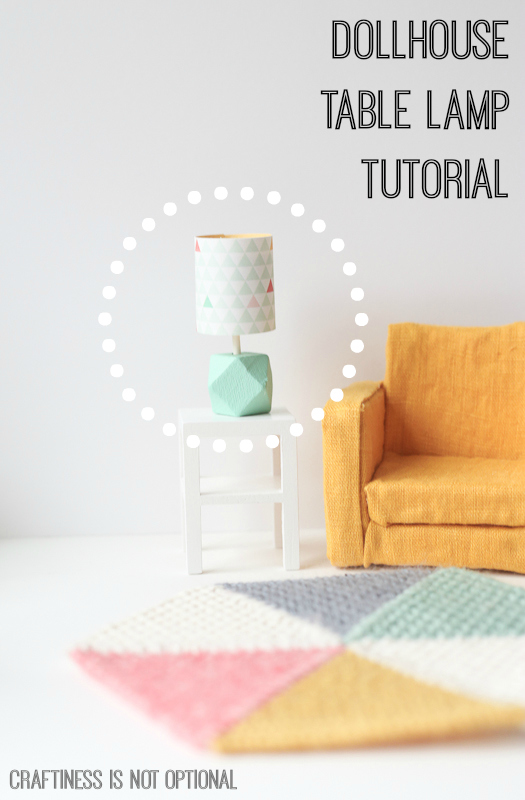
If you follow me on Instagram, you know I’ve been working on making tiny things for a dollhouse. (which we pick up this week! yay!) I’ve always loved miniatures and have wanted to make one for the girls for years, and since Sadie asked for one for her birthday this year (which is in August…er….) I said YES and it could be for both of their birthdays. (cause teensy furniture is pricey!) Anyways I have been trying to make things for it as much as I can because it saves $$ and it’s SO fun. I have lots of stuff to show you but first thing is this really quick table lamp tutorial!
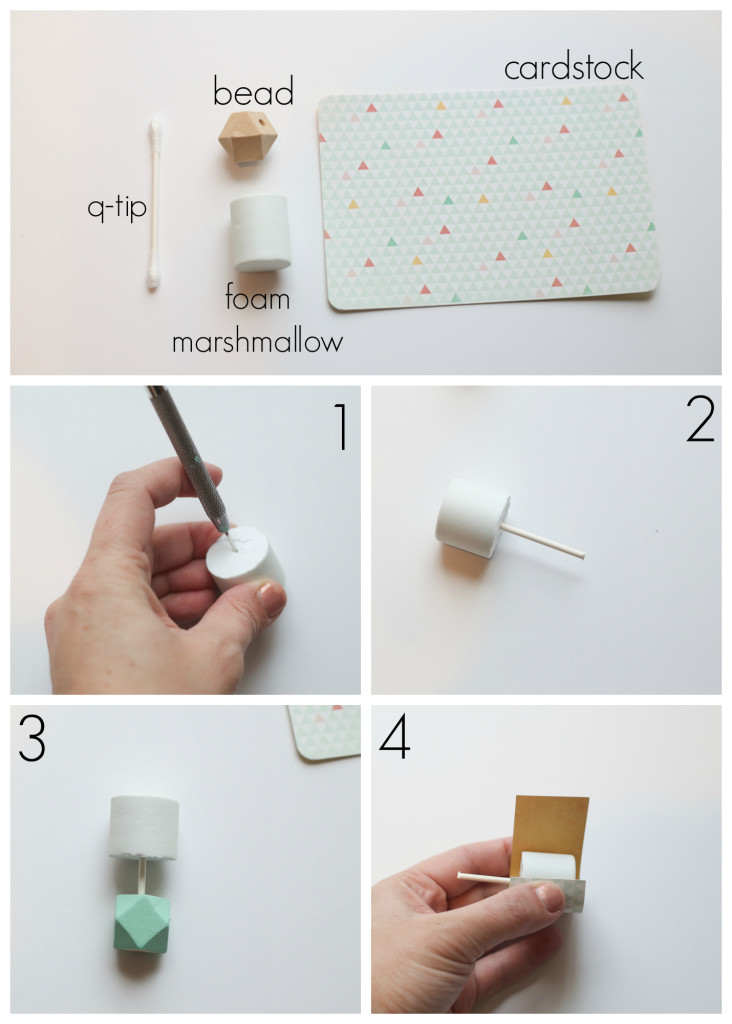
It’s made from a q-tip, wooden bead, foam marshmallow (found in the foam/craft section at Michaels), and some cardstock. And glue. And paint.
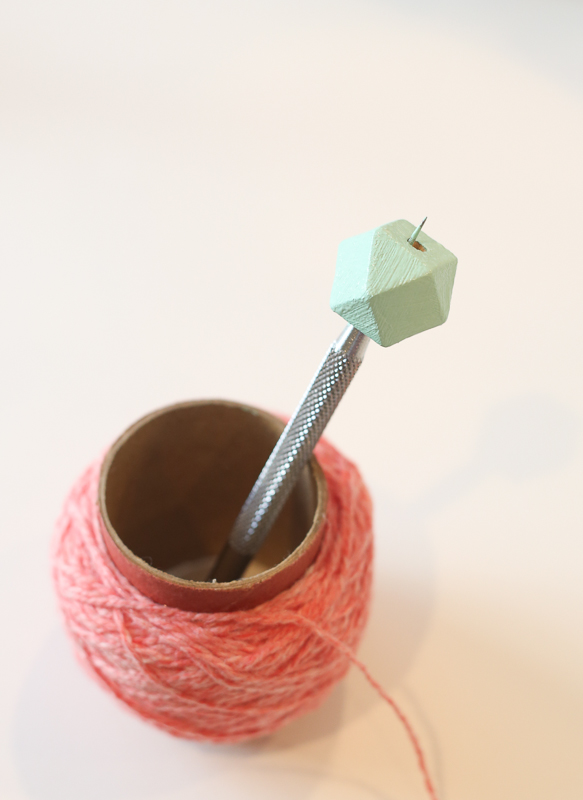
First paint your bead-I used this poky metal thing to paint and dry it on. A few coats should do it. (this color is just something I mixed up using some white, green, and teal.)
1. I cut a bit of length off the marshmallow with an exacto knife, but it’s up to you really. Poke a hole in the center of one end like so.
2. Trim off the tips of the q-tip and insert into the hole.
3. Slip inside the bead to check height. Trim if needed.
4. Cut scrapbook paper a little wider then the height and measure around for the width, then glue around the foam.
5. (not shown) Put some glue in the bead opening and then stick the q-tip in and let dry.
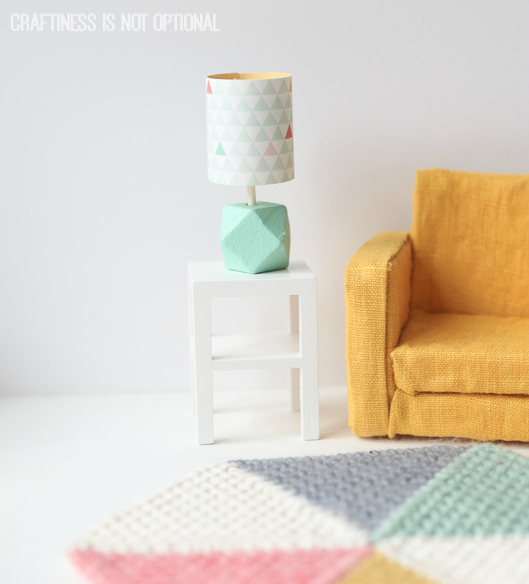
Tada! insta-dollhouse lamp!
p.s. the chair was made with this tutorial, just less width. The rug I made…don’t have a tute but maybe I can make a basic how to.


Basic how to – yes please! 🙂
Oh my goodness! So cute! My dearly missed Grandpa made my dollshouse for me, and my grandma sewed all the soft furnishings, and I know I will be able to pass it down to my children one day – so just think, you’re making an heirloom!
My grandparents made my sister and I a dollhouse for Christmas one year. My grandma made every. single. piece. of furniture for it. My niece has it now and when I look inside, as an adult, at all the things she did, I’m blown away. She must have spent the entire year working on it. Your kids will LOVE it – and someday will appreciate all the work that went into it. So, so cute.
So cute. I agree that furniture is so pricey thanks for the inspiration.
Everything you’ve been doing has been so crazy cute. Love it!
Did that awesome faceted bead come from Michael’s, too?
from etsy 🙂
Fantastic! Great idea.
That is cute! And the rug! Love it. =)
This is so adorable, Jess! It’s been killing me on Insta! Can’t wait to see more. Such a happy thing…can’t make you smile though your heart has been heavy.
The lamp is beautiful as is the rug and chair, Your girls are going to love it. Fantastic idea,
I requested a wooden dollhouse kit when I was 10 and proceeded to build it myself, and for some reason never asked for any help. Some of the walls and floors are a bit wonky, but overall it is pretty good. I never quite finished it because I liked the freedom of having walls and stairs, or not, and it was so much easier to play with the attic space when there was no roof! This tutorial makes me want to start working on it again, too bad it is at my mom’s, a two day drive away!
Oh my word! So cute! I can’t wait until my girl is old enough for a doll house. My husband is a woodworker and is already talking about building one. She’s just 8 months old. 🙂
I was hoping you would post how tos on your cute dollhouse!
So. Stinking. Cute!
This is one time I really wish I had girls. Making girl clothes doesn’t bother me (I have three boys so I sell what I make), but this. kills. me. My boys WOULD NOT appreciate this at all! It is so super cute, though! I’ll have to remember this if I ever have grand daughters (in 30 years!)!
You are very clever. That is so cute.
Could I know where I could find this paper design used for lamp?
This paper was in a pack at Target, but 2 years ago so I’m not sure if it’s available anymore.
Love the lamp. Trying to figure out what I could use instead of the marshmallow foam piece. Never saw those before
Amazing! So easy 🙂