


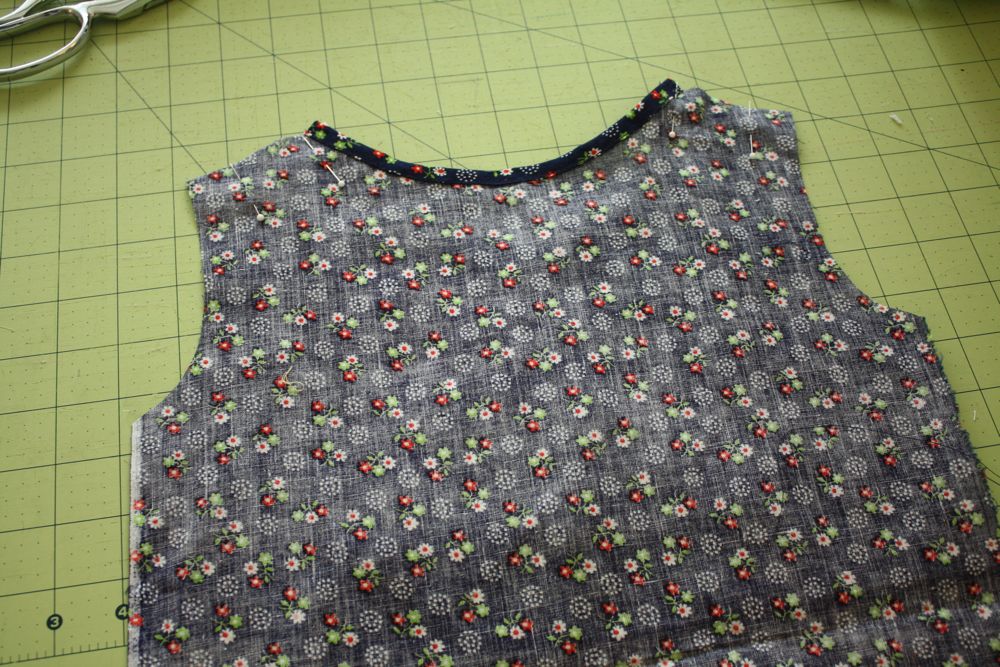
First take some bias tape that you hopefully made yesterday, and pin it around the raw edge of the back neckline.

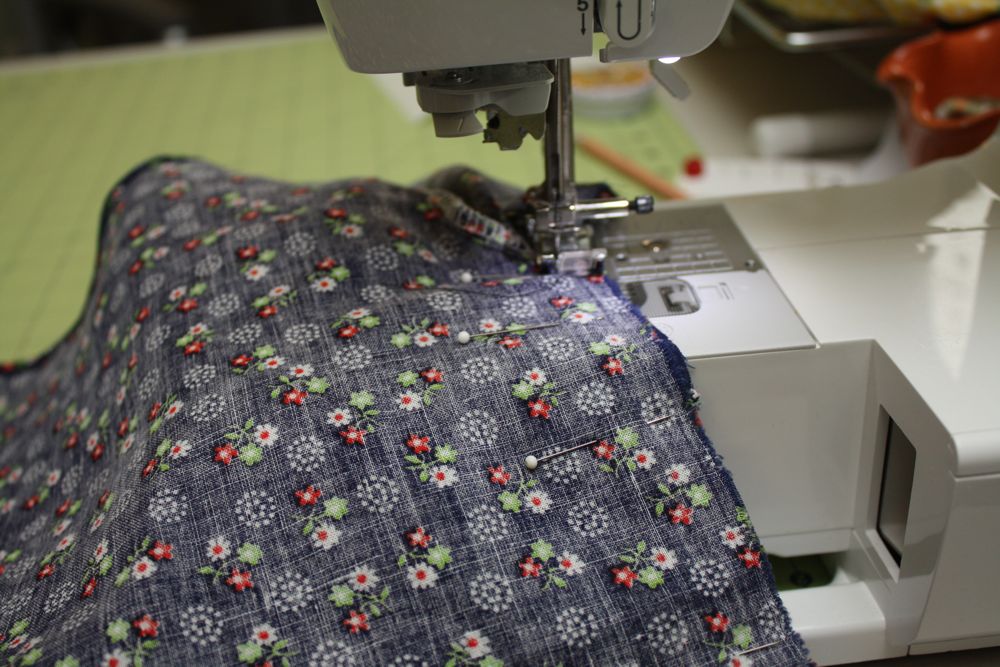
Top stitch along the edge carefully, catching both sides in the stitch.
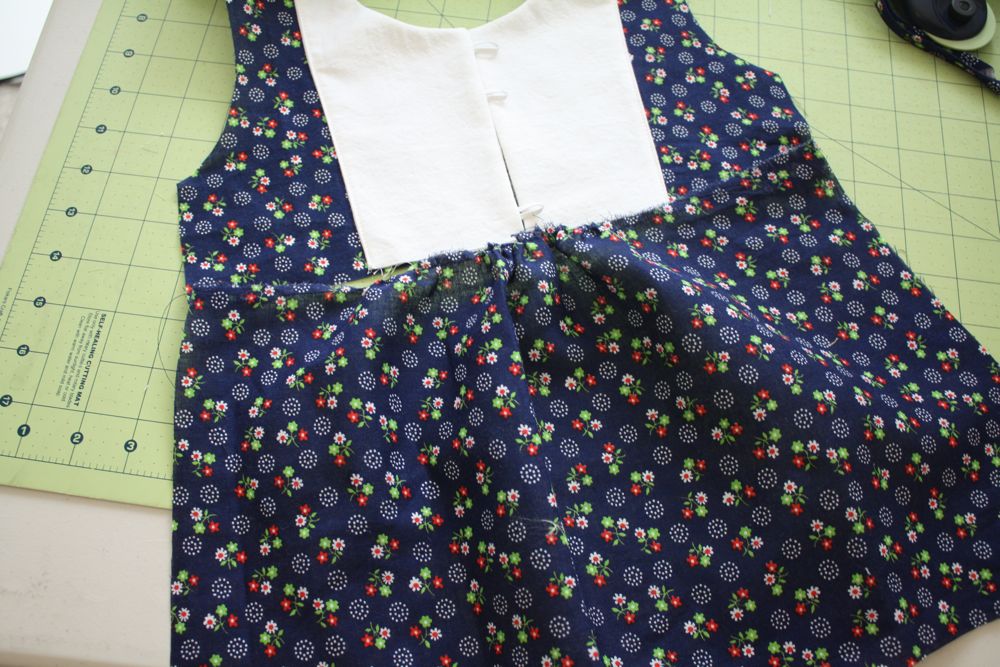
Then pin the front bodice shoulders and back shoulder seams RST and sew them together. Finish seam with serger, zig zag stitch, or pinking shears, whatever your choice of weapon may be.
Then baste together the two bodice pieces at the bottom.

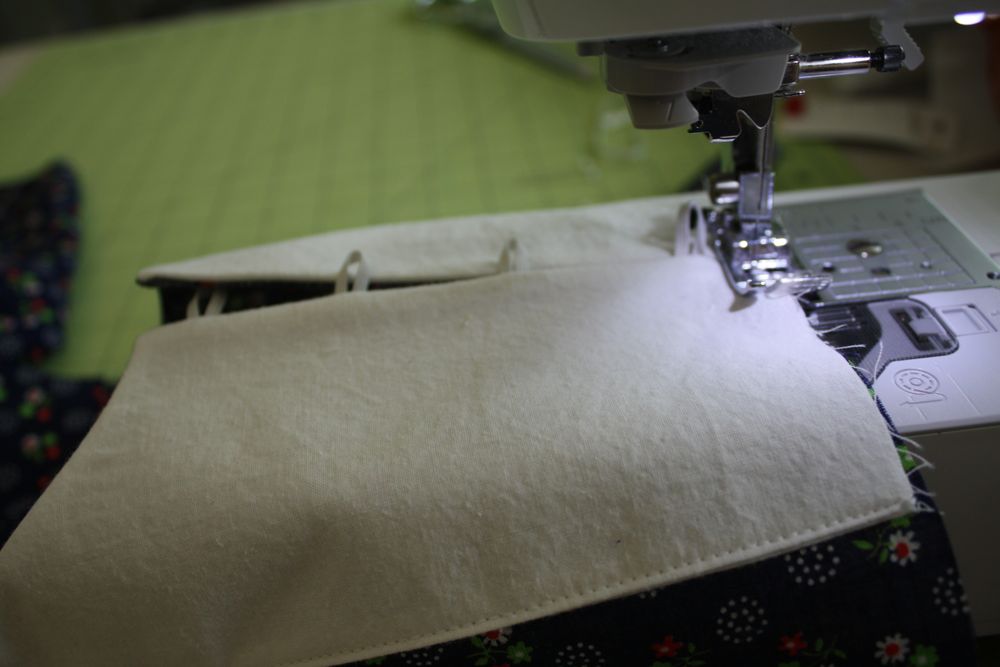
Then take your sleeve pieces and the bias tape you made for them. (cut the bias tape to the measurement around your child’s arm where the sleeve will hit+seam allowance.)

Gather the bottom of the sleeve to fit the bias tape and pin the tape around the raw edge. Stitch that together.
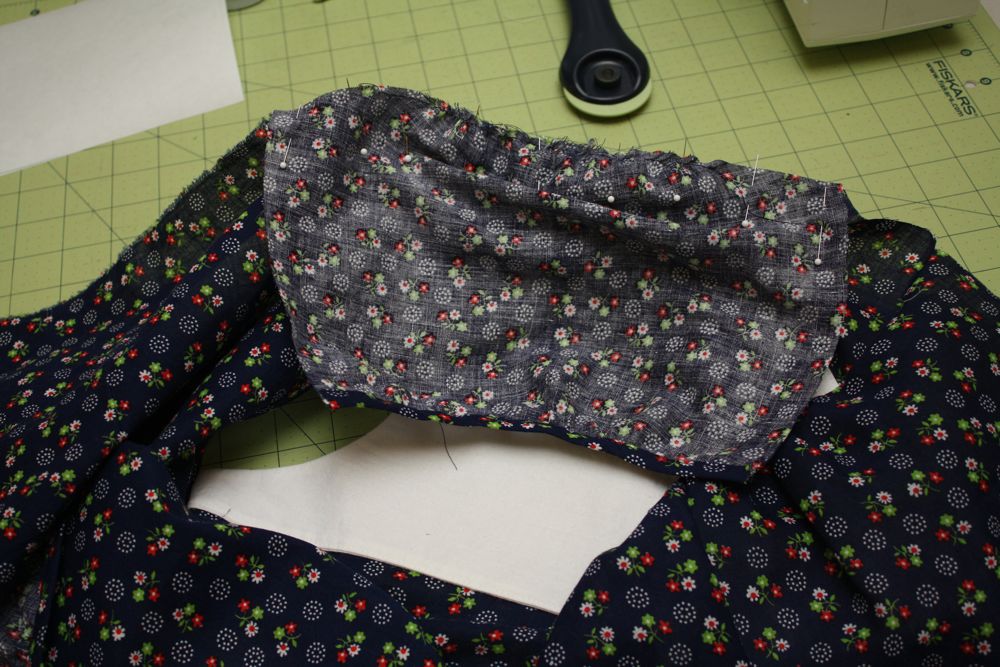
Then gather the top of the sleeve if needed and fit it RST into the armhole. Sew and finish those seams as well.
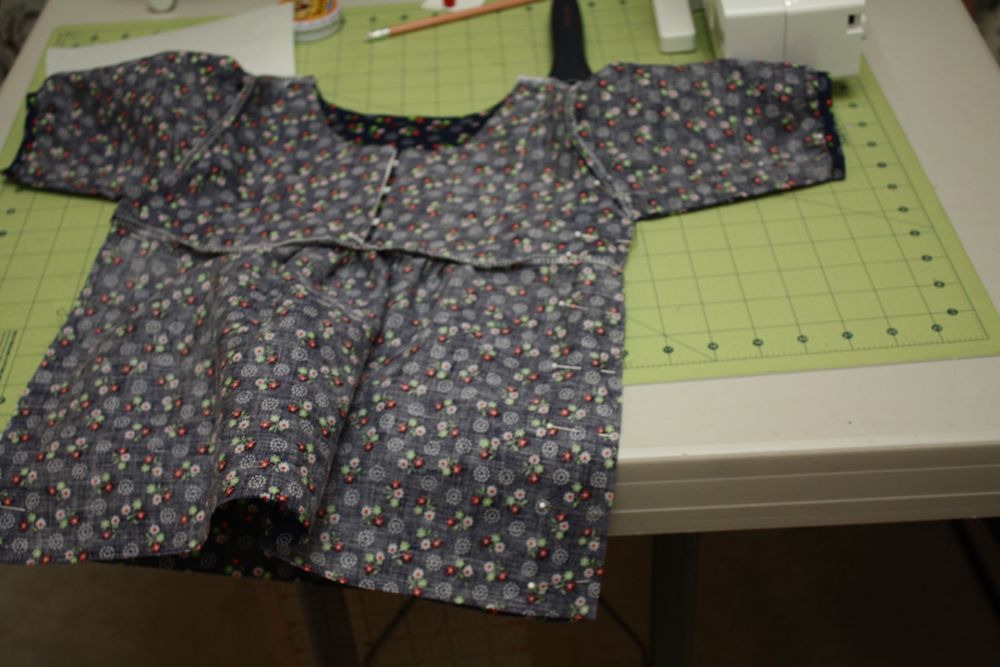
Then pin the sides and sleeves RST. Then sew and finish those seams.
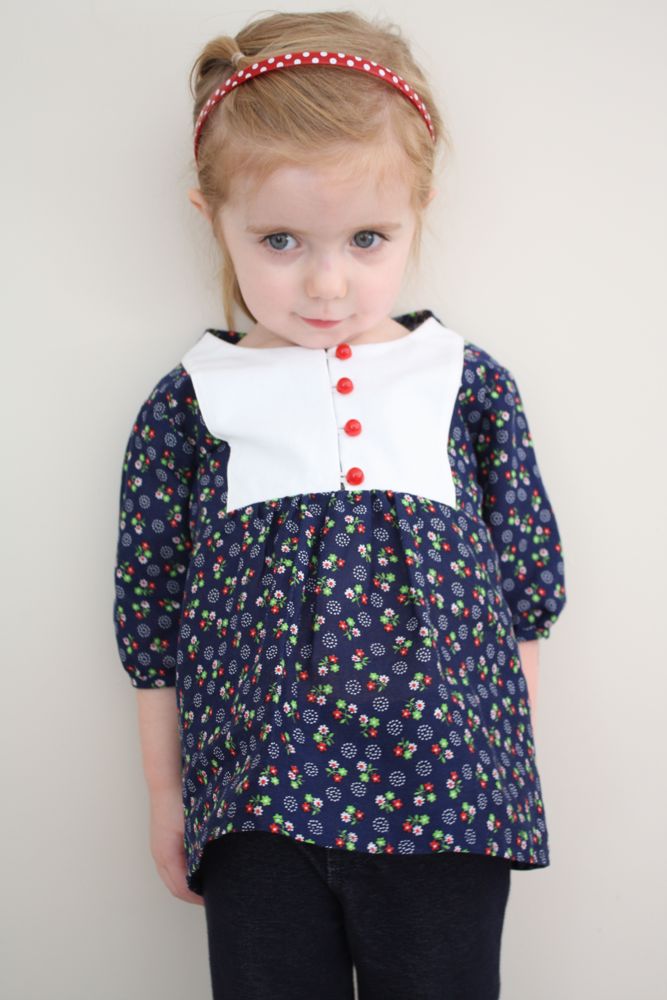
Hem the bottom by pressing the bottom up 1/4″, and then another 1/4-1/2″, then stitch that down. Sew on your buttons, and you’re finished!
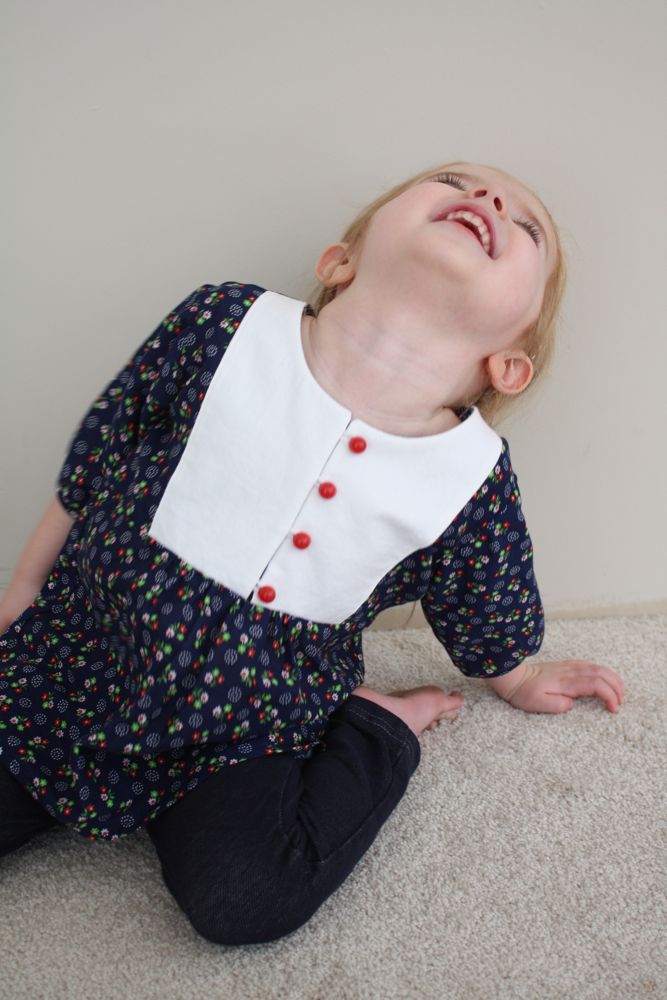
Then throw your head back and laugh manically at your sewing prowess.
Please do upload pics of your finished tops to the Flickr Group, and I’ll put together a round up in a few weeks. I can’t wait to see them! Let me know if you have any questions, of course.
Happy Sewing!
I finished with 1/2 an hour before I have to get ready for work! Yeah me!
I even got some quicky photos taken and placed them in the Flickr group. I must say that the finished top looks so much better in person though.
I made mine out of some fun Halloween and orange glitter material. What little girl doesn’t like a little bling! I plan on making two more of these for my nieces.
Just a wonderfully fun tutorial Jess! Loved every minute of the sew-a-long, it was my first.
Just finished and I love it! Hopefully I will have time to blog about it and upload pictures to Flickr tonight. Thanks again for the tutorial! Love that picture at the end. So cute!
Yippee! I finished! It’s made from a 50 cent peiece of material found at a thrift store and I’m so pumped cause I’ve never a garment! Turned out cute but I will say that my 9 year old looks big on paper cause I thought it was going to be more like a dress and it just fits as a shirt! Oops!
Done! I can’t believe I already made it to the end! I’ll be uploading some pics to the Flickr group, but that will be Friday at least… I need the warrior’s rest now.
I blogged the process for days 1 and 2, and will be posting the finale by tomorrow morning. Thank you SO MUCH Jess, for the fun and for the new skills I found out I had somewhere down below. My first Sew along (with you) has been totally awesome, thanks again!
I forgot to say that mine was made from white&navy striped knit with orange little skulls and hearts… it is soooo my 2 year old daughter that she won’t believe it tomorrow when she first wears it!
I did it – I actually did it! Your tutorial was so clear that I was actually able to sew this shirt! This is my first sew along – now I’m hooked. Thank you so much – I had so much fun and feel so accomplished. 🙂