


The KonMari method has been sweeping social media and the world at large, and swept me along with it! I am a regular purger of things-I like to call it “editing” my house-so I’m used to the process, but after watching the Netflix show it gave me a renewed energy to pare down and streamline so we can live our best lives! Or, at least make getting breakfast ready for four hungry kids easier. I decided it was definitely time to get our pantry in order. We have a TINY pantry, like itty bitty small. I went on a deep dive of research on Pinterest for small pantry ideas, and found some good stuff!
Although people seem to think their pantries are “so small” though, while I’m like…hold my Dr Pepper, I’ll show you small.
Space aside, I was able to really maximize the space and clear out lots of clutter!
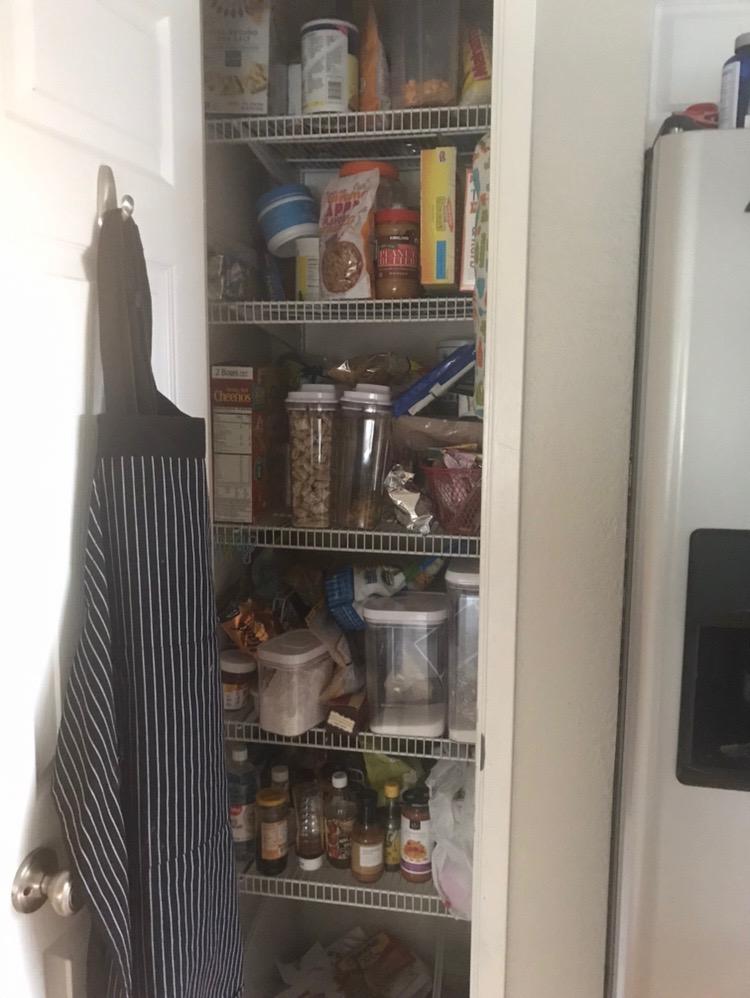
Here is the (shameful) before. I had spots kinda set up for different types of pantry items, but the shelves are kinda awkwardly deep so I would lose sight of things behind the front layer of food and forget about them. I made half-hearted attempts to organize with a few OXO containers and baskets but they really were not working well. I also disliked the wire shelves (bits of pasta and flour were always raining down on the lower shelves) but we didn’t want to update them right now. Ok, back to the pretty pantry! (some affiliate links are included in this post, thanks!)
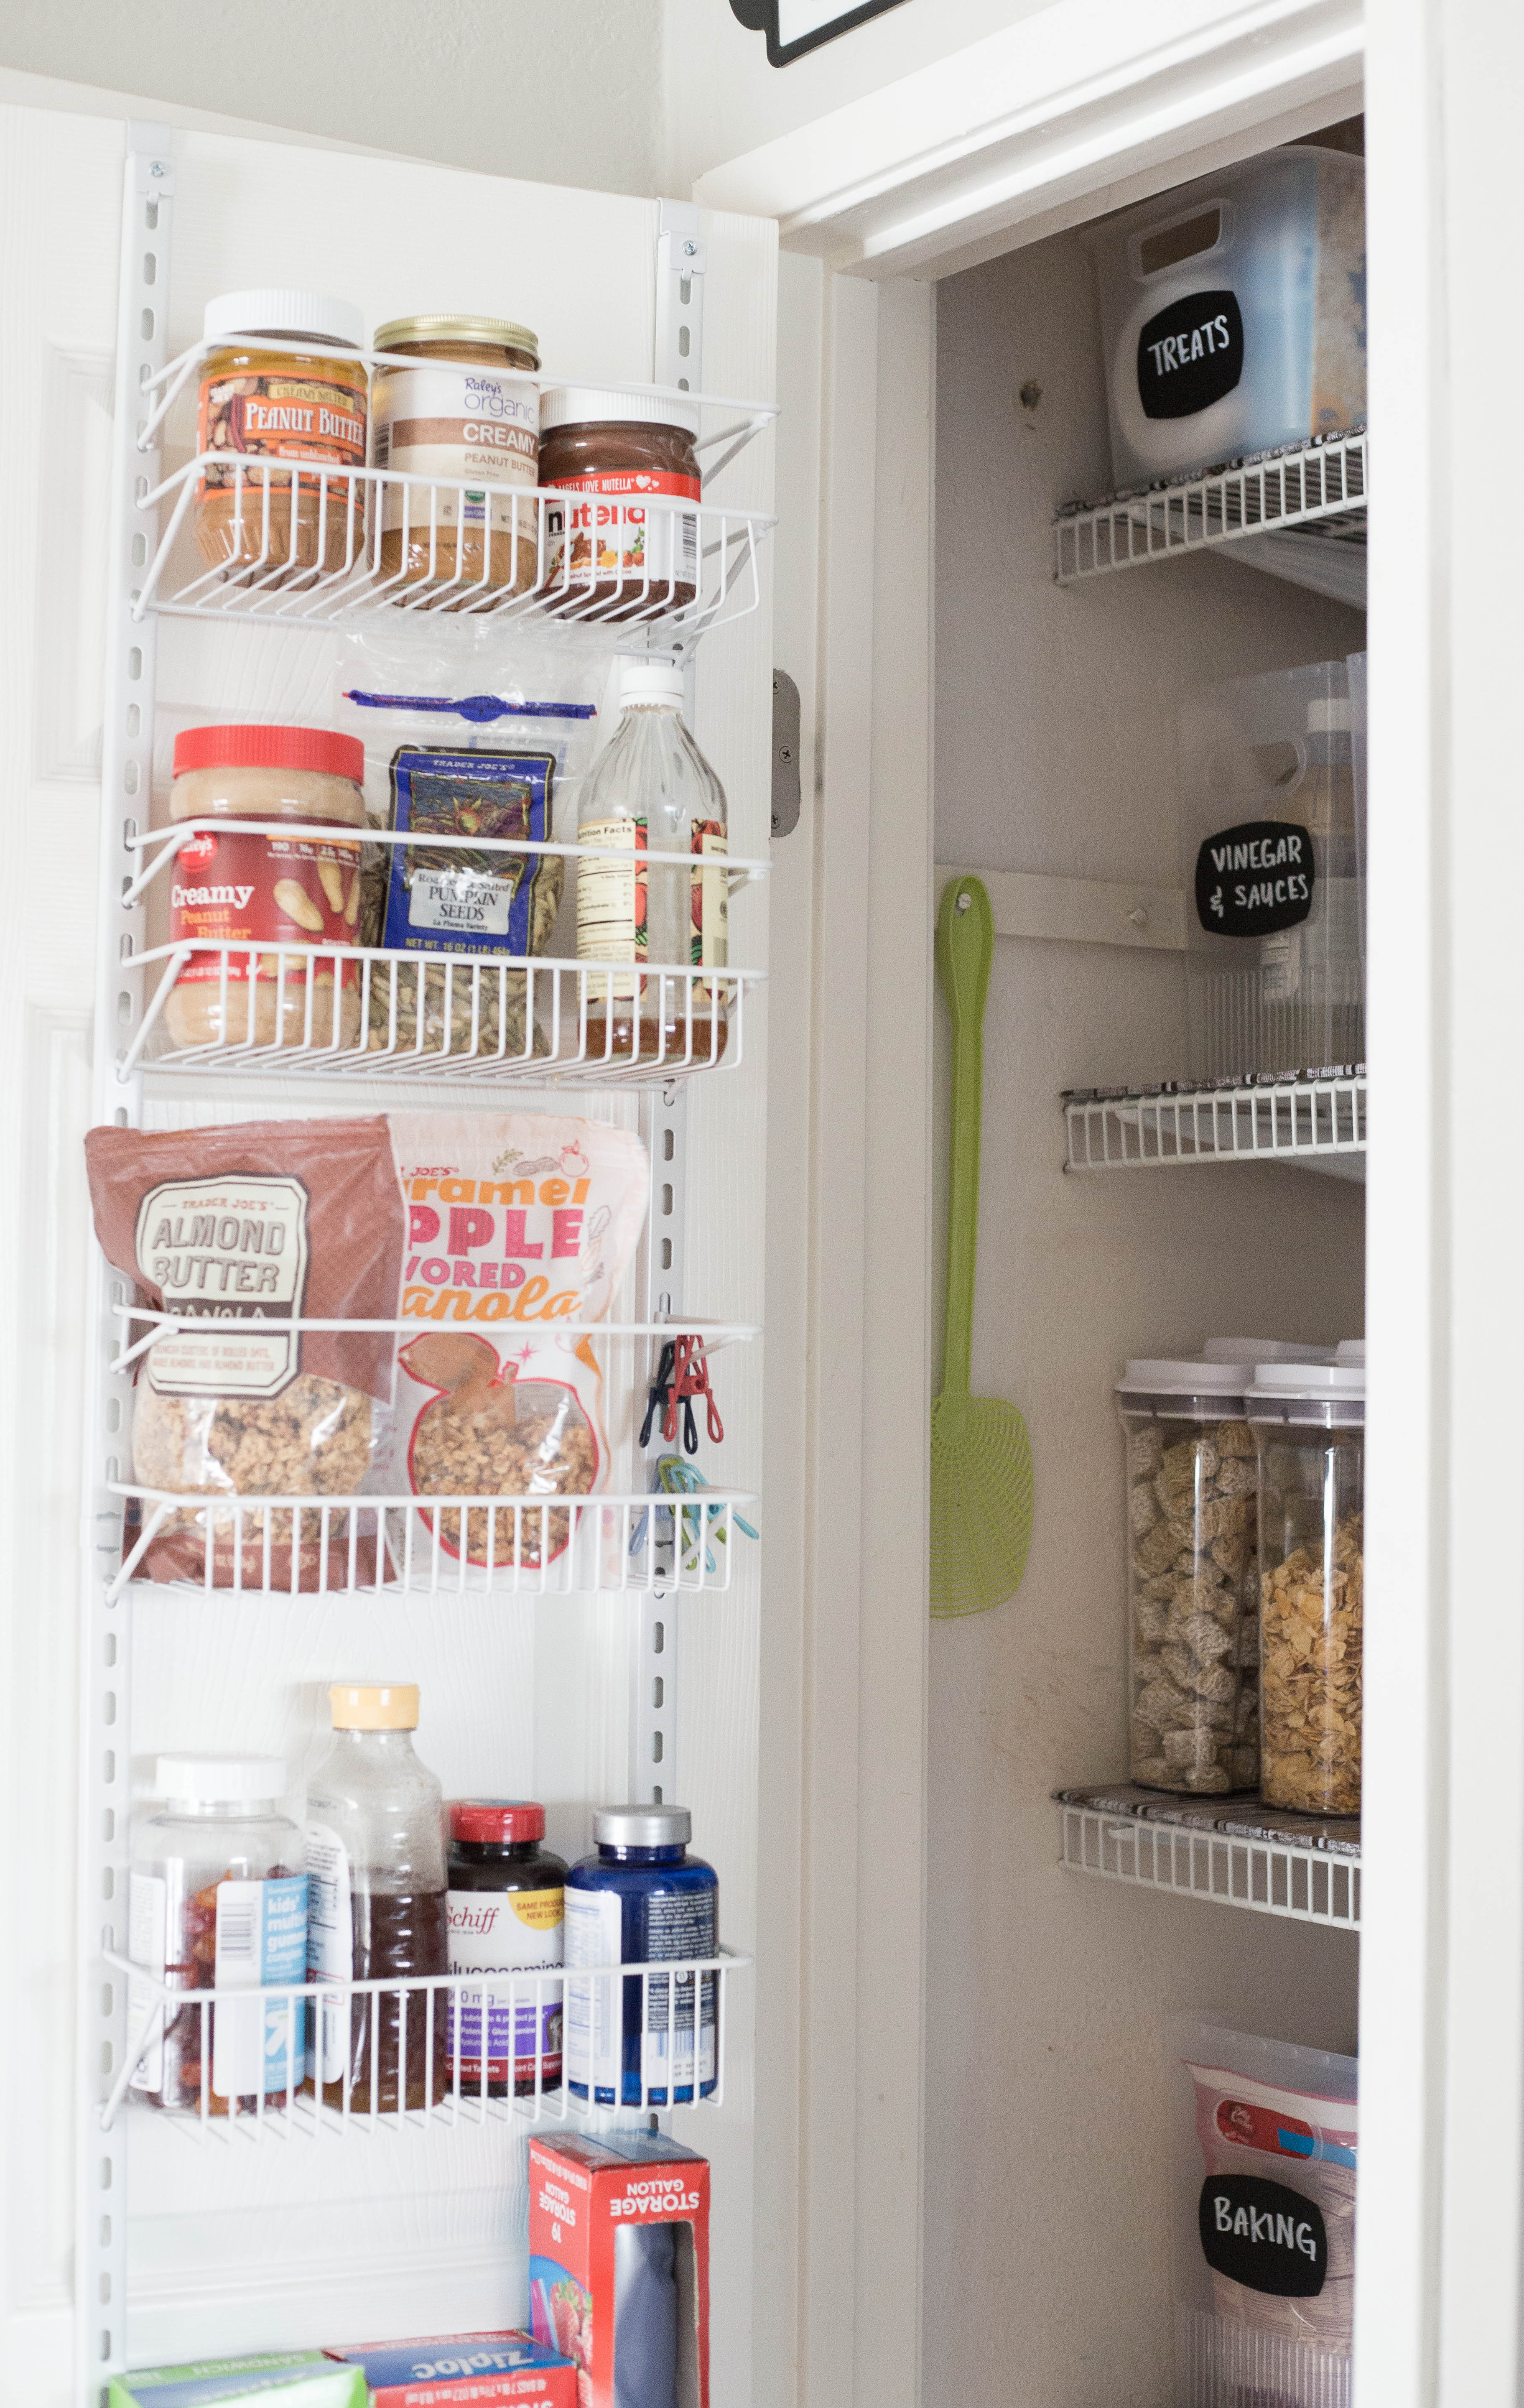
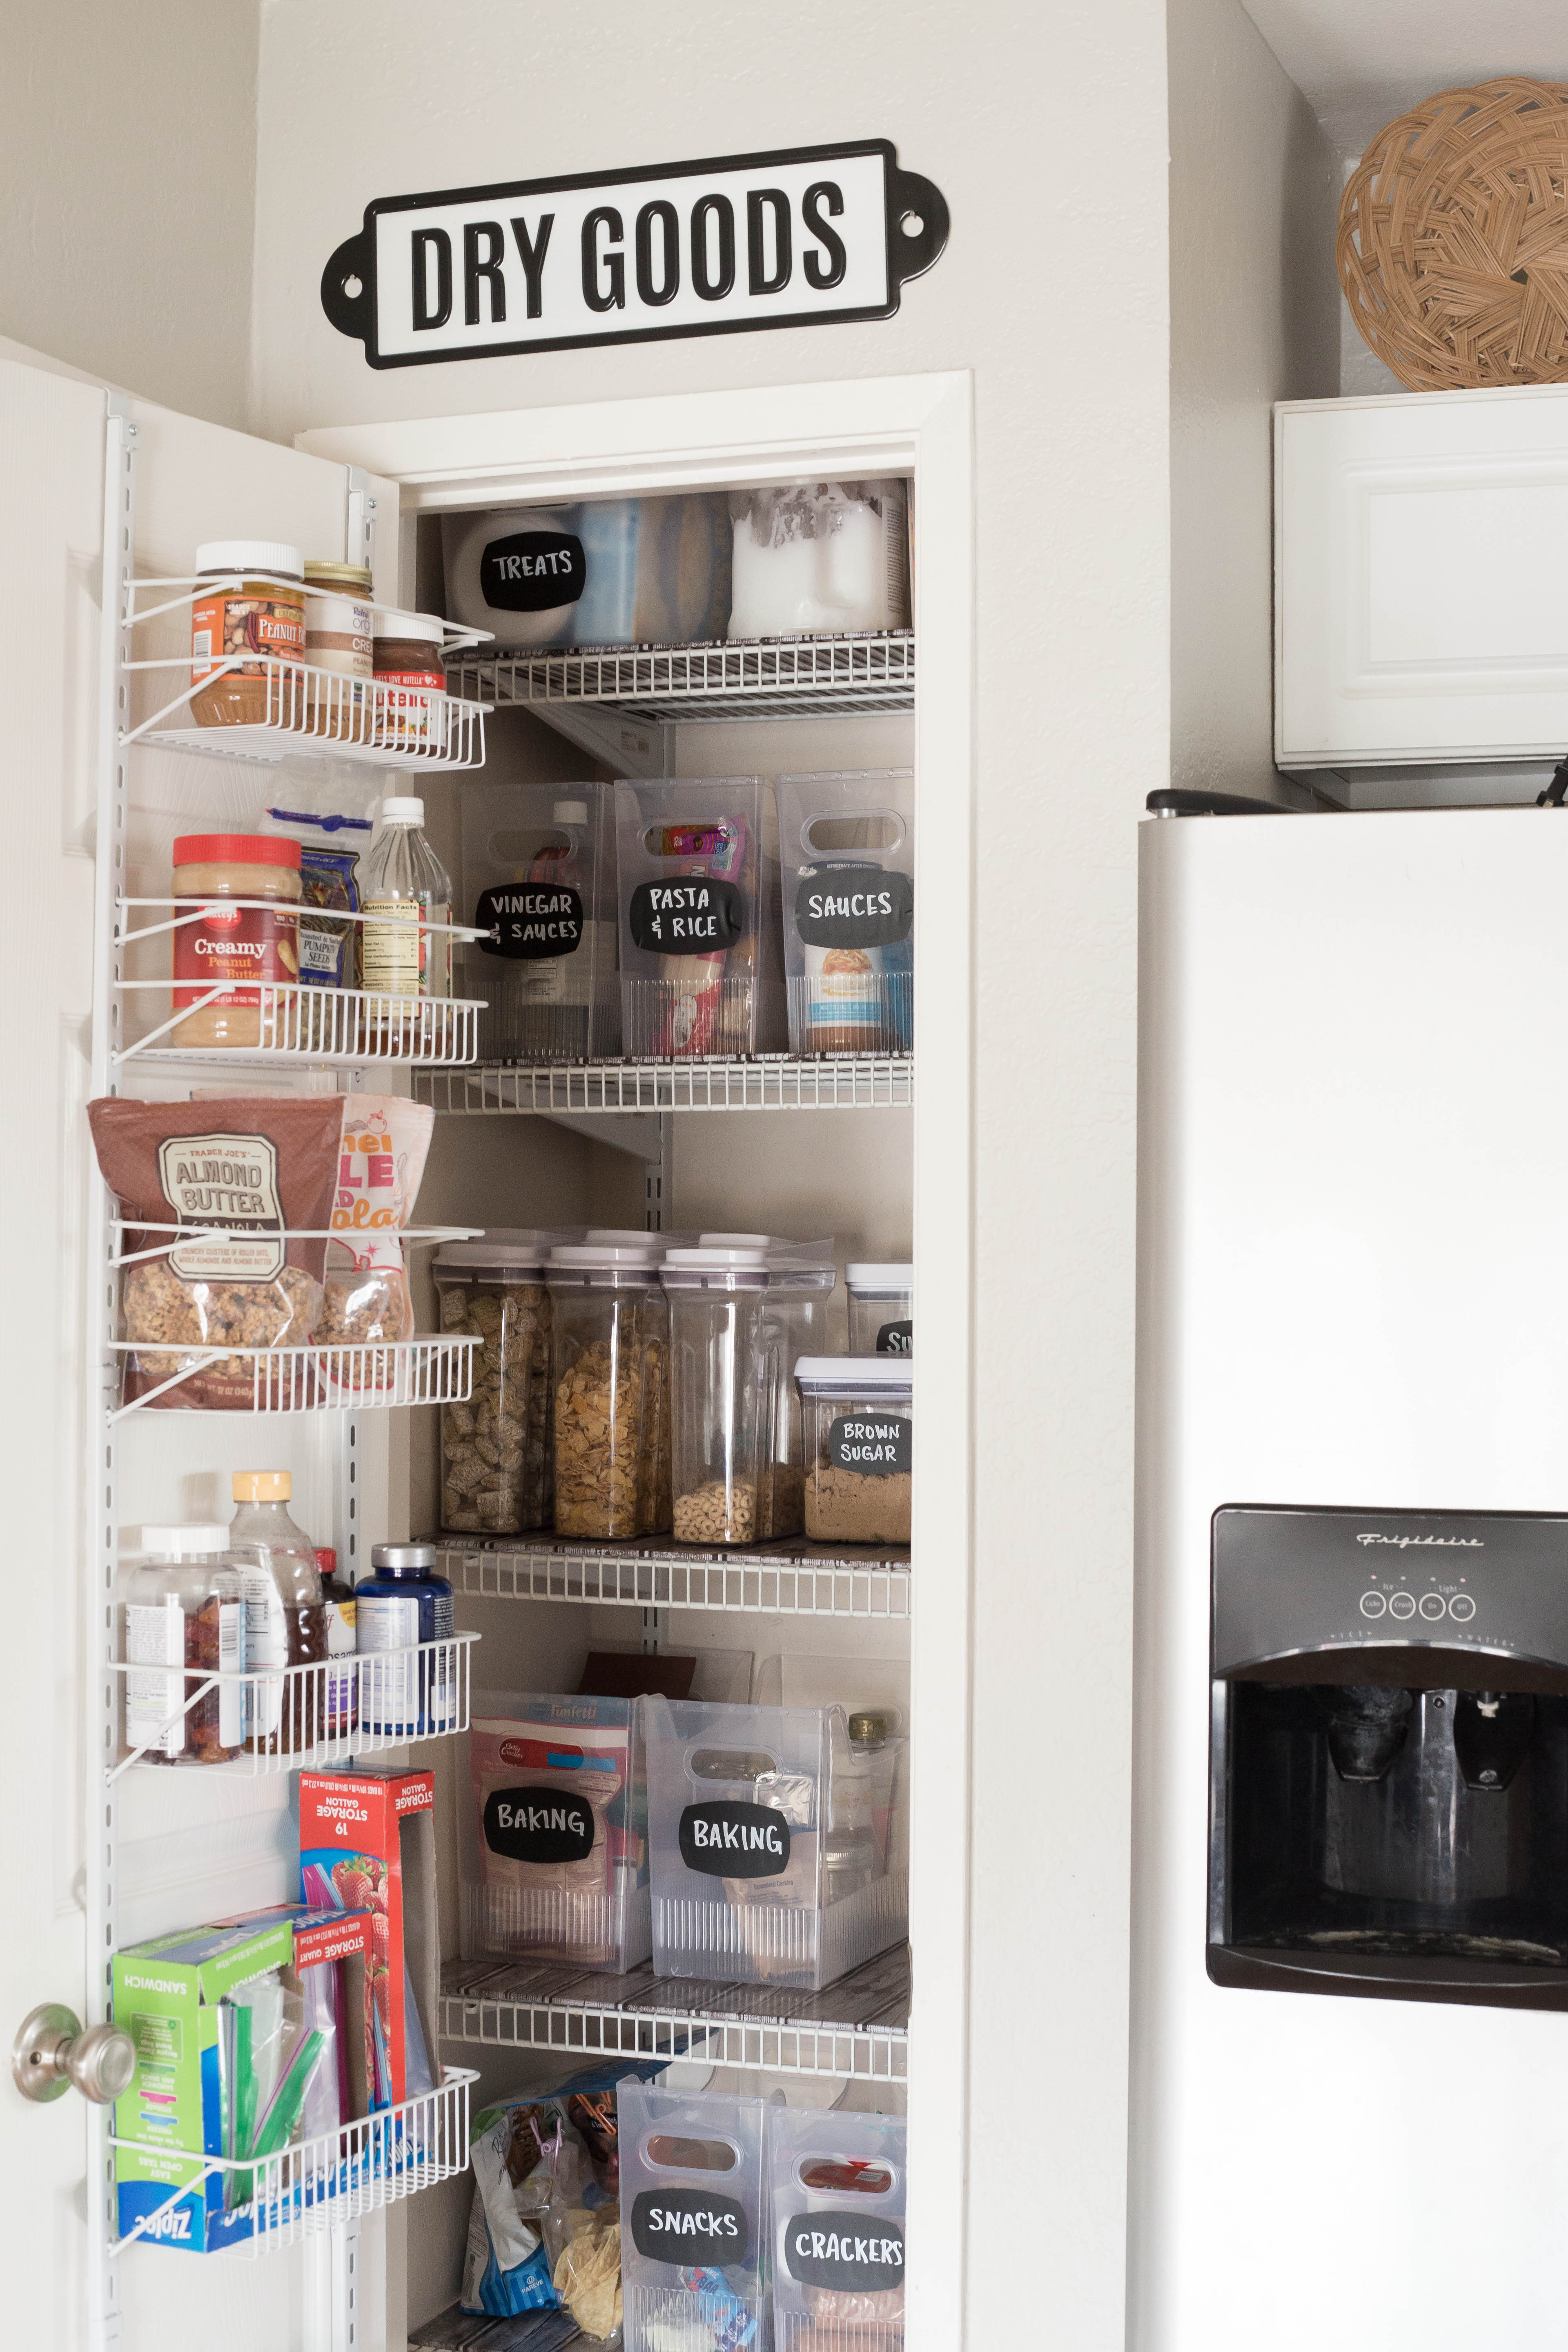
I decided to maximize the open space we had in front of the shelves by adding a wire door organizer-the 12″ size since our door is tiny. So far, I love it! It gave me a ton of storage and a great spot to store our plastic bags. Also I’m not sure why we have 3 different kinds of peanut butter. lol
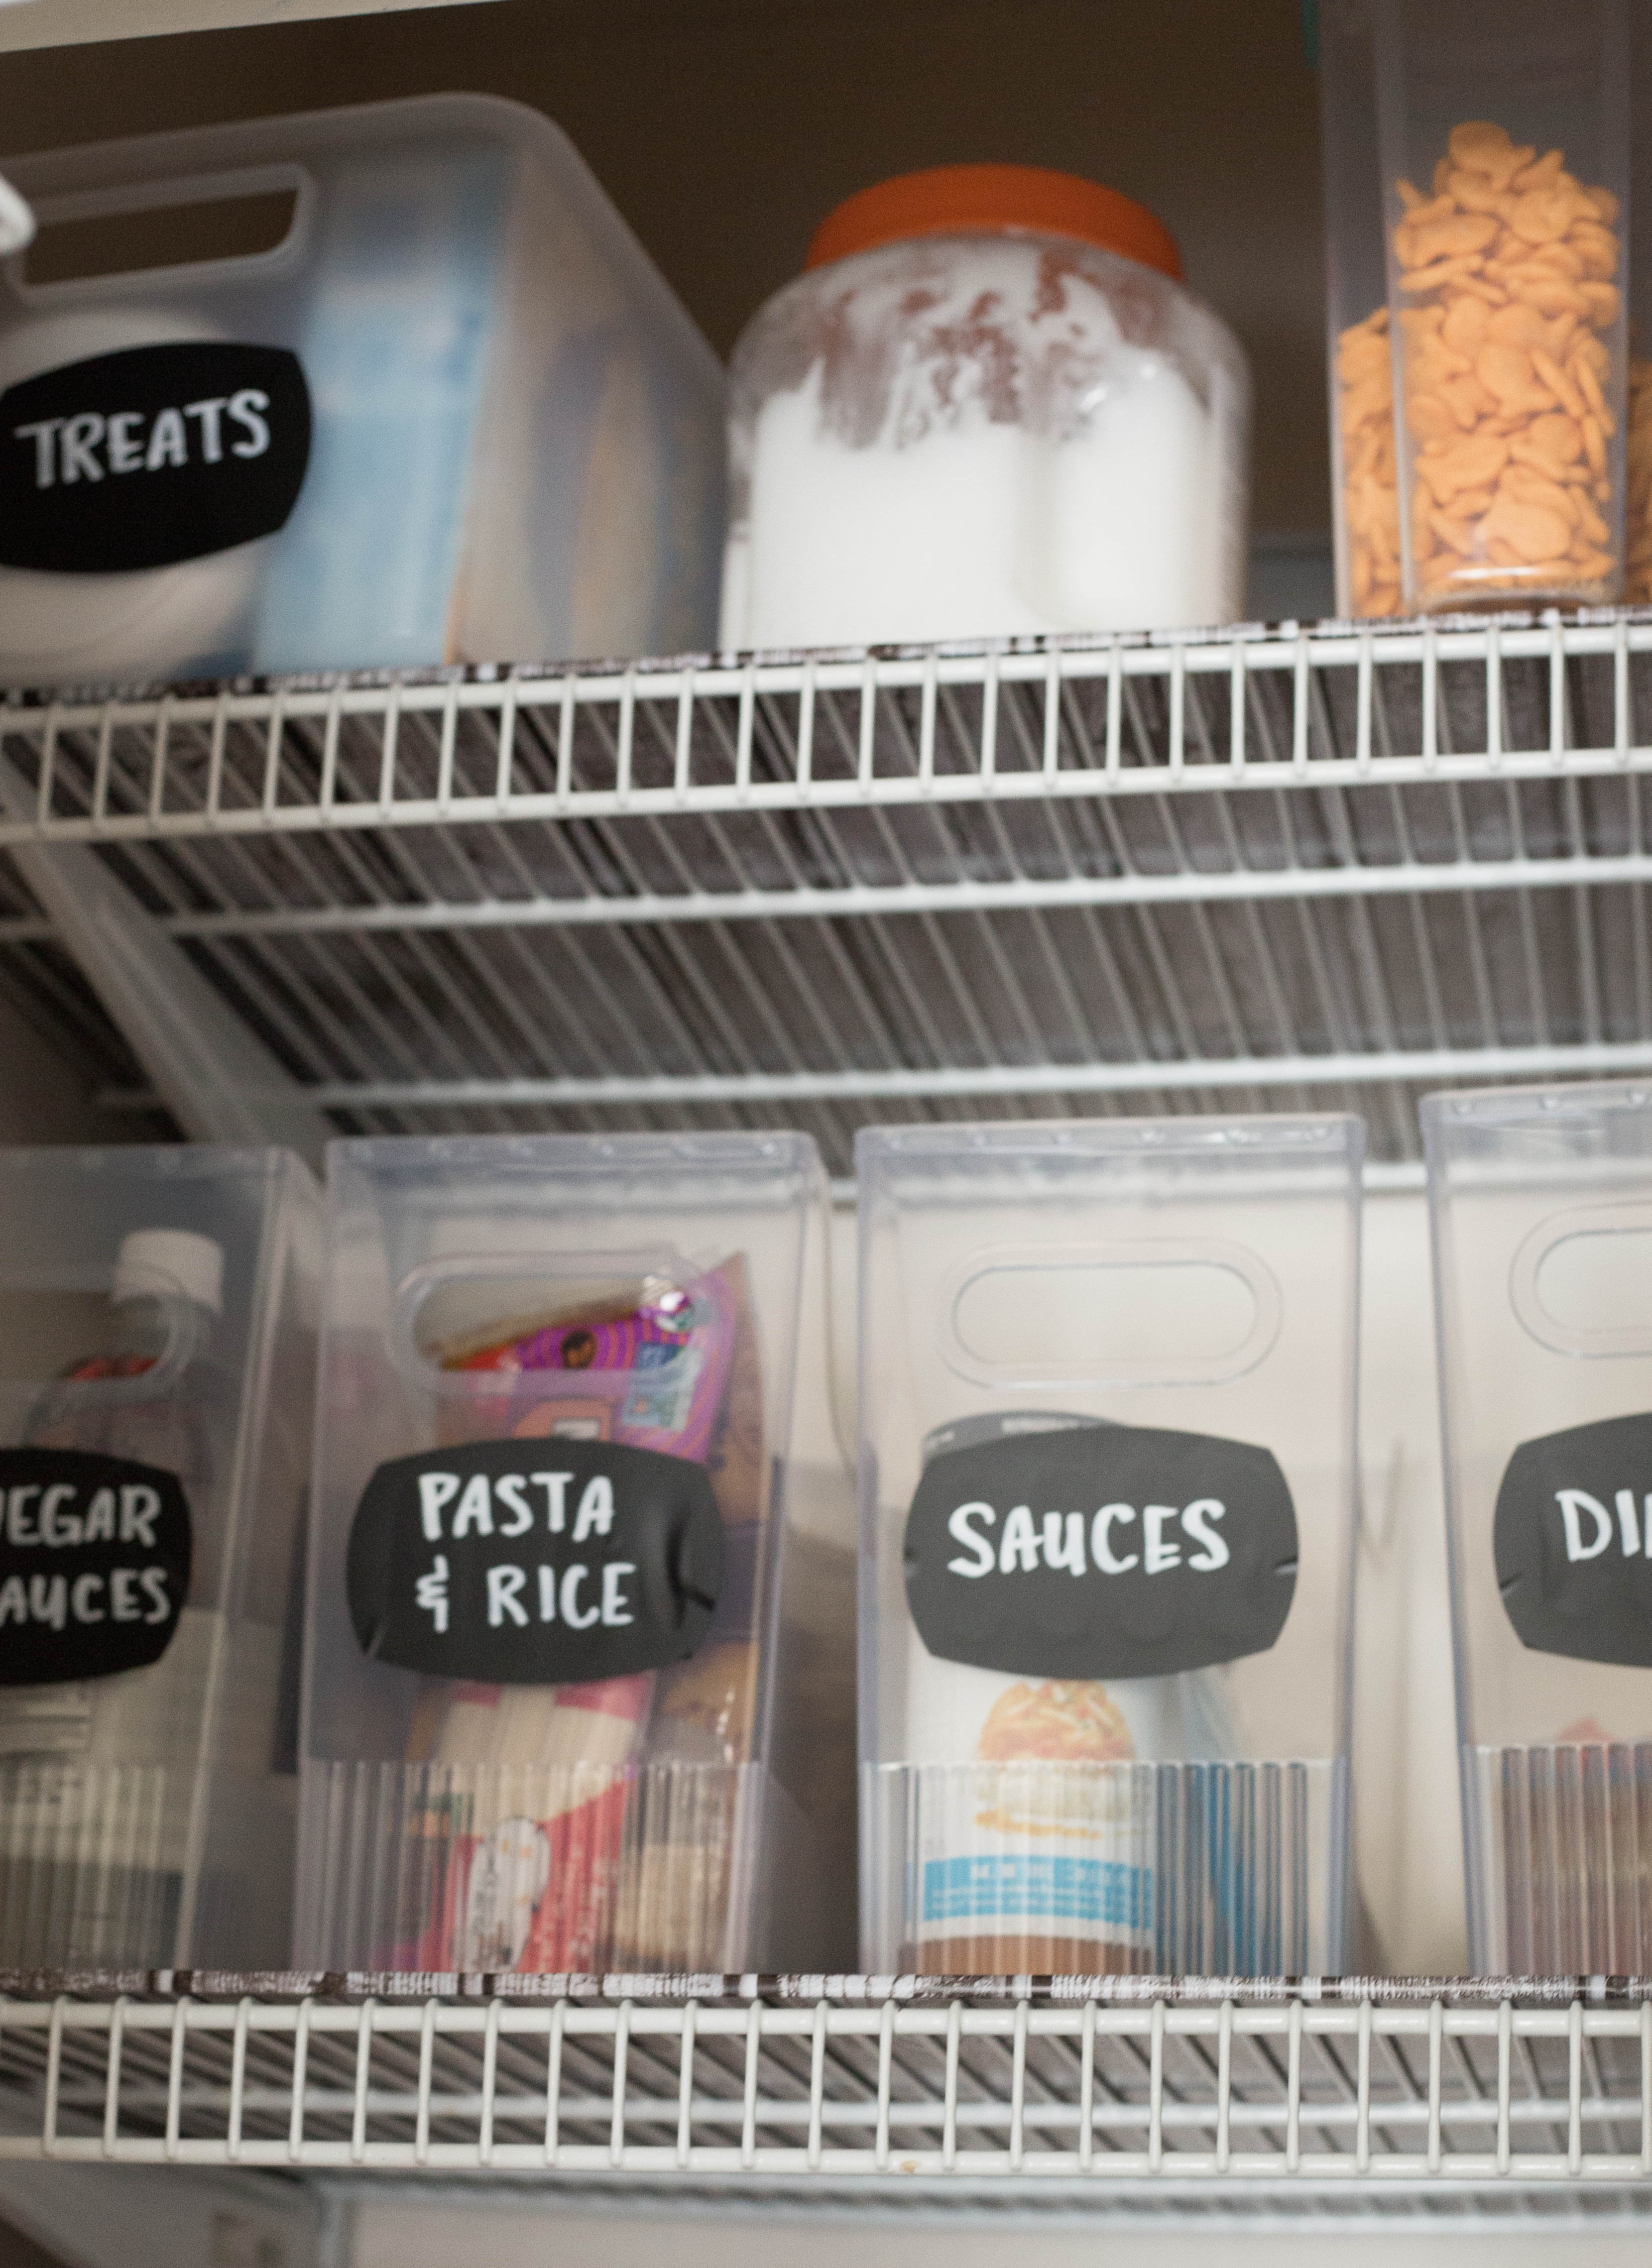
I researched a lot of storage boxes, and settled on these bins from the Container Store-the sizes (and price!) were perfect for what I needed. I was able to get deep yet tall storage, perfect for grouping like things together-and also super convenient to pull out easily and get what you need!
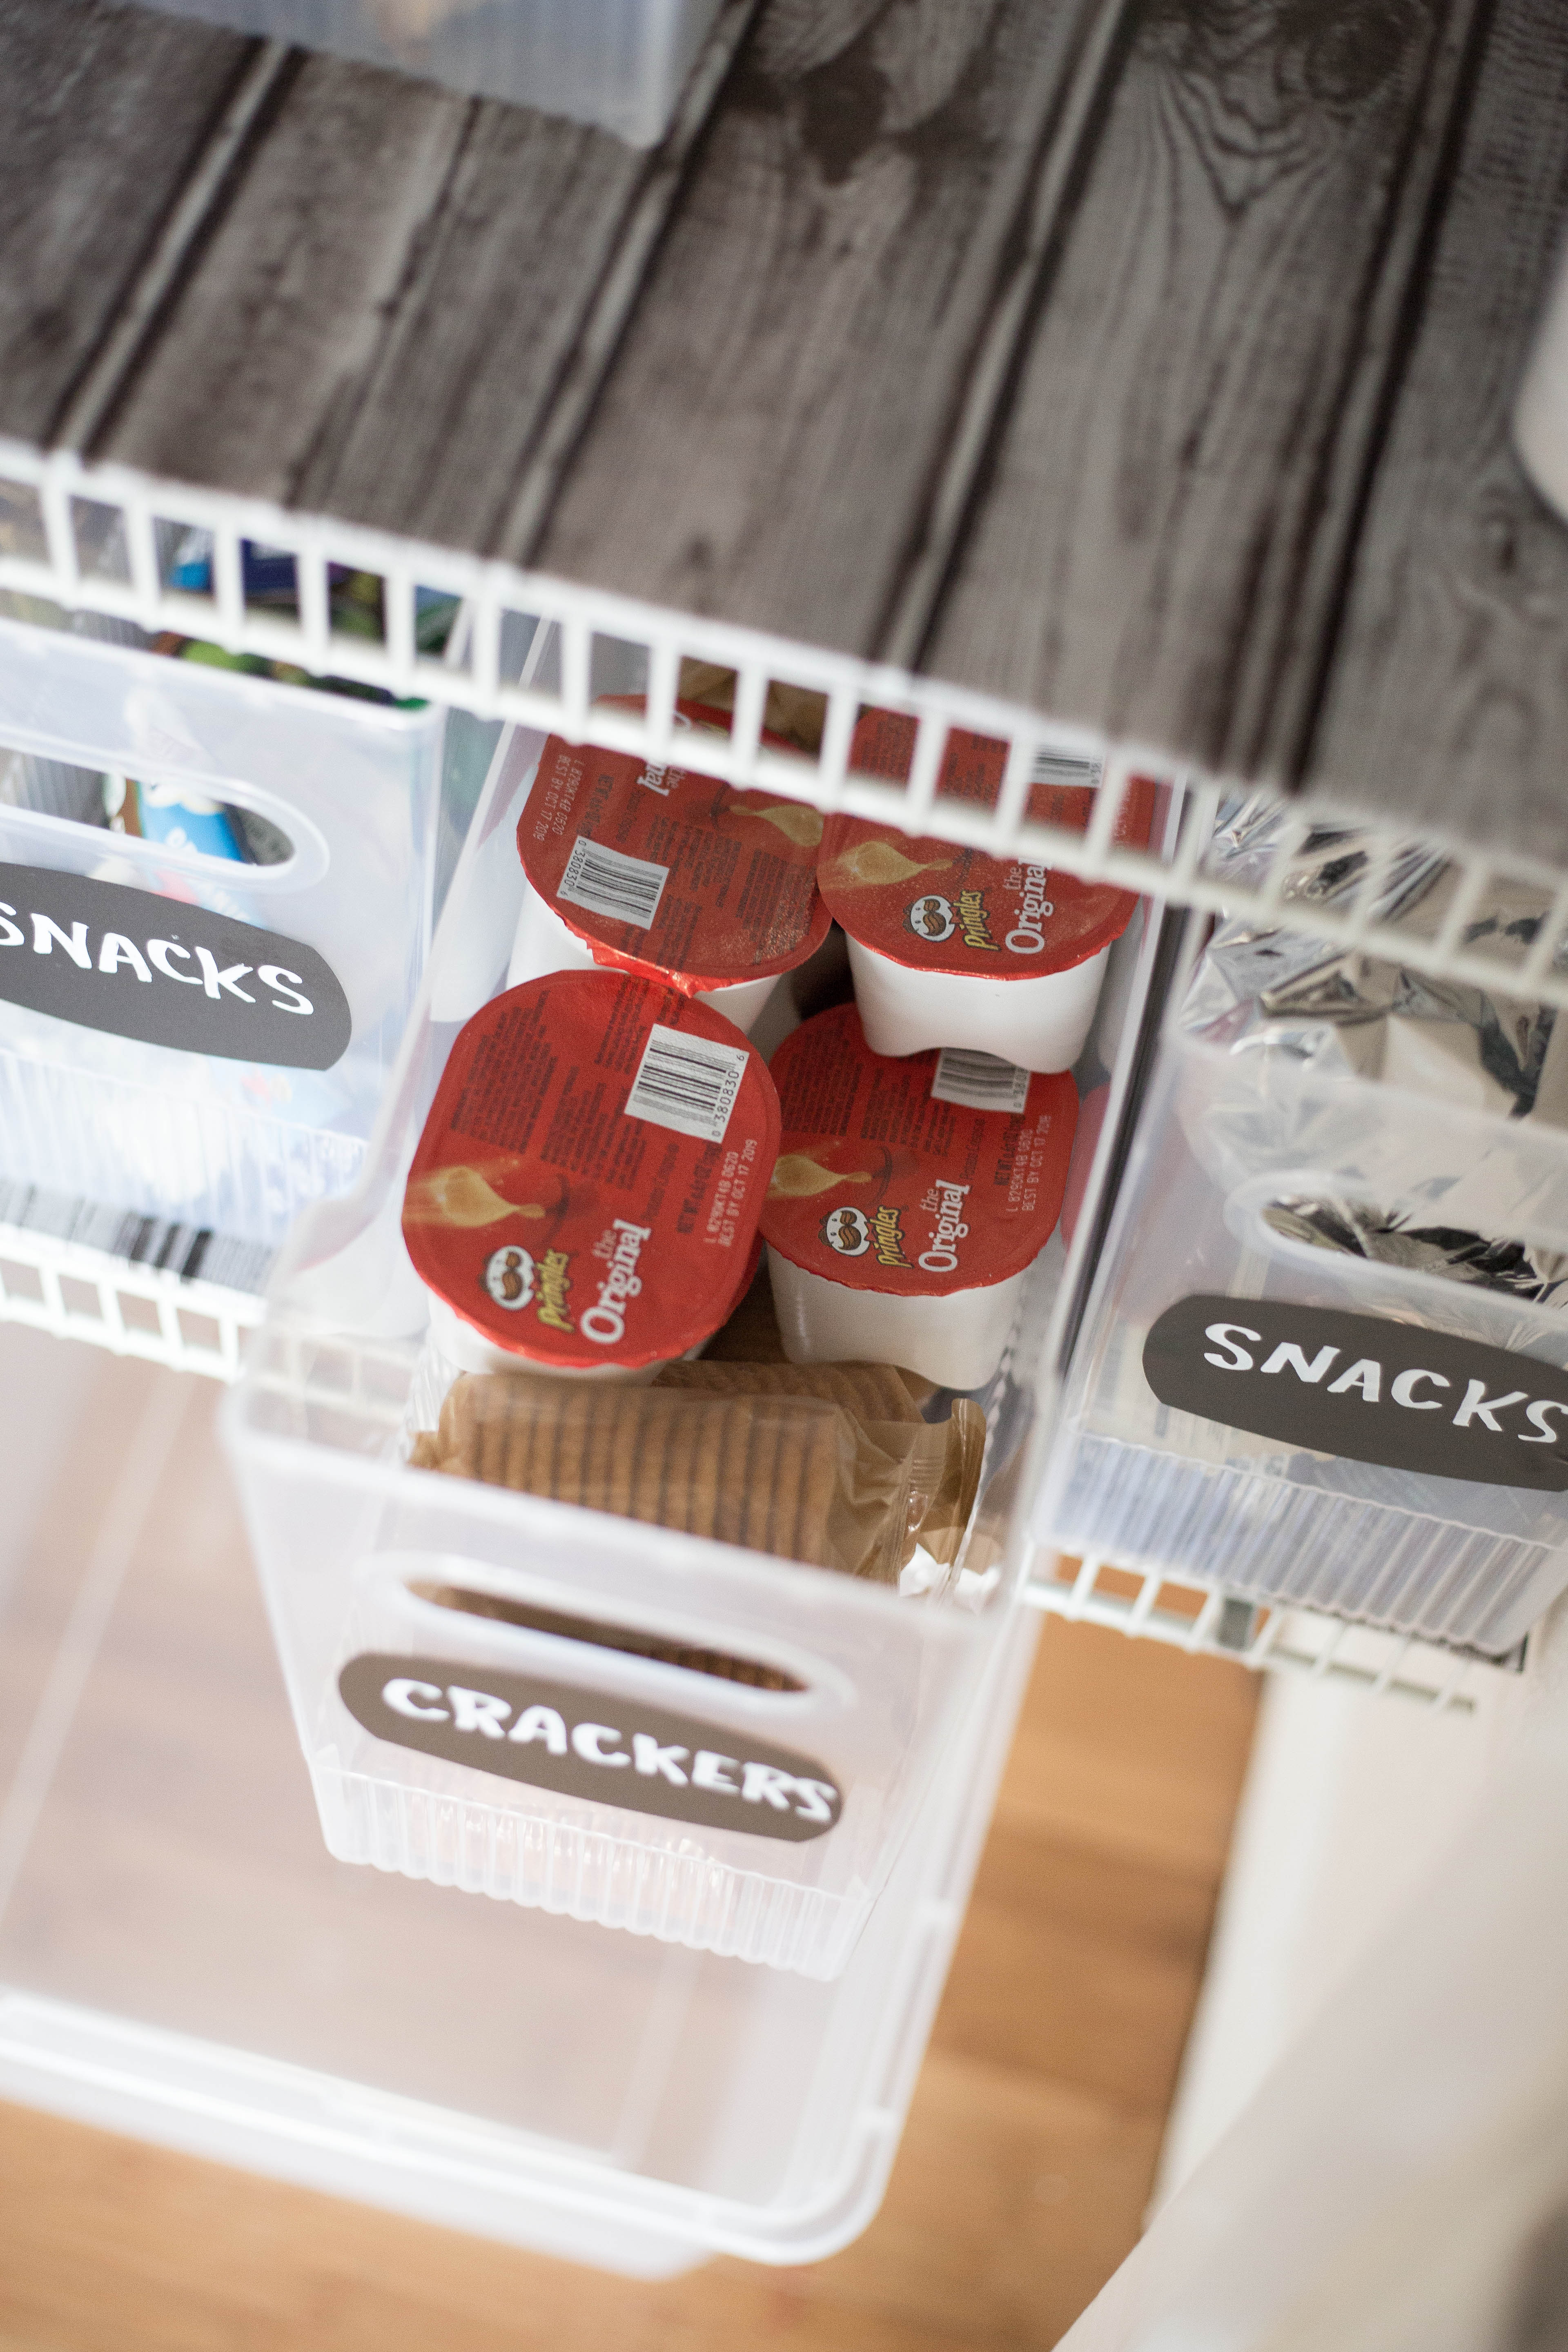
I mostly got the medium size, except for the baking supplies which are the large size.
On the floor of the pantry we have our recycling container.

I got the idea from somewhere online to use foam board covered in contact paper as a shelf liner of sorts, and I am happy with how it turned out! It was only about $10 for the foam board and contact paper, so super cheap but cute.
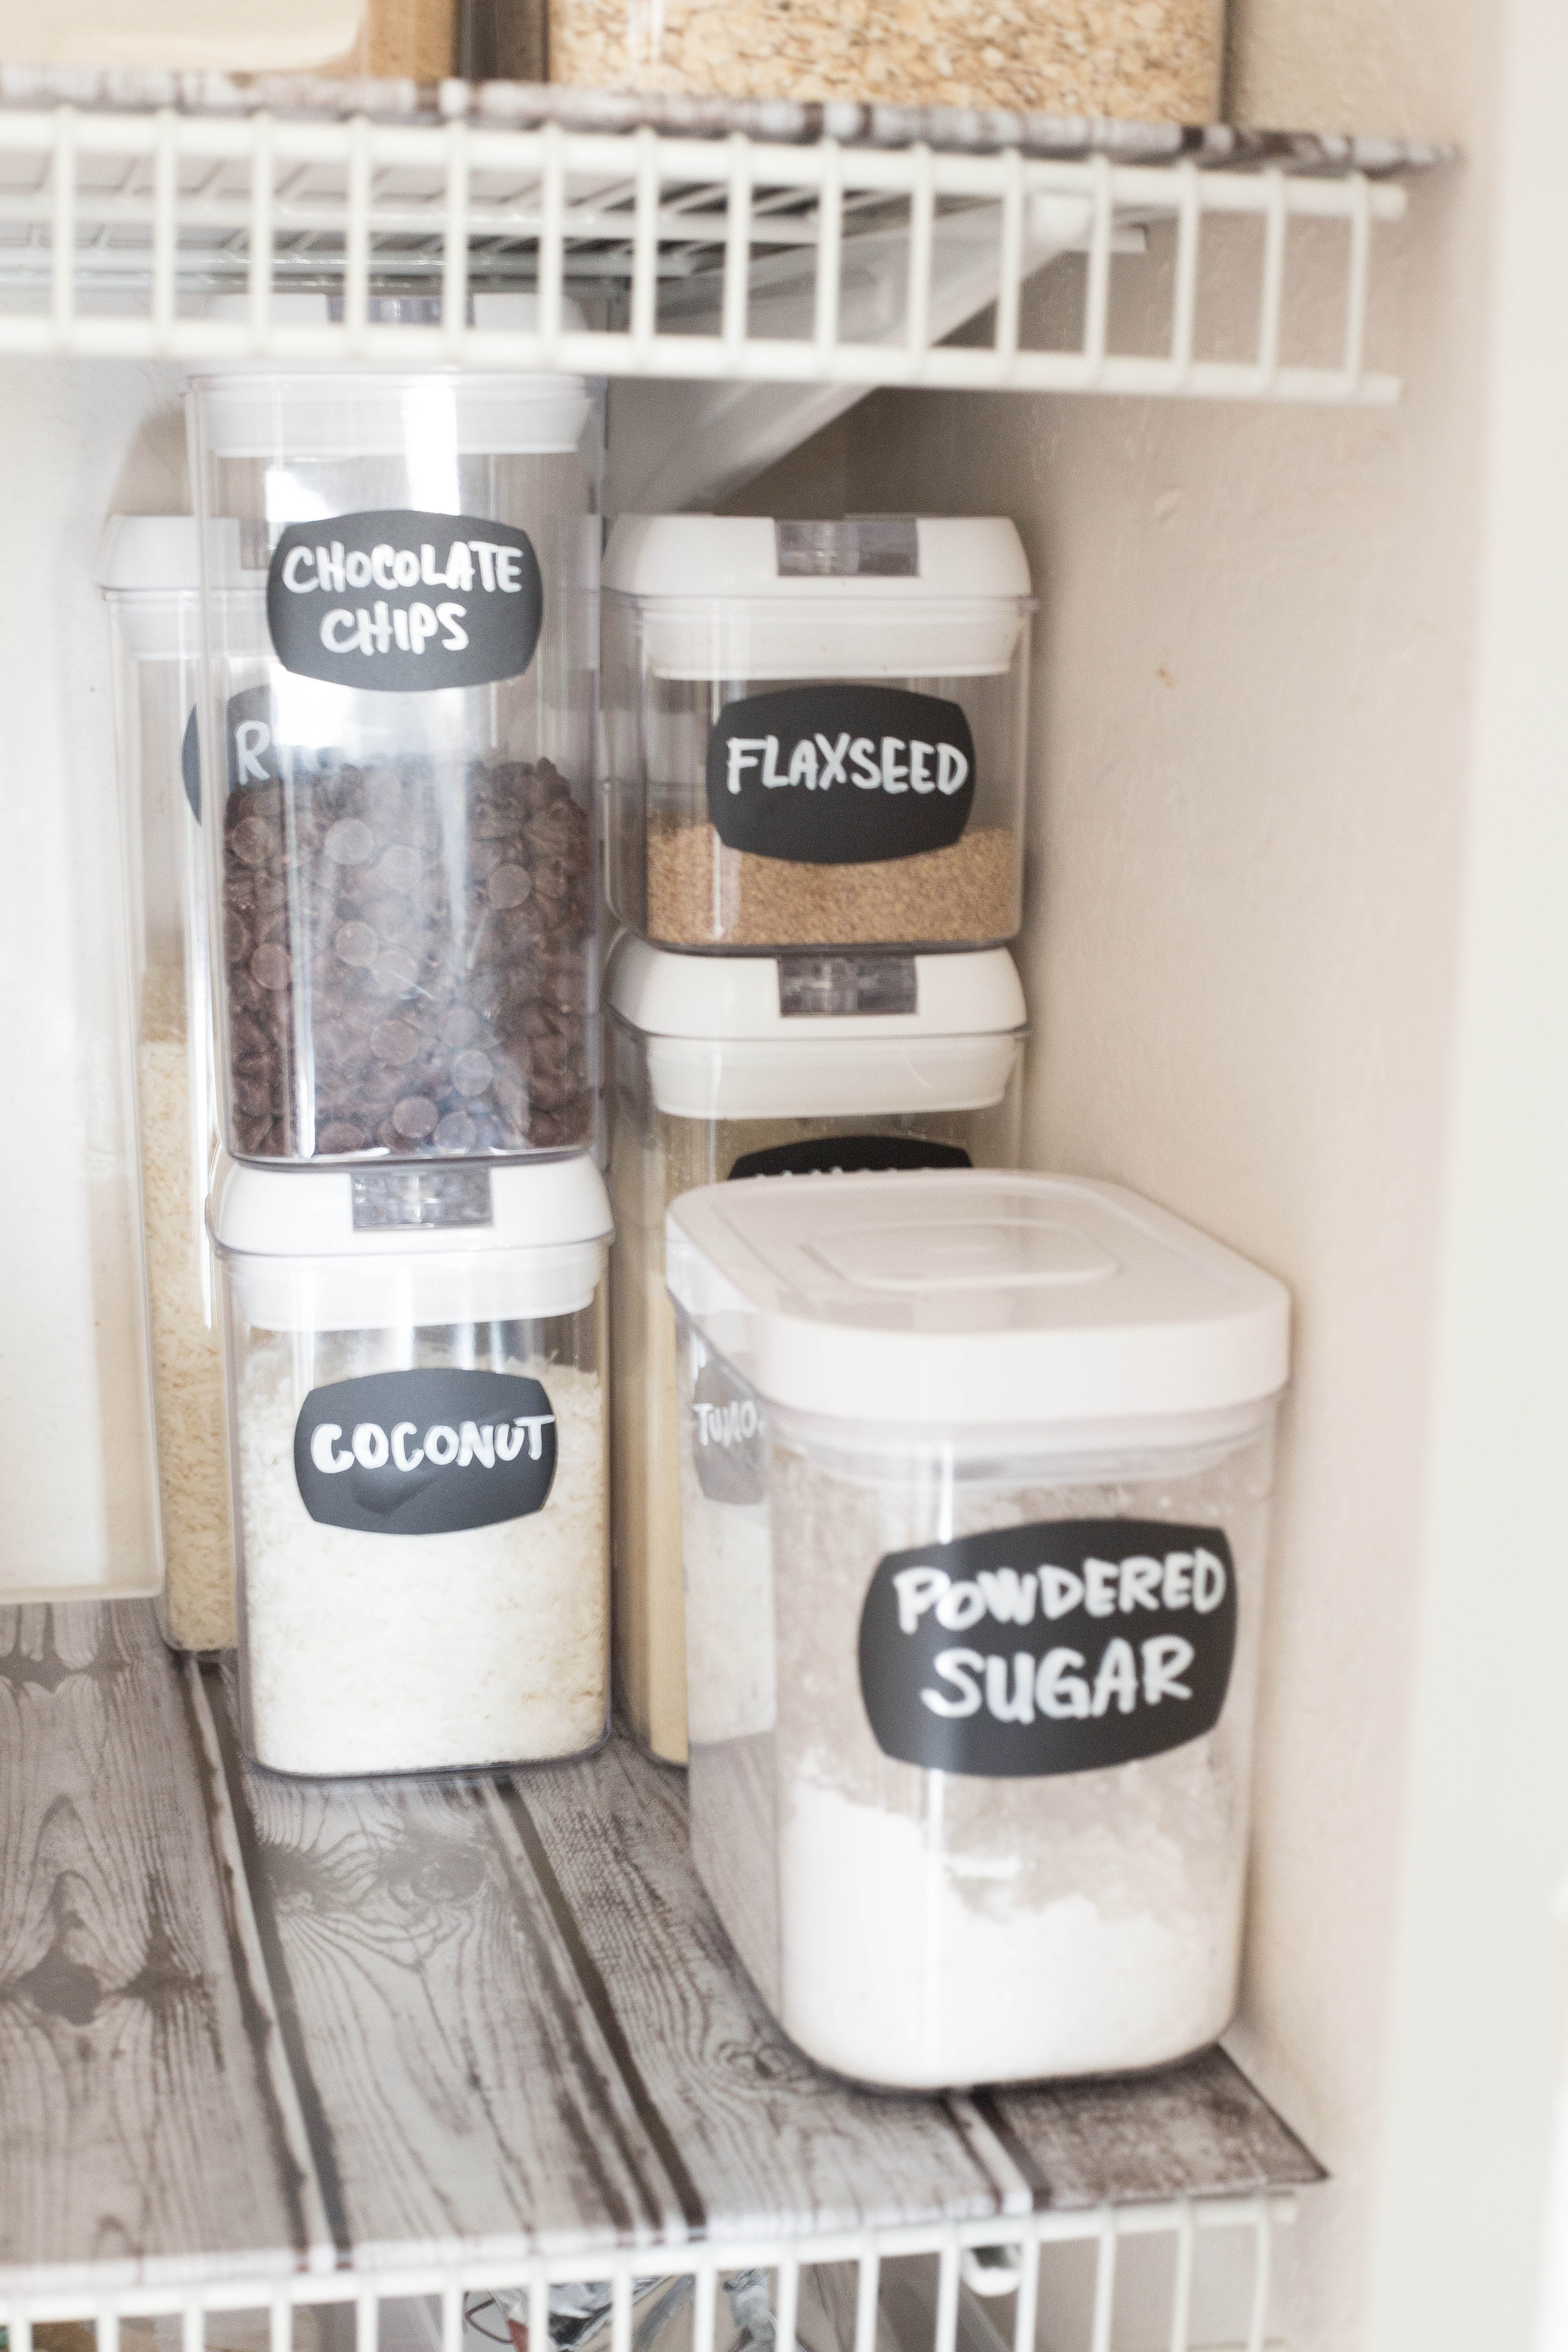
I ended up buying these storage containers and I hope they don’t end up breaking before too long-the price was definitely the selling point for me, in general I prefer the OXO containers and have used them for my flour and sugars for many years.
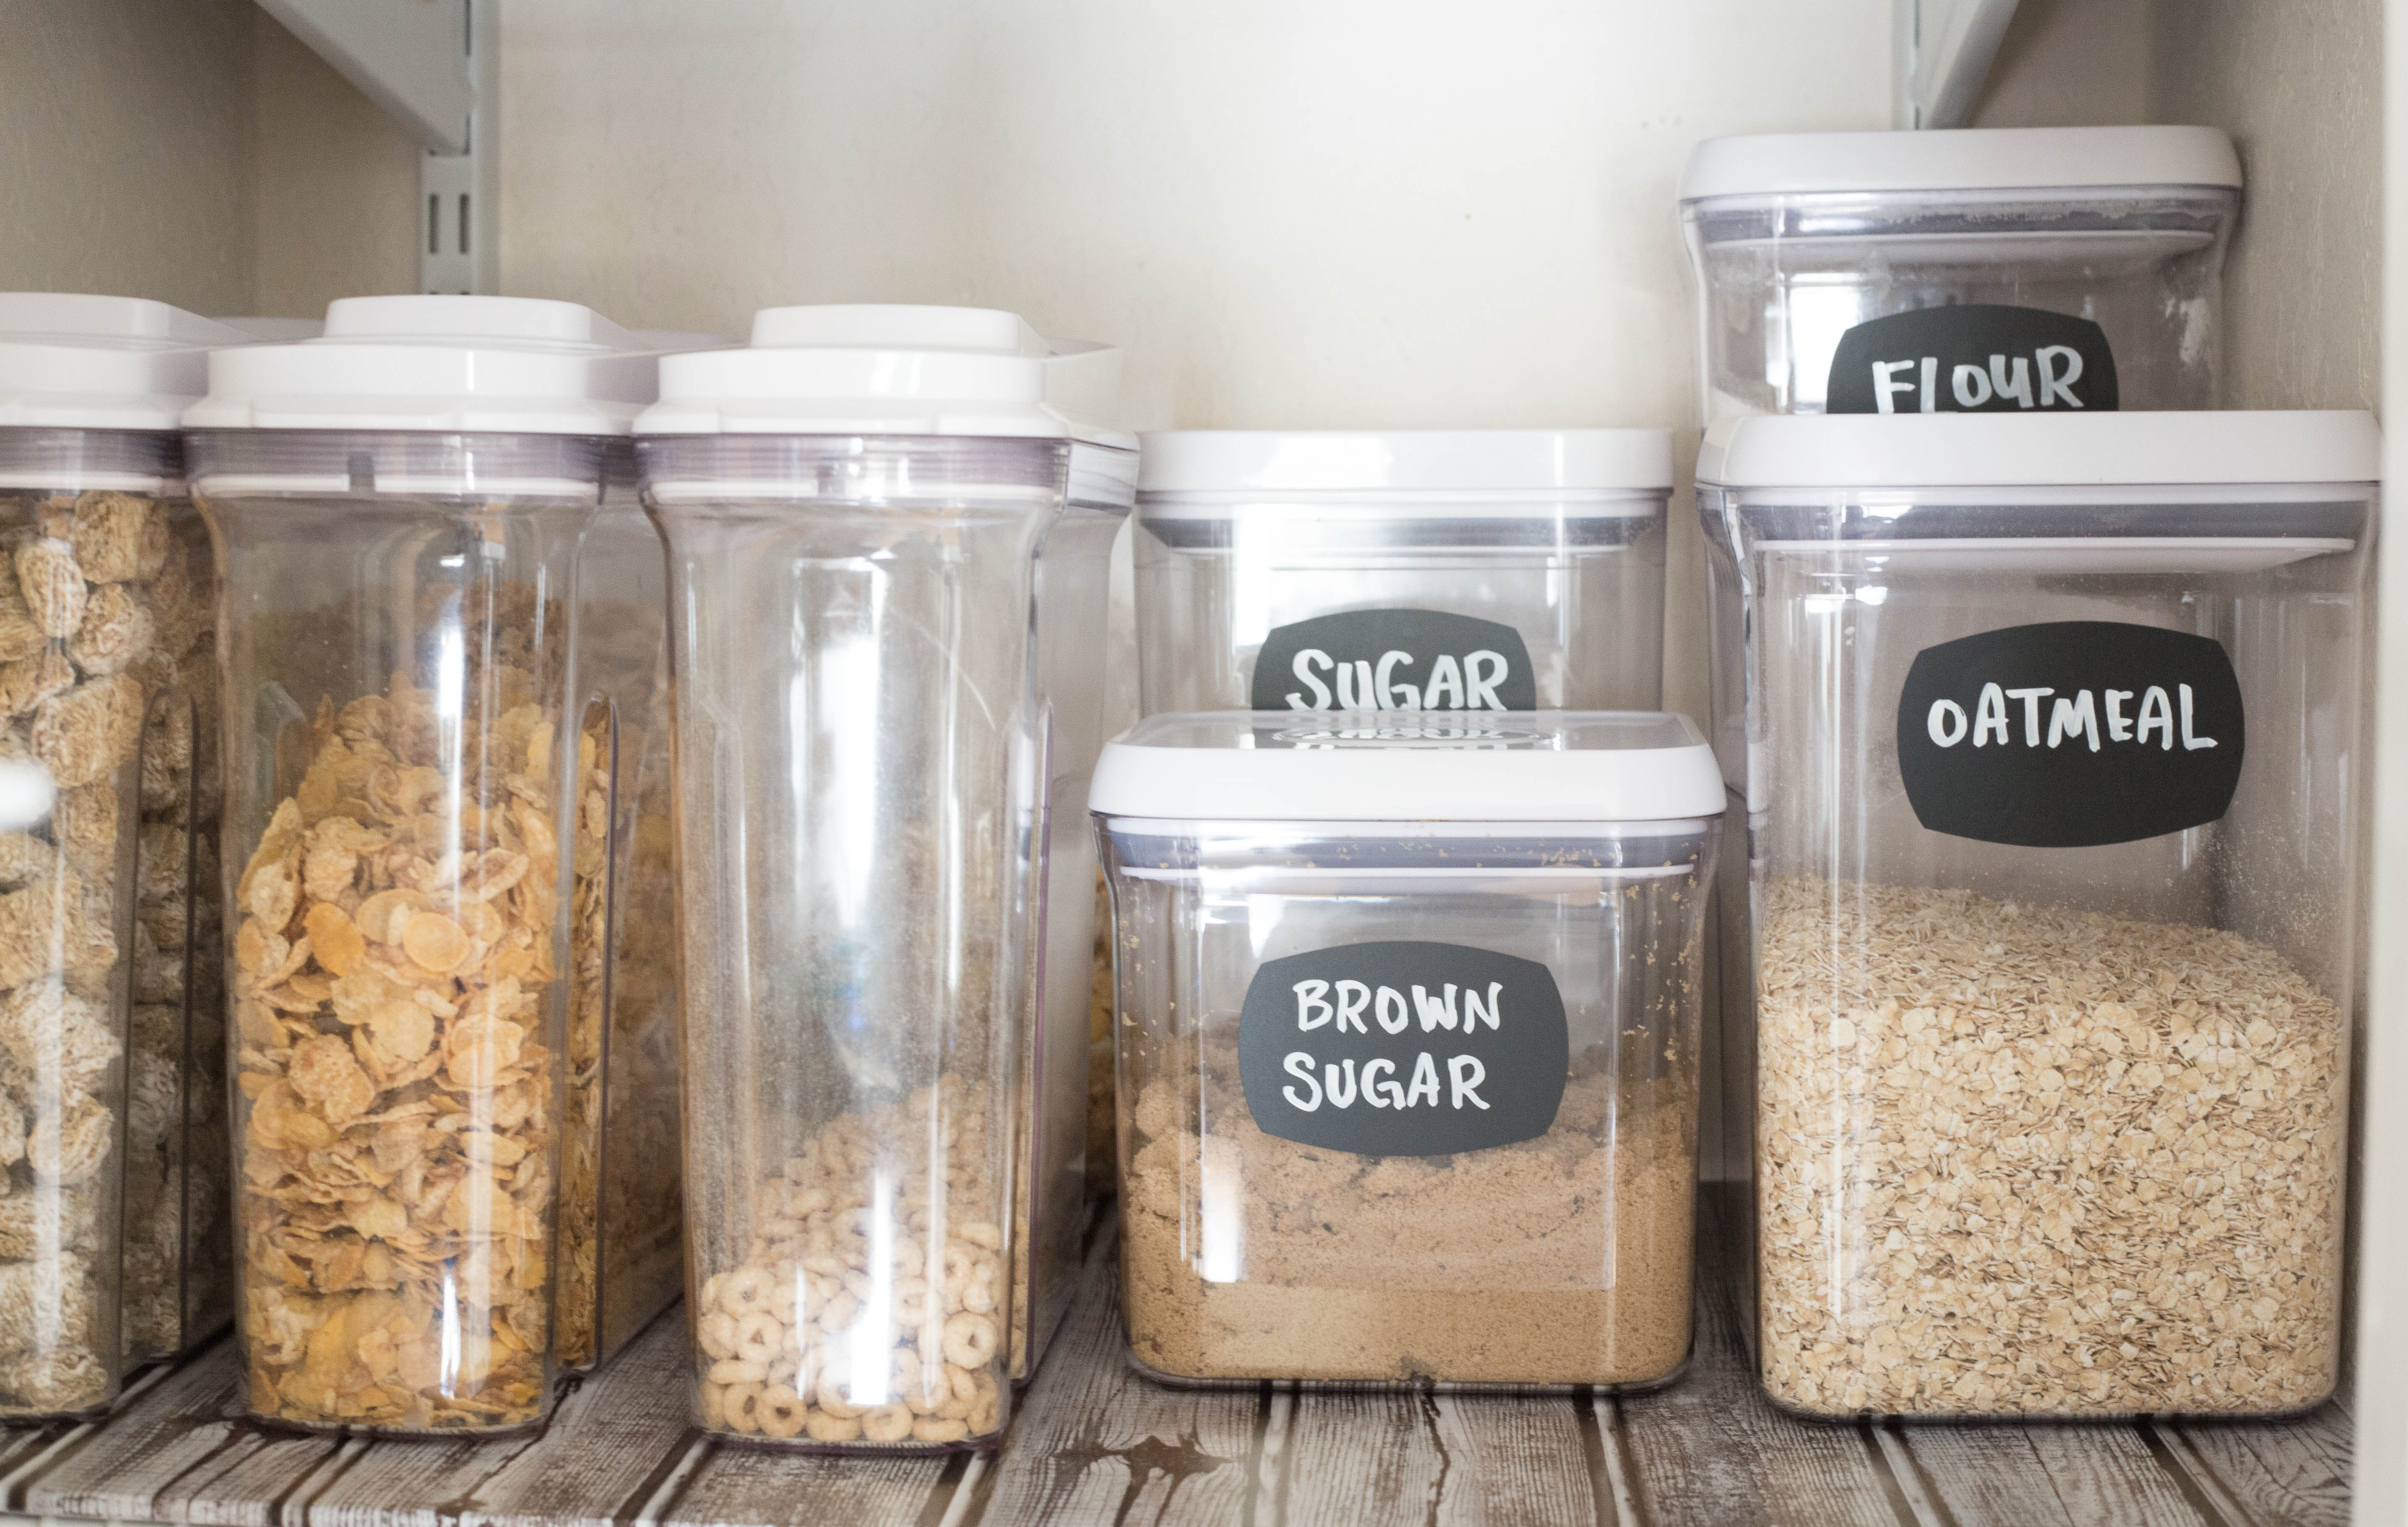
I absolutely love these OXO cereal containers-we usually get cereal at Costco, so whatever is left in the bag, we store behind the containers and refill til the bag is gone. Works great!
I made the labels with my Silhouette, some matte black vinyl and a paint pen-it’s not true chalkboard labels but has the look!
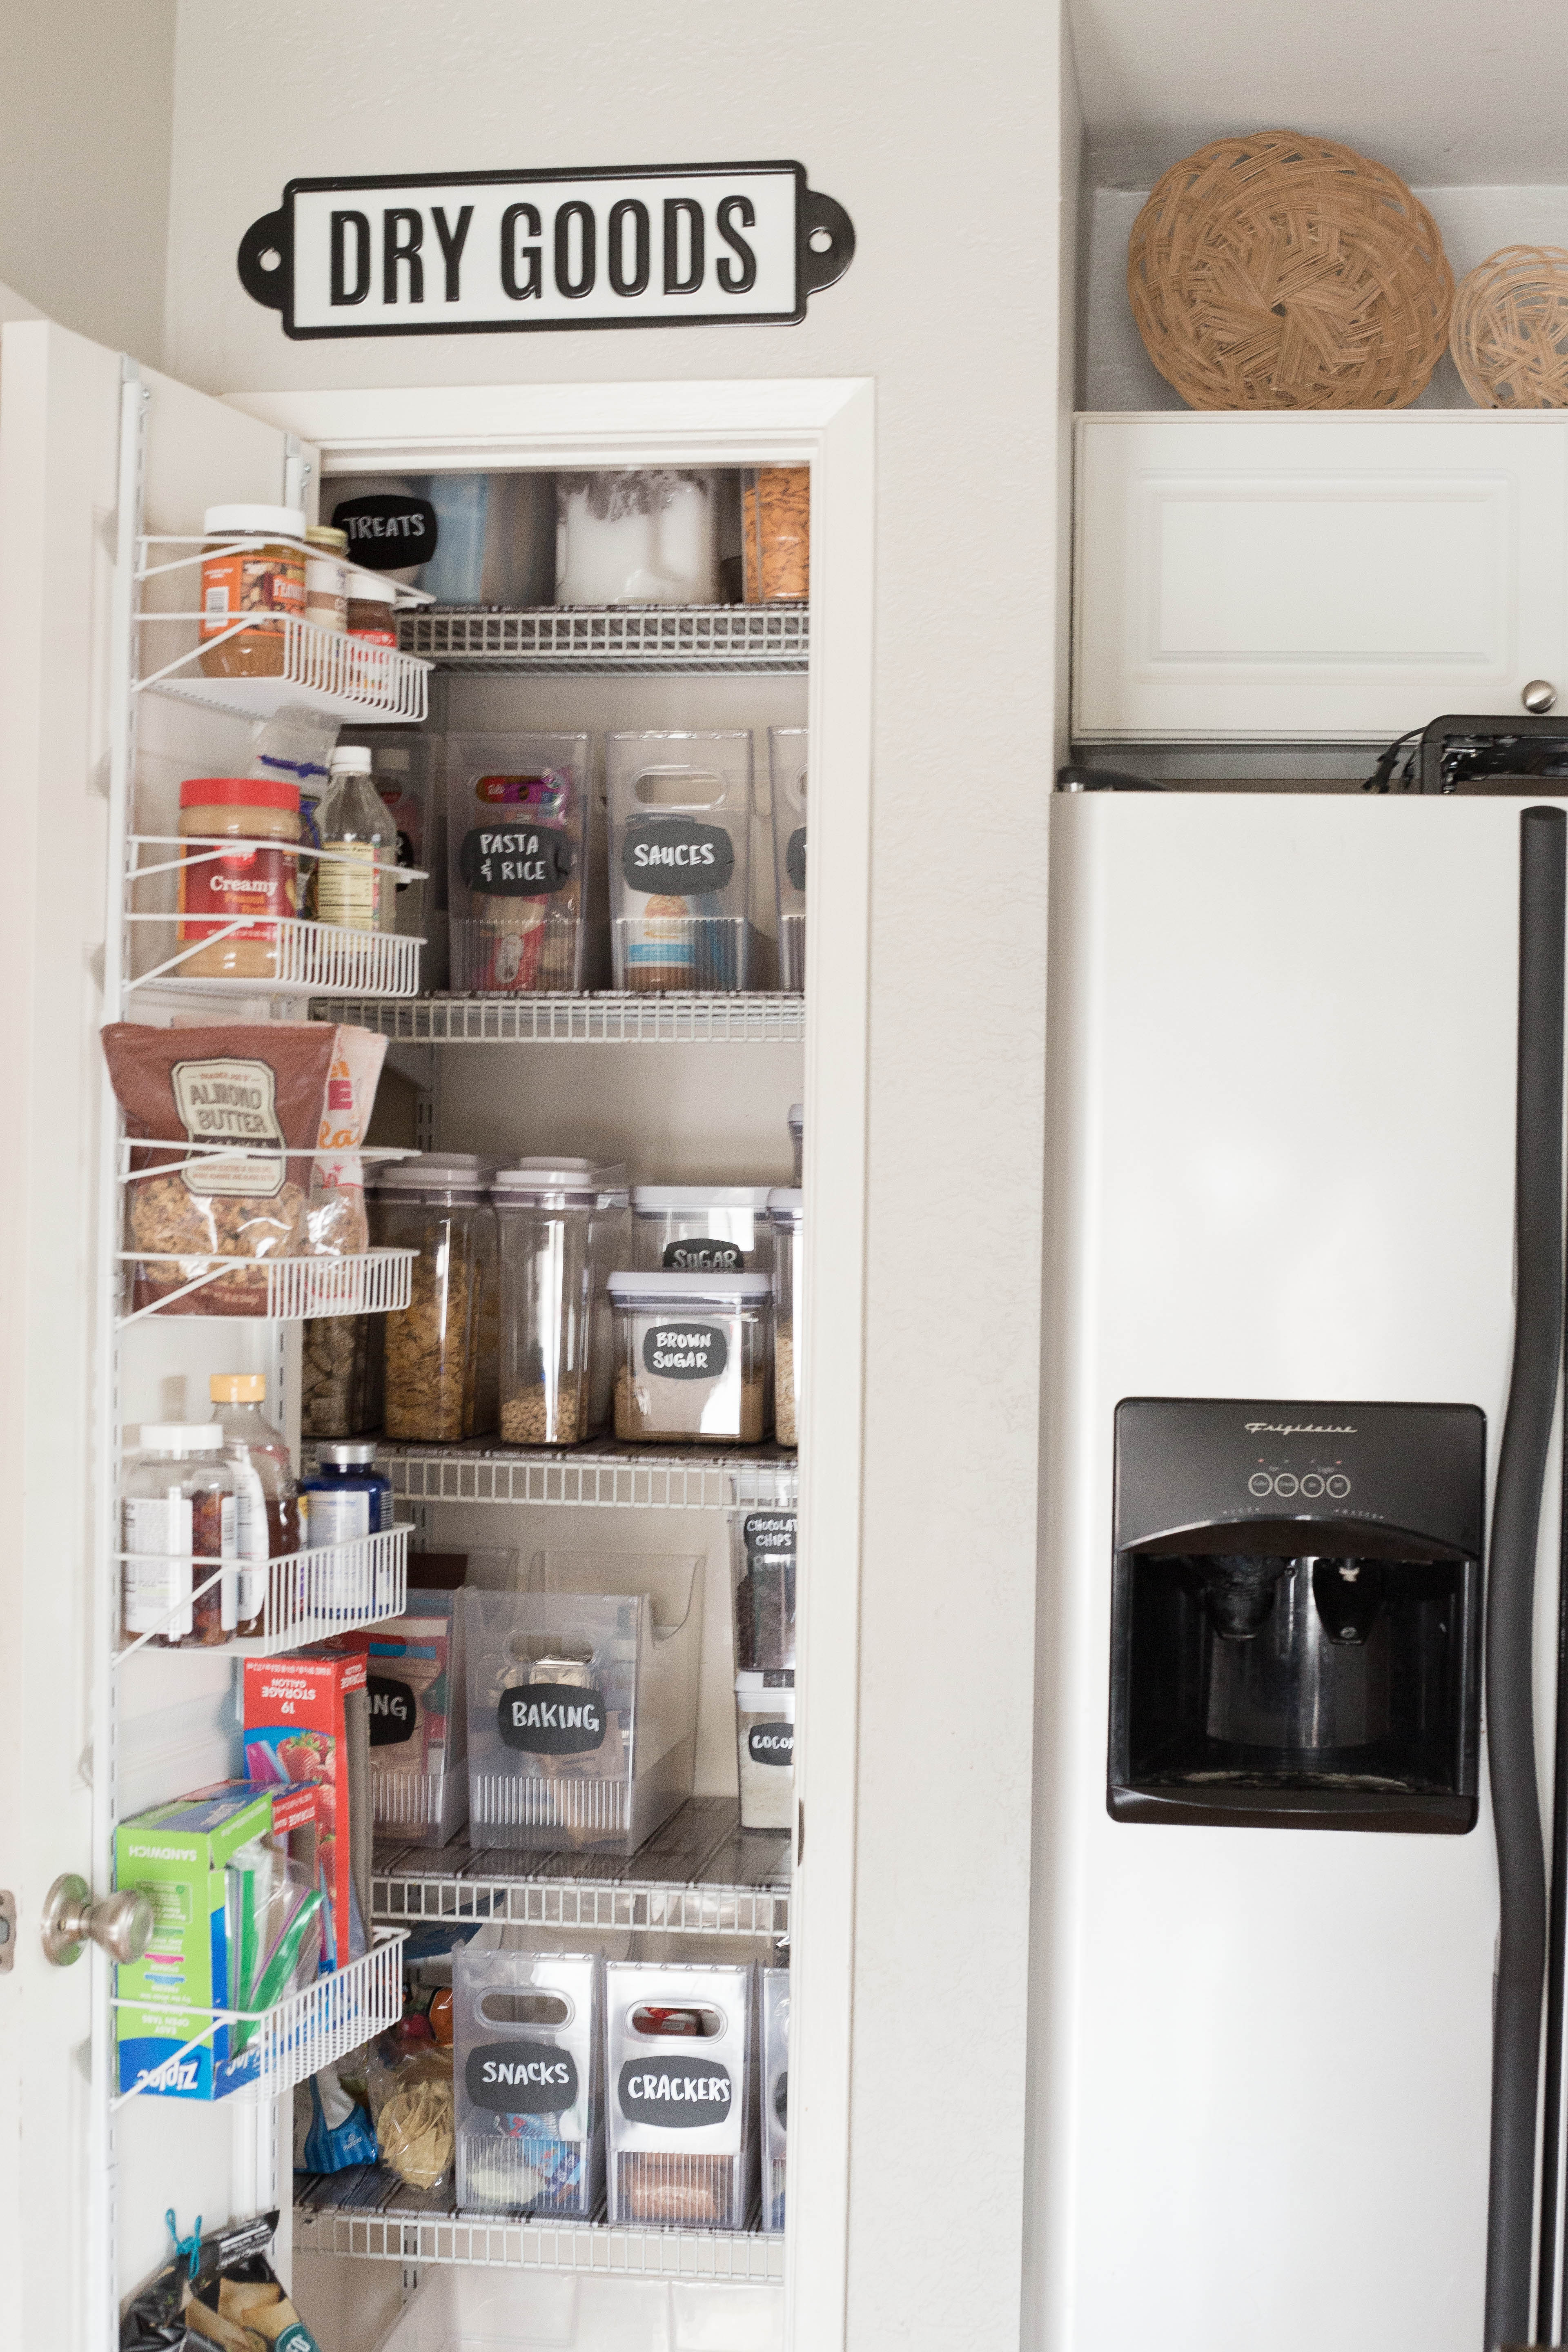
The “dry goods” sign was a Michaels find-half off that day too! I think my total spent on this makeover was about $175-not too bad!
Love it! I read the book a few years ago and it sticks with you. But I am definitely about to tune in to the Netflix special now. Thanks for the links my pantry could use some love.
How did you mount the over the door rack? Did you screw it into the door? I have a similar one hung over a door but the rack swings when the door opens and stuff falls through the back of the rack. I’m just super nervous about putting holes in the door.
it went over the top-I was concerned about it shifting on the door, but once it was full of items it didn’t move much! We might still attempt to secure it near the bottom with something in the future. 🙂
Hi Jess,
Is your basic rack-system Rubbermaid?
Probably? It was installed when we moved in so I’m not sure.
Love the makeover. Where did you the foam board?
Michaels I think?