


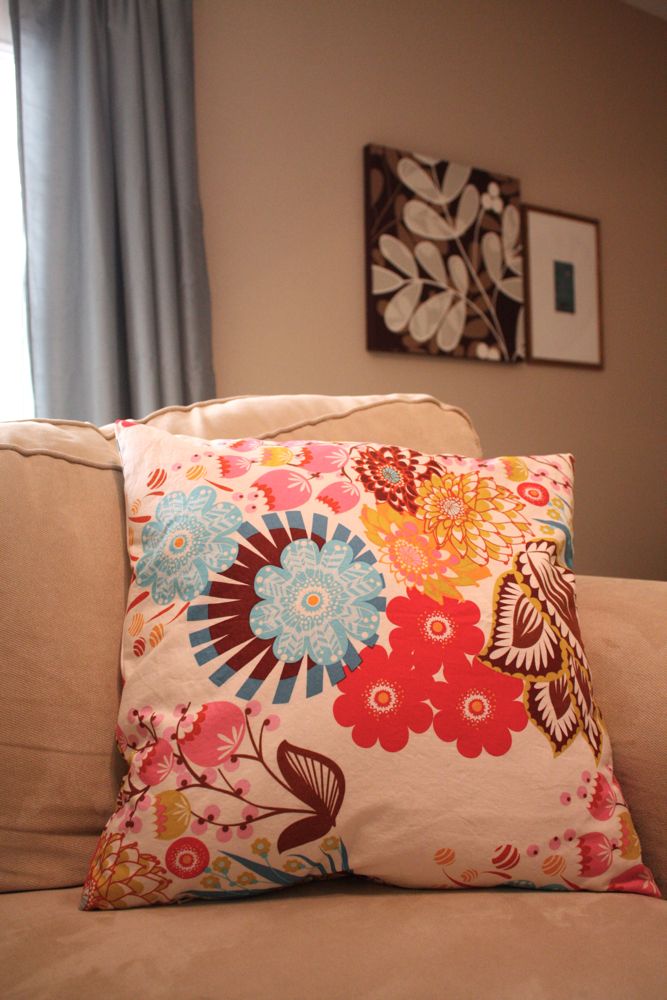
So….my living room had been in serious need of some color. It’s been teal, tan, and brown for awhile…with some green accents…but I’ve been wanting to shake it up with some more colors. I’m pretty sure no one has been hurt by having too many colors in a pillow. Then again….who knows?
well anyways. I found this perfect fabric-Summer Totem Tart by Anna Maria Horner, and got 1.5 yards. Perfect for 2 20×20 pillows with some leftover.


First cut two pieces of your lining and main fabric to the size of your pillow. I don’t add seam allowances, I’ve found that when you cut the size of the pillow it fits better. Just my little thing, but they always fit!

Then baste the lining to the main fabric pieces. I used my serger, but it’s just as easy to use a long stitch on the sewing machine.

Then grab your inv zip.

Then you will iron the zipper teeth flat-do this from the back side, and by moving down the zipper with the point of your iron, pushing it flat. Don’t linger in any spot for too long-you don’t want to melt the teeth! (I use my cotton setting)

Then decide which side you want to be on the bottom. Cause they are pretty invisible, but no one wants to see a zipper pull on the top of a pillow. Tacky! 😉

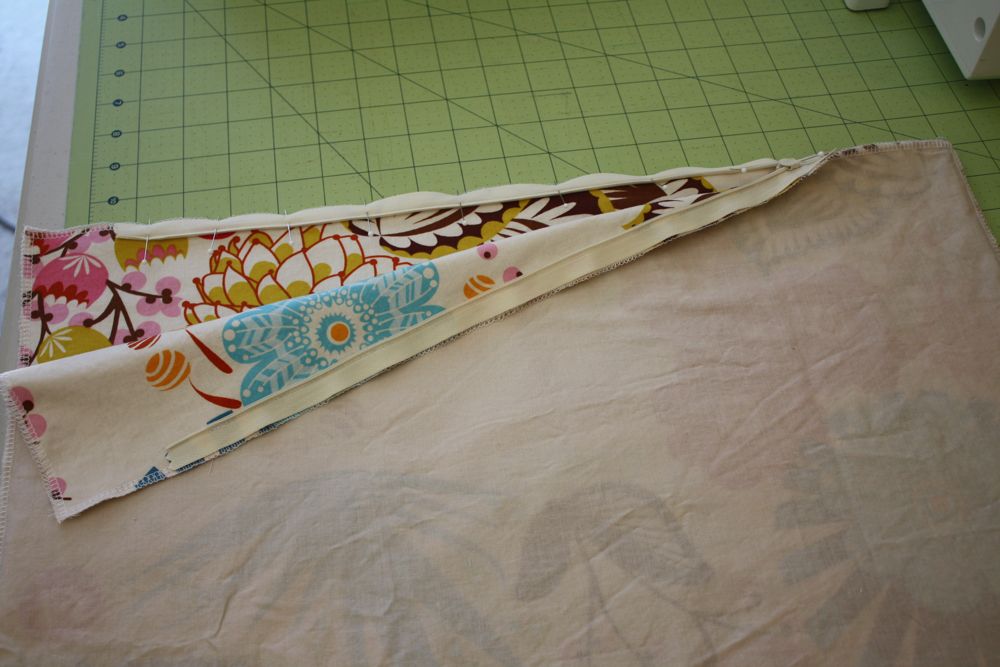
Then center the zipper on the edge of your piece of fabric. Pin it so the pull is facing down, and the zipper teeth are facing in.

Then using a zipper foot, sew as close as you can to the teeth. Take care around the zipper pull…we’ll go back and sew closer later.

Continue sewing down the zipper, as close to the teeth as you can get.

End your stitches right after the plastic nub, and back stitch.

Then lay out your other piece of fabric right side up, and lay down the piece you just sewed the zipper to. Match up corners and edges.
Then pin the other side of the zipper to that piece of fabric. Zipper pull still facing down. Sew that the same way, close to the teeth.
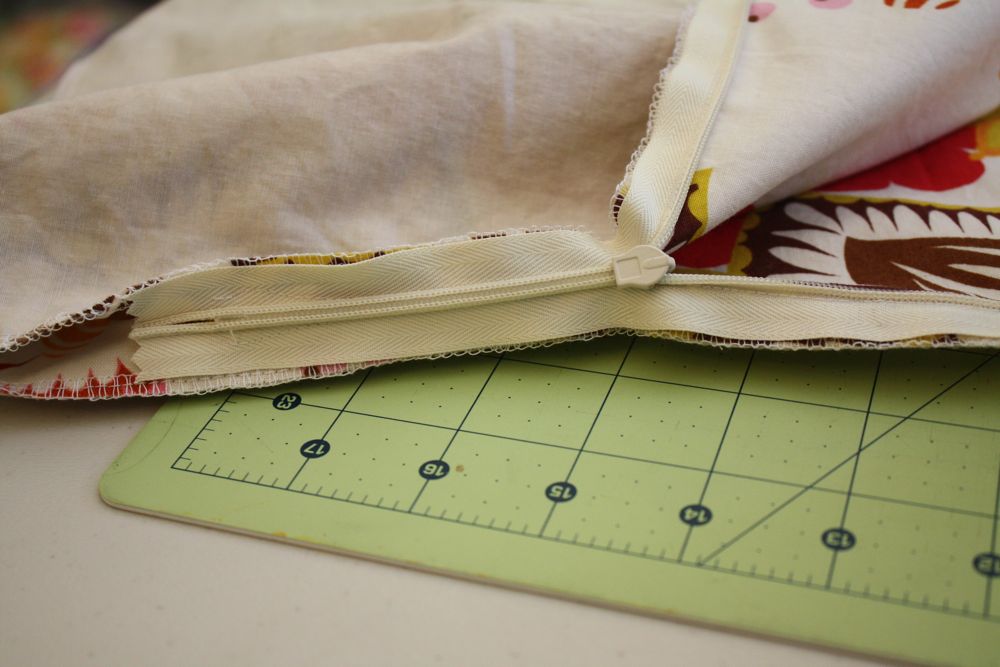
Then zip up the pull a little ways.

Then sew again near the bottom of the zipper, close to the teeth. This will make it look better there…your stitches will be closer and not as curved out.

Then pin, if you like, and sew around the entire square, starting where the stitches from your zipper left off. At each corner, stop sewing, leaving the needle down, pivot the fabric, and continue sewing down the next side. Make sure to leave the zipper at least partially open so you can turn it.

When you get to the end, match the stitches where they left off on the zipper. Make sure to back stitch at the beginning and end. Trim corners, turn right side out, and stick your pillow insert in!
See? Pretty darn invisible. Though my zipper end could have been a bit nicer looking. meh!

I’m so addicted to your blog!!
http://www.madebymami.com
I have this same fabric, I can’t bring myself to cut it! I love the pillow!
Nice!
Obrigada!
Thanks!
awesome methods! thanks!from Japan..
I love the fabric and the pillow looks great.You made the zipper look easy.
Awesome Jess!
Thanks for the tutorial, I have been afraid to work with zippers but this gives me the push to do it.
Thank you for the tutorial. I have some lightweight fabric I have been dying to make cushions from and haven’t known how to go about backing it onto lining! Now I do, many thanks.
Thanks Jess! I’m totally rusty on invisible zippers and Bryan has been after me to make pillow covers since we moved in. This will definitely help! 🙂
Thanks, I have been wanting to make some new covers for the pillows on my couches. Now I have a great tutorial to follow!
Great tutorial! And you picked the perfect pillow fabric — I love that Loulouthi print!
Must make pillows now!
Very pretty, love that fabric
Thank you Jess, I have always been afraid to put a zipper in anything. But you made that look very doable! Will surely give it a whirl!!
Huggs, Nancy
Thank you for such a great tutorial. I absolutely love your fabric — the pattern, the colors, everything! Can you tell me what it is? Do you have a recommendation on where to get it?
Thanks!
Ah, never mind — I missed the first part of your post where you named the fabric. Thanks again!
So cute! My living room has been in a funk lately too, and since we are moving soon new pillow covers will be a must to freshen up the new place! Now I don’t have to shell out for new pillows. Thanks! I just found your blog and love your projects! Thanks for sharing!
Great tutorial and gorgeous fabric.
Thank you for this wonderful tutorial! I grew up watching my mother sew dance and halloween costumes here and there, but I never really tried my hand at it growing up. I wanted to challenge myself a bit with my first project and made my first pillow cover ever tonight using these instructions! Thanks again.
Great job on this tutorial! I’m a beginning seamstress and I used it to make a bandana pillow case–thanks for the tips!
http://pinterest.com/pin/169236898469594740/
Thanks for including the fabric name – I have the diaper wet bag in the print but had no idea what it was called. By far my favorite thing I actually registered for. Loads of dirty diapers call for a cheerful print like this!
Newbie here – Do you mind sharing more detail how you cut the squares of fabric? My pillows are 26 x 26 and my cutting mat is not quite that big – I’m watching tutorials on squaring up but it seems really complicated for some reason and my cuts are not straight. Any tips?
I have a big mat and large quilting ruler that I use…sorry I’m not more help!
Great tutorial – I had no idea invisible zippers could be so easy. I used this to make a pair of Greek key trim pillows for my new living room and will definitely bookmark this page!