


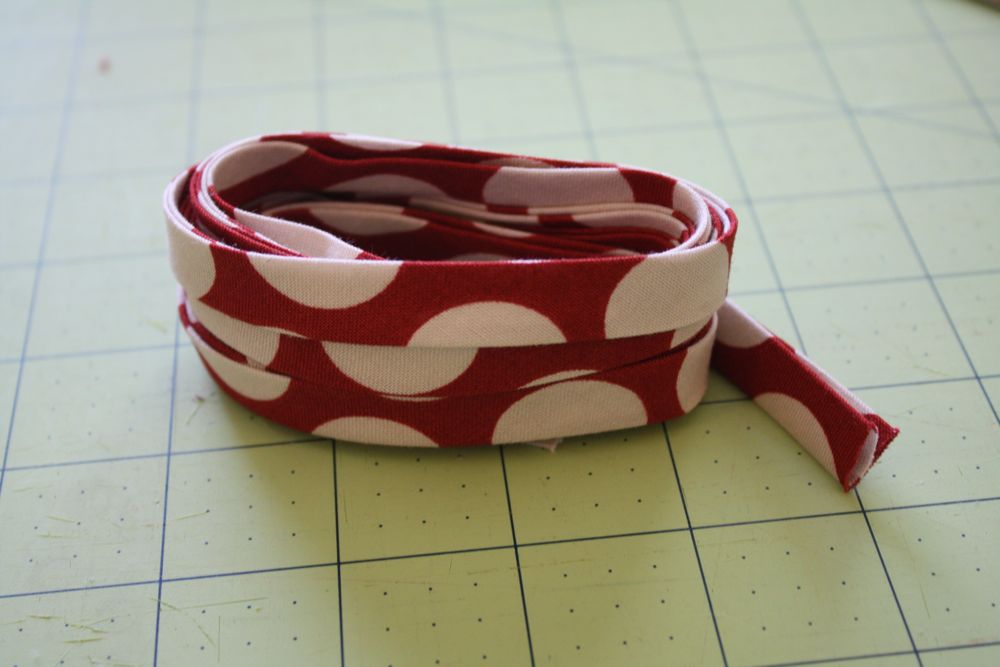
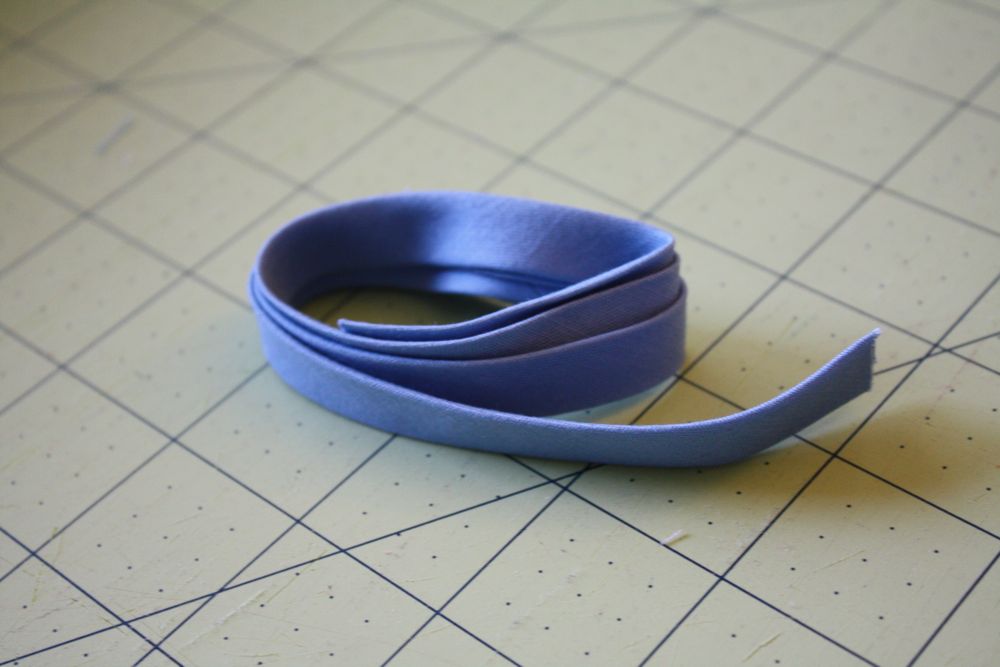
Today we’ll work on bias tape, first off, you’ll need to make some if you didn’t purchase yours. It’s easy-here’s a quick (but with lotsa pictures) tutorial. (pardon the different fabric)
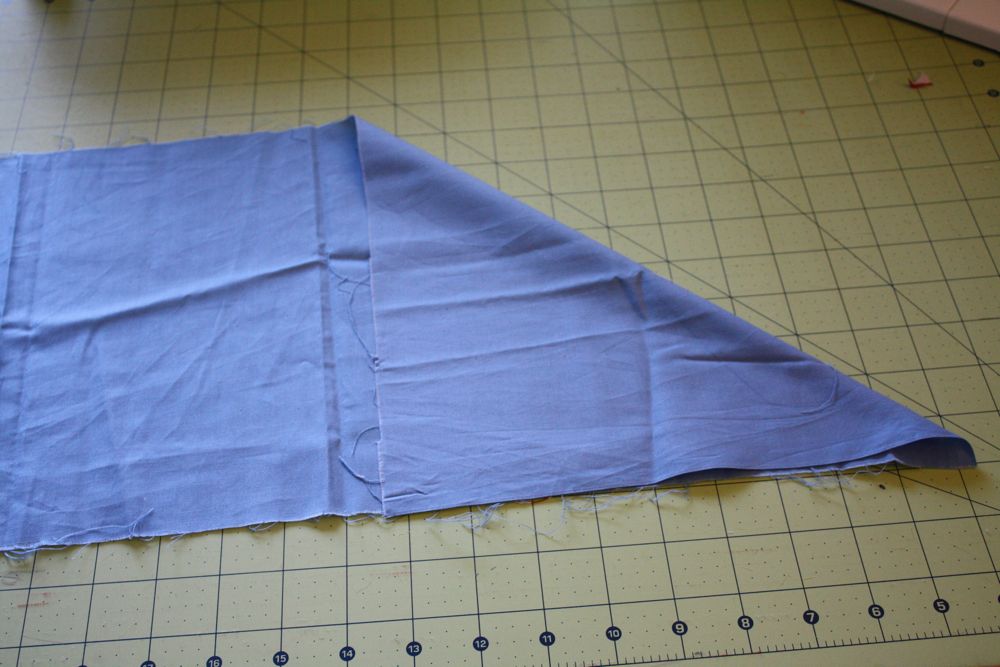
Fold your piece of fabric over like so-that angle is the bias. (feel free to ignore me if you’re like, duh.)
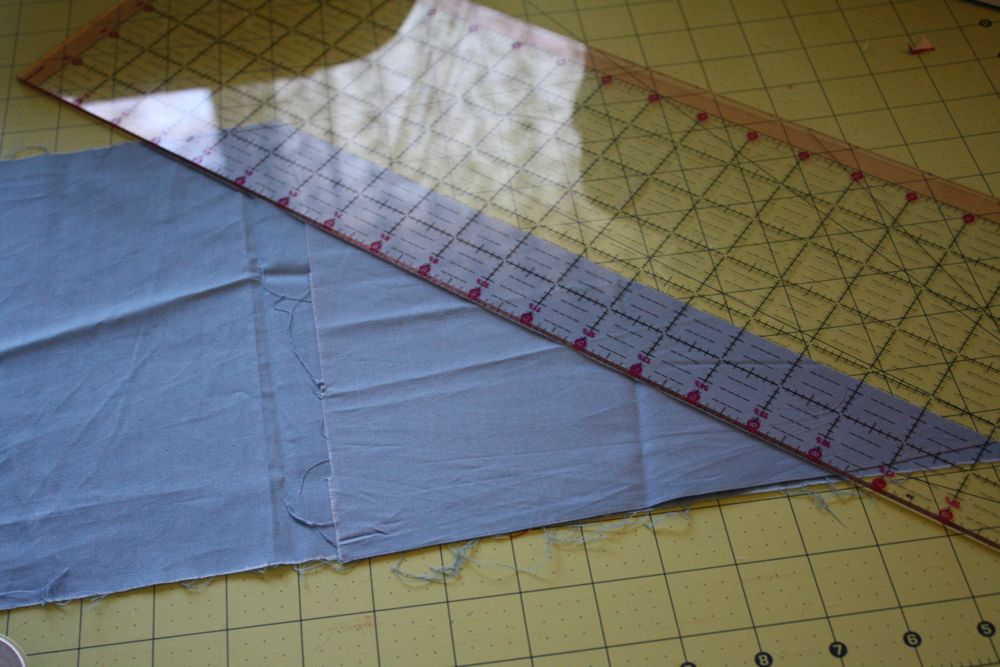
Now, cut strips of fabric-I cut mine at 1.75″-that’s the size that works with my bias tape maker-more on that later..
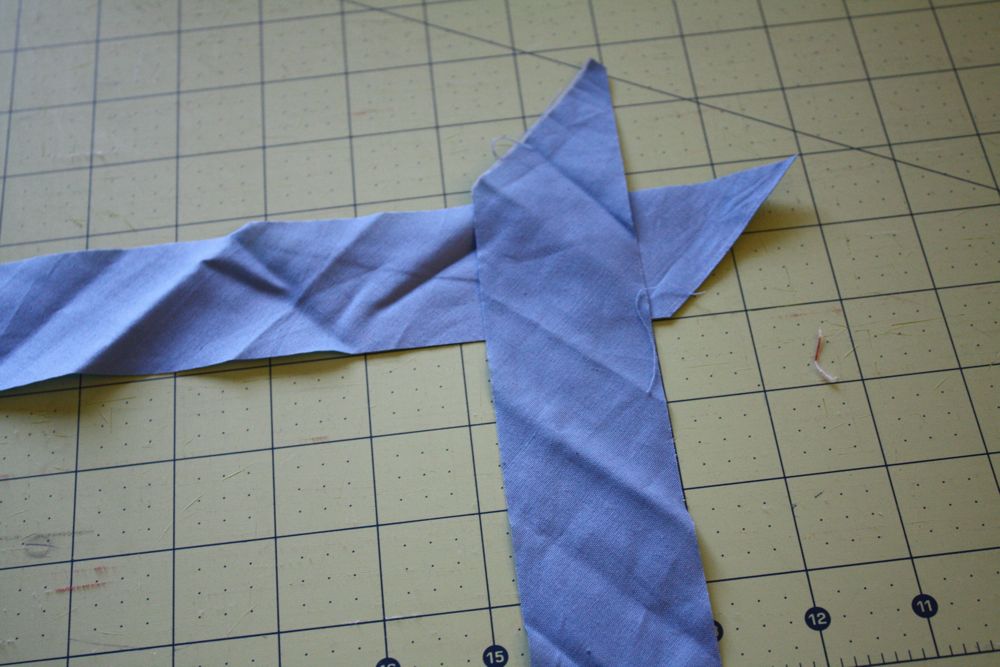
You’ll need to sew each strip you cut together…lay them down right sides together like so, it helps if you have a cutting mat so you can line them up with the lines so you’re as square as can be! (that was a long sentence.)
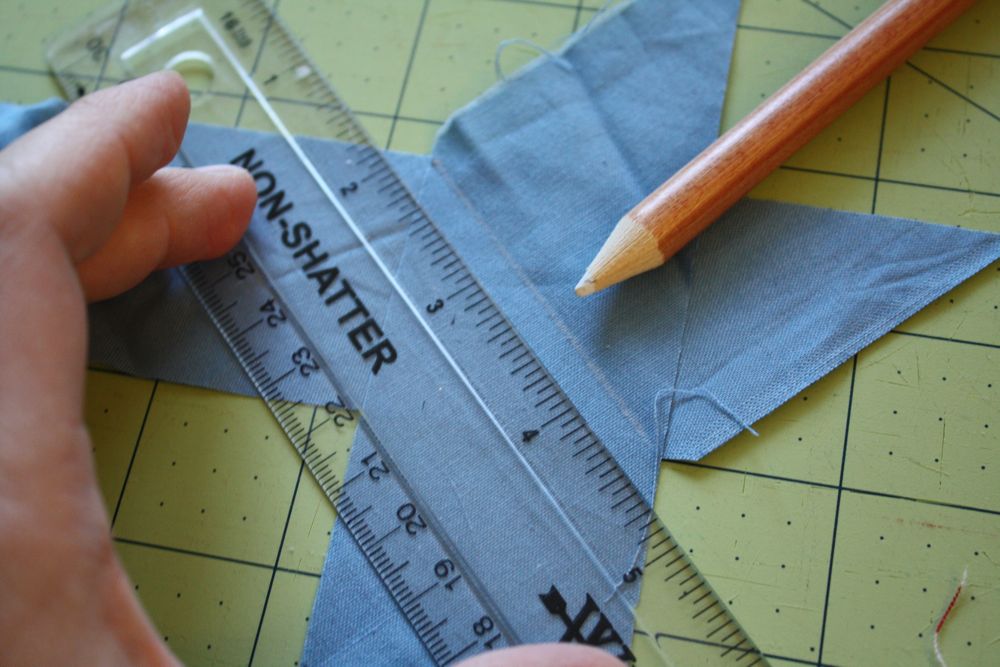
Next, take a ruler and a pencil, or tailor’s chalk, and draw a line across like so. Not where the ruler is…right next to it! can you see the white line? hope so!
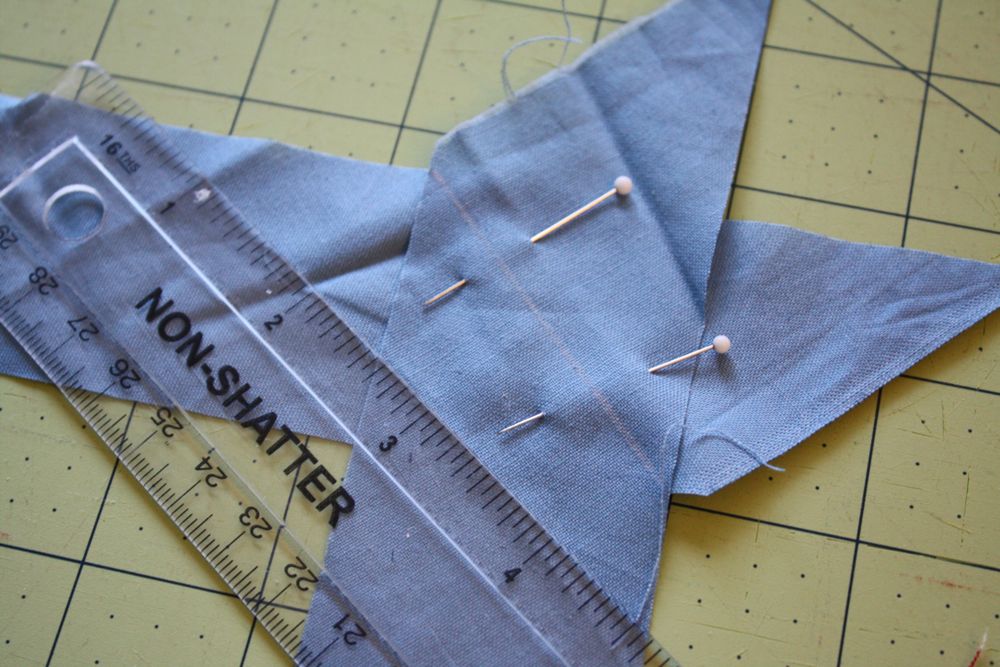
Pin it like this, careful to not move the fabric too much.
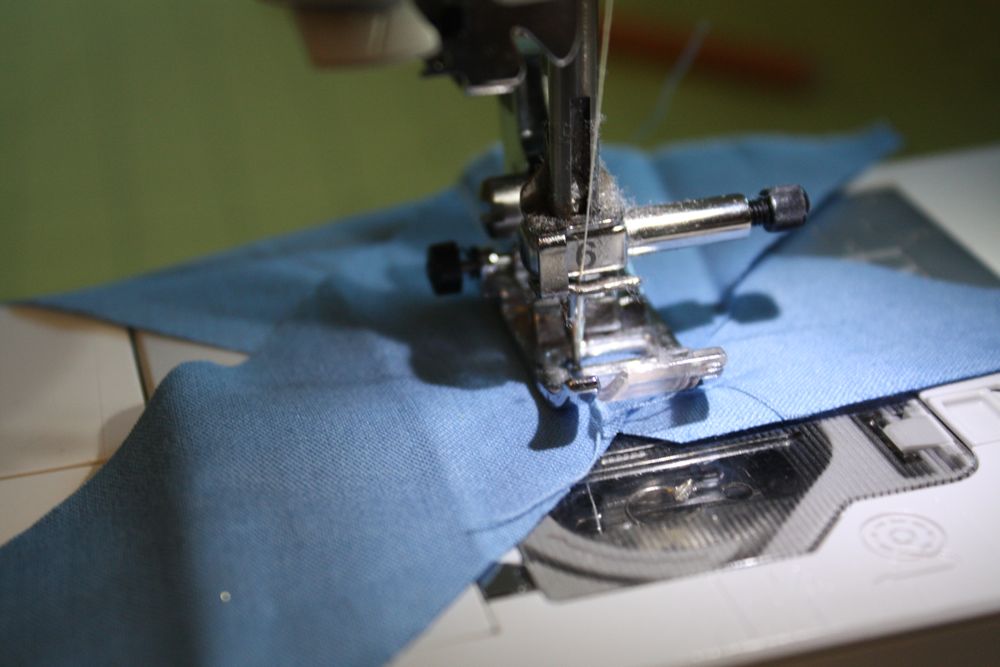
Then sew along that line.

Then trim off the extra fabric…
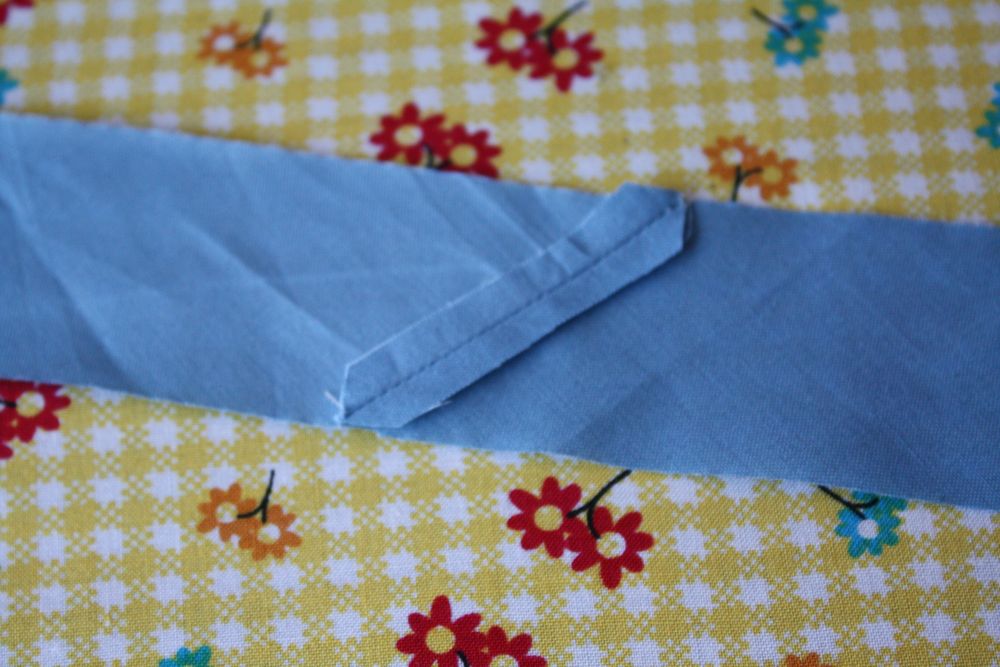
trim the little triangles, and iron the seam open.

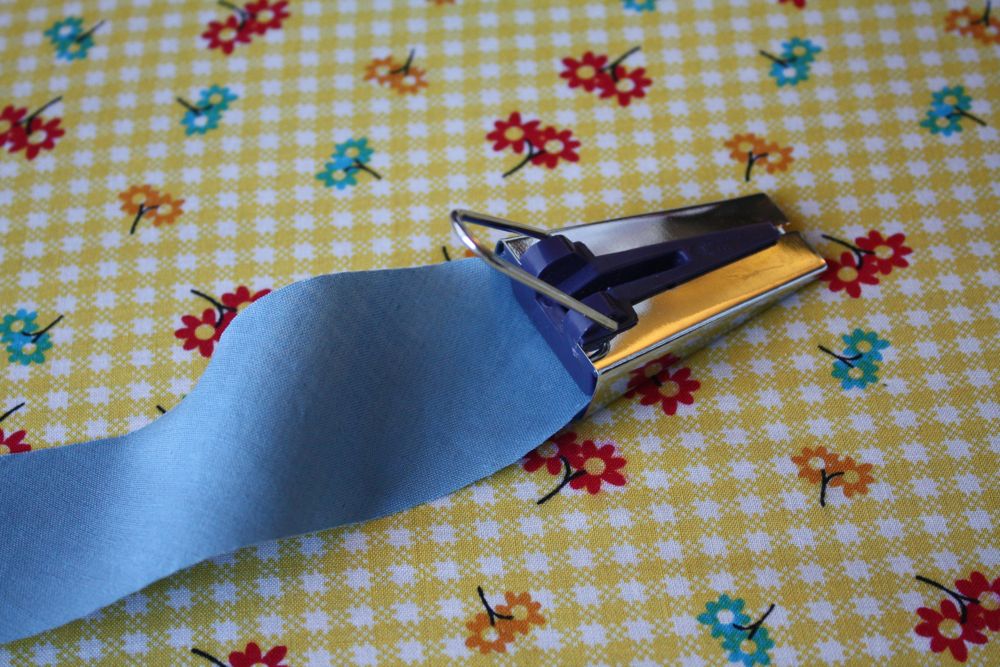
Let me introduce you to someone: her name is Ms. Prym. She makes bias tape so easy to make!
I got her at Joann’s with a coupon for a few dollars. (or you can order all sorts of sizes right here!) She was worth every penny and more!
(If you don’t have one of these bad boys, simply iron your strip in half lengthwise, then fold in the sides to the middle, iron that, and then fold in half again and re press. done!)
How you use it:
Slide the fabric in like so, wrong side facing up.
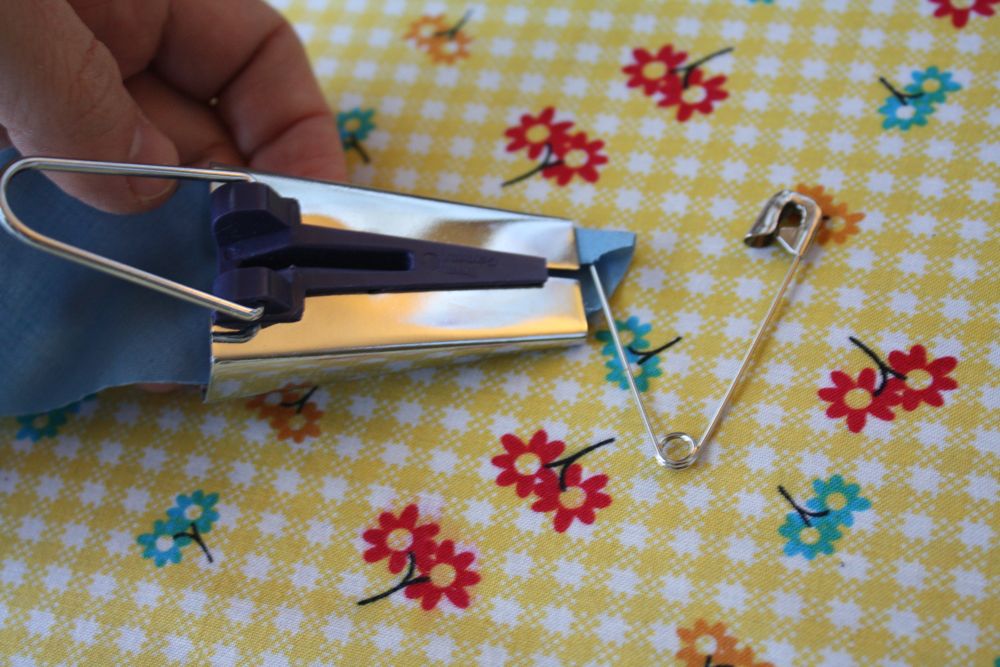
I use a long safety pin to grab it and pull it through, cause it usually doesn’t make it through on it’s own!
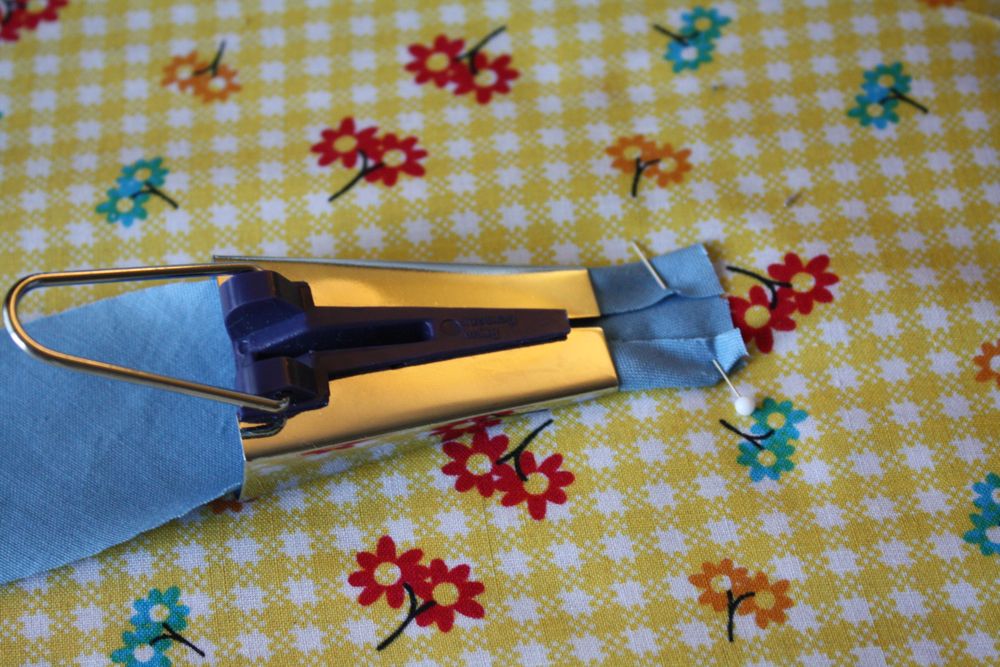
Pull it through, and pin it down to your ironing board…
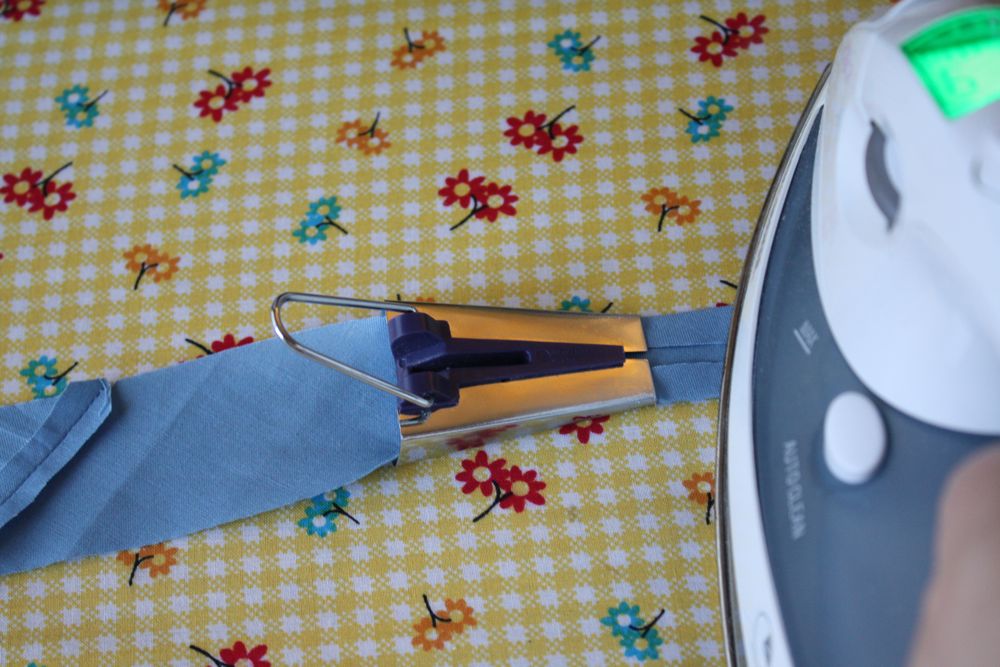
Then, iron it down, pulling little Ms. Prym down the strip of bias tape til you’re done!

it may look a bit wonky-but that’s ok!
Fold it over again and iron, you’re done! Back to the shirt:
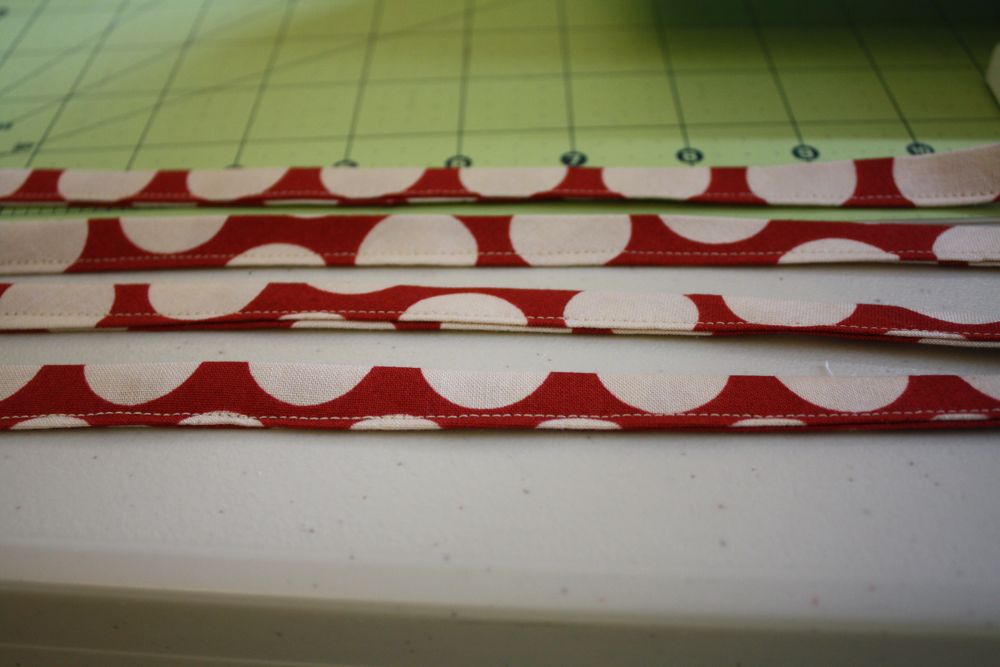
Cut four pieces from your bias tape-mine were 12″ long. (for the ties) Then, sew down the sides of them to create the ties. (I finished my ends with my pinking shears, out of laziness, haha)
Now we’ll take your sleeve pieces and make some little pleats! First, measure around your child’s arm, then add 3/4″ or so for the seam allowance. Then measure the bottom of your sleeve to see how much you need to pleat in order to fit your child’s arm. Does this make sense? Am I talking loco?
Anyways, in the center of the bottom of the sleeve, I formed a simple pleat by folding the fabric like so.
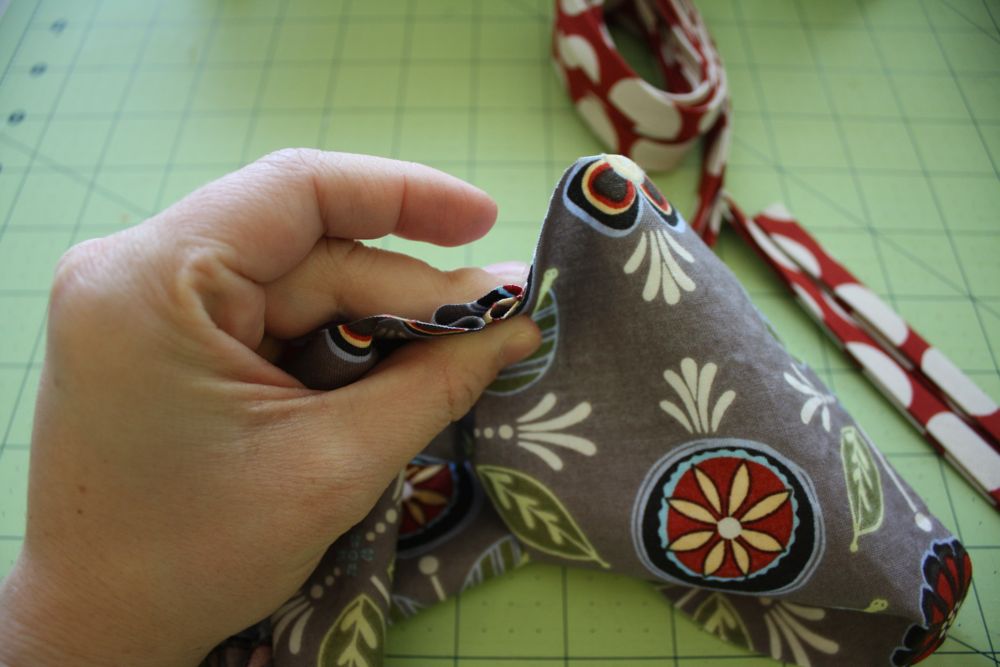
I then pinned it, (made sure it was the right length across) and basted it along the very edge to keep it together. repeat with other sleeve. Now it should match the measurement of your child’s arm+3/4 inch seam allowance.)

Then I cut two pieces of bias tape to fit the edge, wrapped it around the raw edge, and pinned and sewed it on, catching both edges of the bias tape.
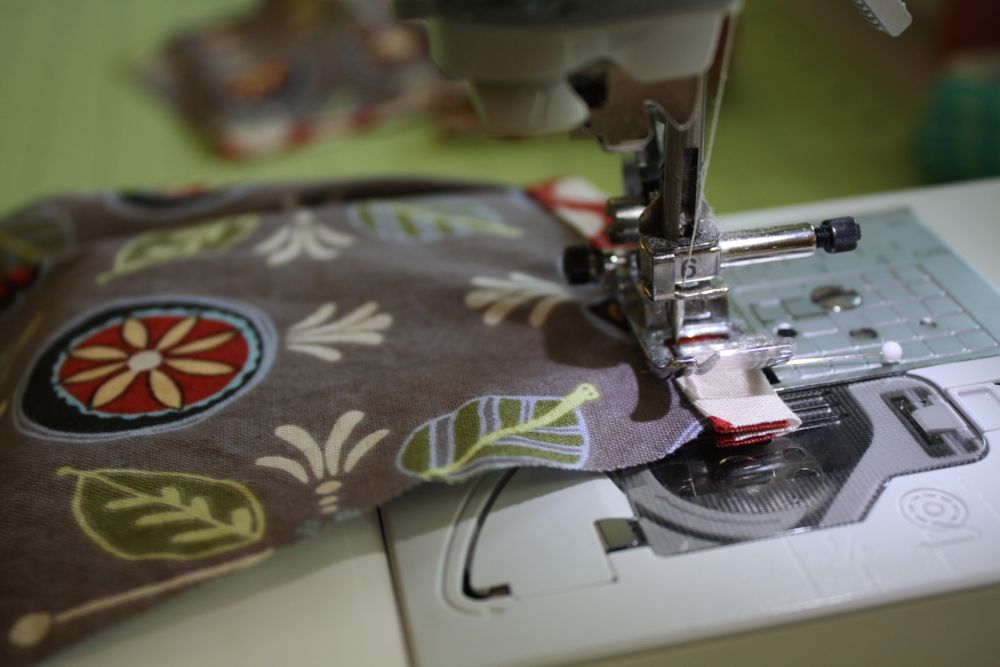
make sure to sew it slooowly…it will make your stitches look so much better.
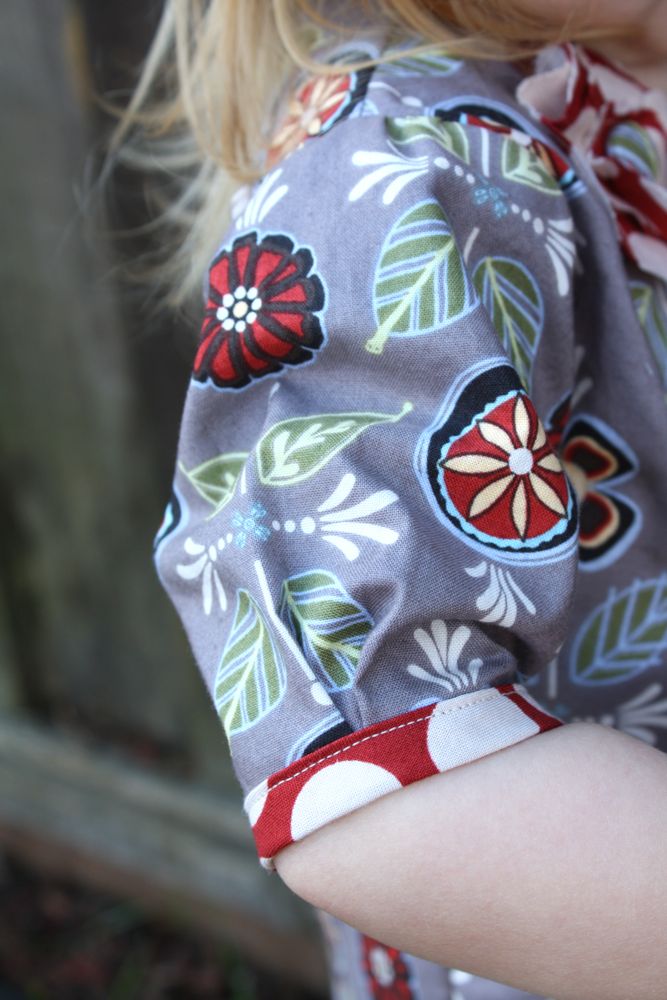
This is what your sleeve will look like eventually:
Let me know if you have any questions!
Tomorrow we’ll construct the shirt and finish up!
So I officially love you. Making my own bias was one of those intimidating ventures and so i just didn’t do it and have spent oodles of cash on it, you made that tutorial so simple…. THANKYOU !!!
This is so fun! I feel like I’m taking a sewing class. You are an excellent teacher. Thank you for putting this together. I’ll be attempting the bias tape tonight. 🙂
My fabrics just arrived last night after dinner. I’m thinking it will be a late night tonight but I’m super excited to get started.
I’m a little behind… My bias tape is made and my ties have been sewn. My daughter is sleeping, so I can’t measure her arm. Hoping to finish up before the weekend.
We’ve had out of state company so I am playing catch up! Love the tutorial and C can not wait to wear her new shirt!
I have a bias tape maker, but have never used it for a knit fabric? Would you recommend trying it or just doing it by hand? Any tips on bias tape making with knits?
Thanks!
PS. I started my playdate dress yesterday and am having a blast on it. Will show you pictures when I’m done!
Thanks for the quick picture rich tutorial! My mom just brought three of those bias tape makers over yesterday! Talk about perfect timing for finding your post. 🙂 I love the tip about pinning the end to the ironing board. and I didn’t know about cutting the fabric on the bias. So thanks!! 🙂