


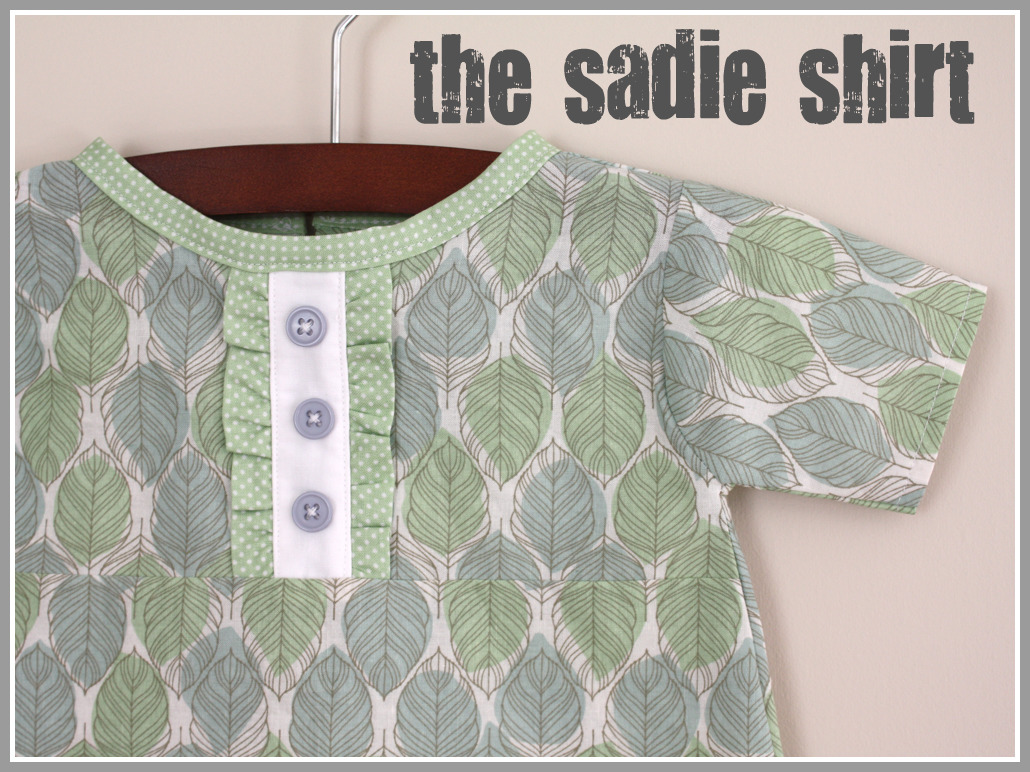
Sew, let’s get going on the button closure for your shirt!
Dontcha love sewing humor? har har.
Click below for more!

Grab your small piece of main fabric, the one that was about 3″x6″.
Serge or zig zag stitch the edges.
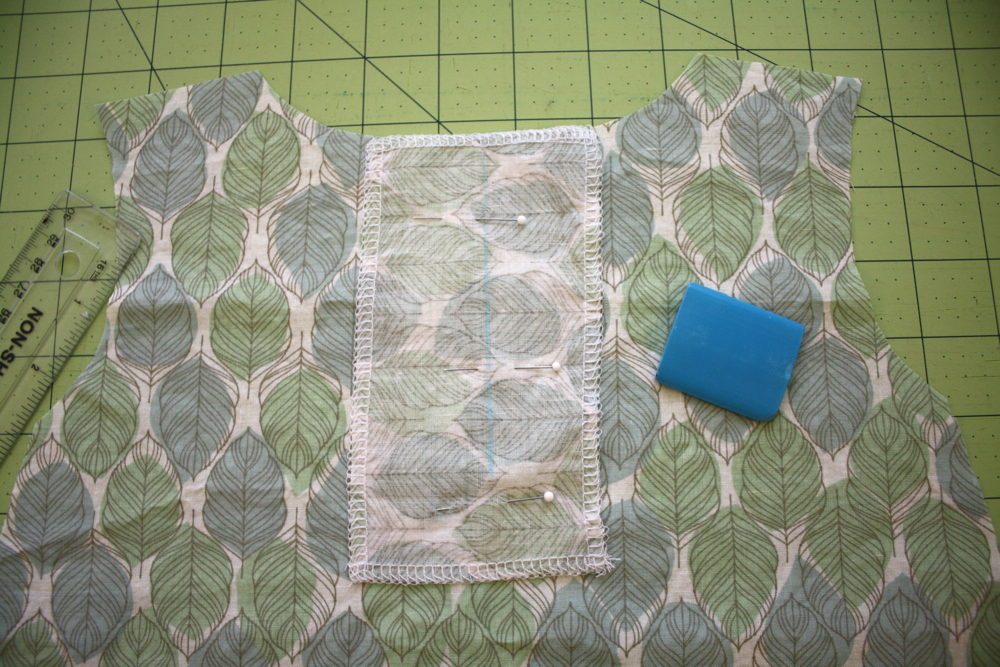
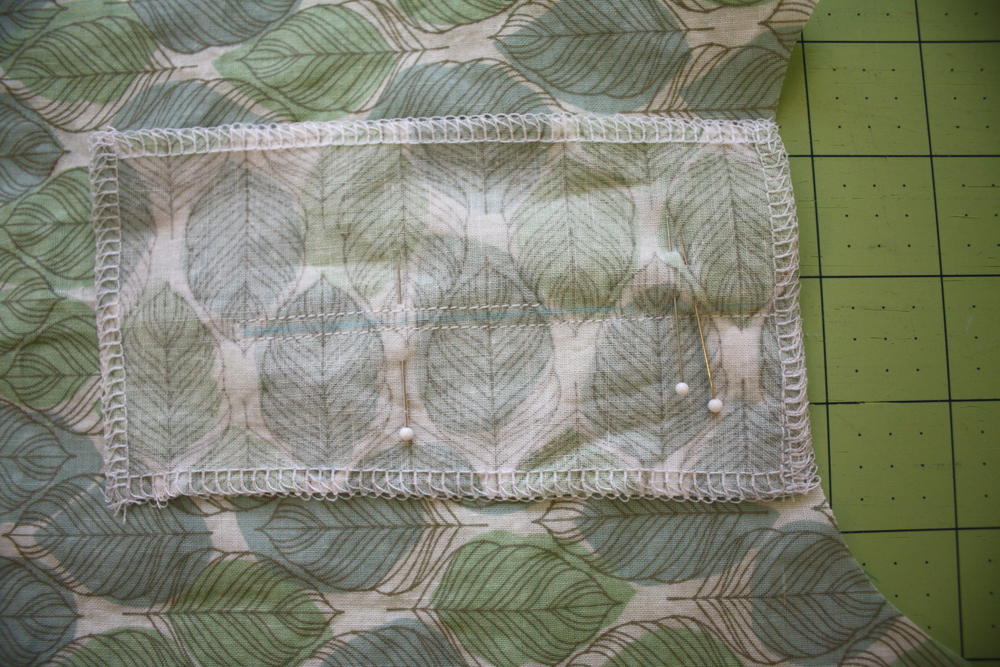
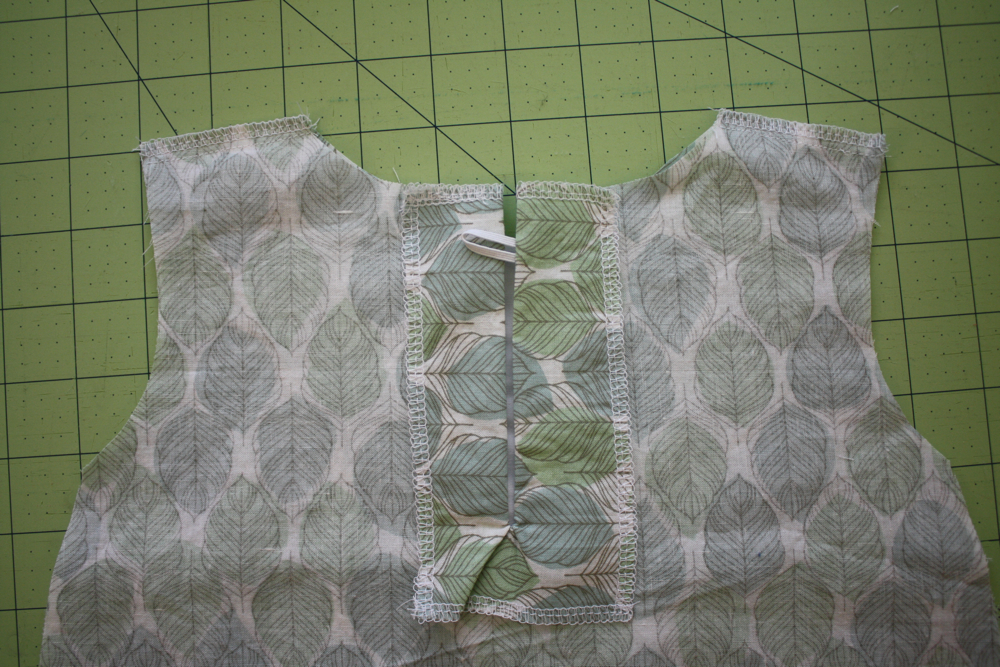
In the center of your back piece, place it right side down like so, and pin…then using a ruler and tailor’s chalk (or invisible ink, or a regular ol pen since you won’t see it), draw a line down the center, stopping about 1.5″ from the bottom of your fabric piece.
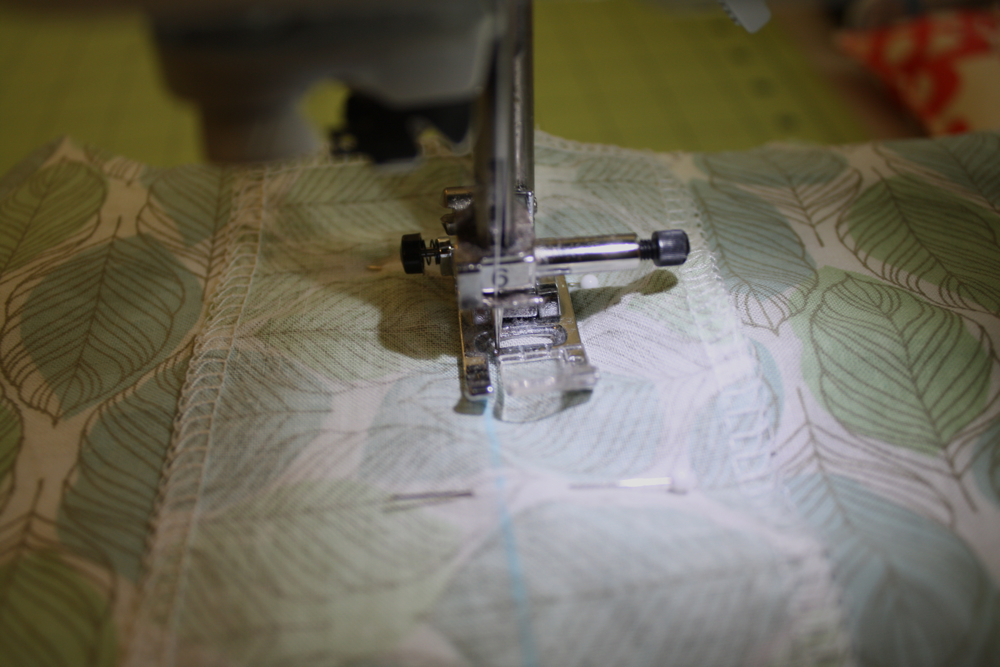
Then, starting at the top, sew down one side, about 1/8″ from the line..then over a few stitches at the bottom, and start going back up the other side, but a little bit further from the line. STOP about halfway up and cut your threads..we’ll be adding the elastic now!
Cut a piece of 1/8″ elastic (mine was about 2″ long, you will need to shorten it if your button is smaller, etc), and place like so about 1″ from the top. Make sure both ends will be enclosed when you continue sewing. This is why you started sewing up this side a little further from the line-it makes a stronger seam for your elastic!
Add a couple pins there to hold the elastic in place, and pick up where you left off, sewing up the rest of the way. (slowly over the elastic!)

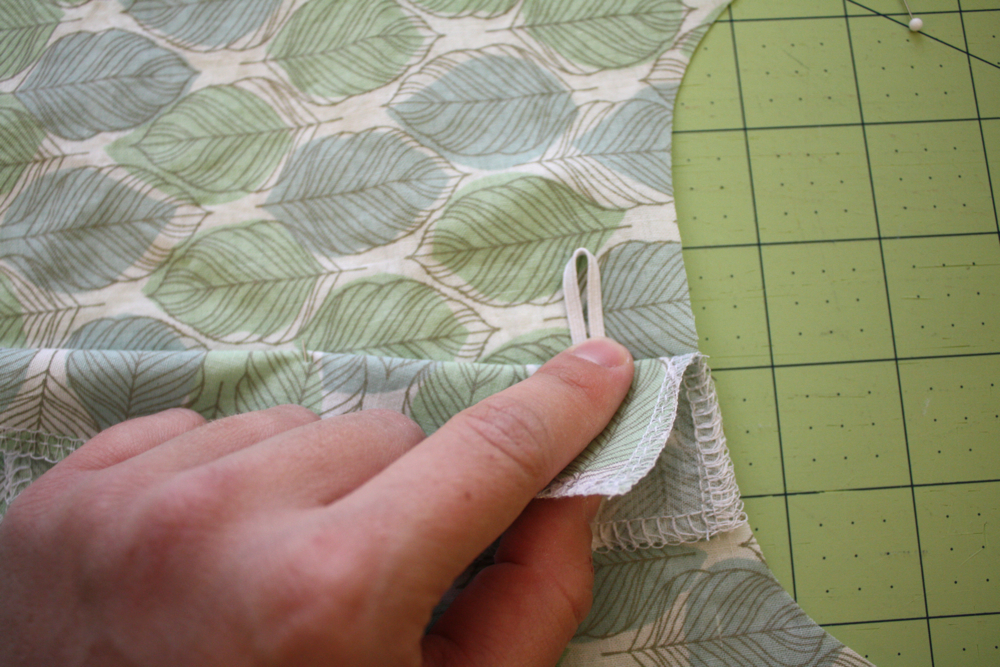
Next, carefully cut along your line with scissors like so.
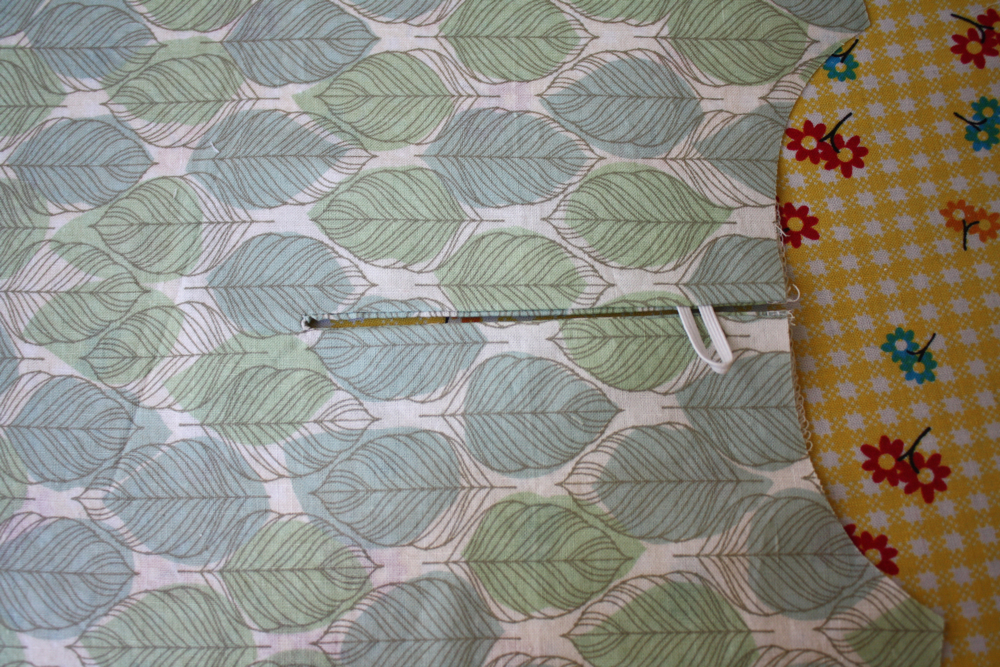
Turn right side out and press with your iron.
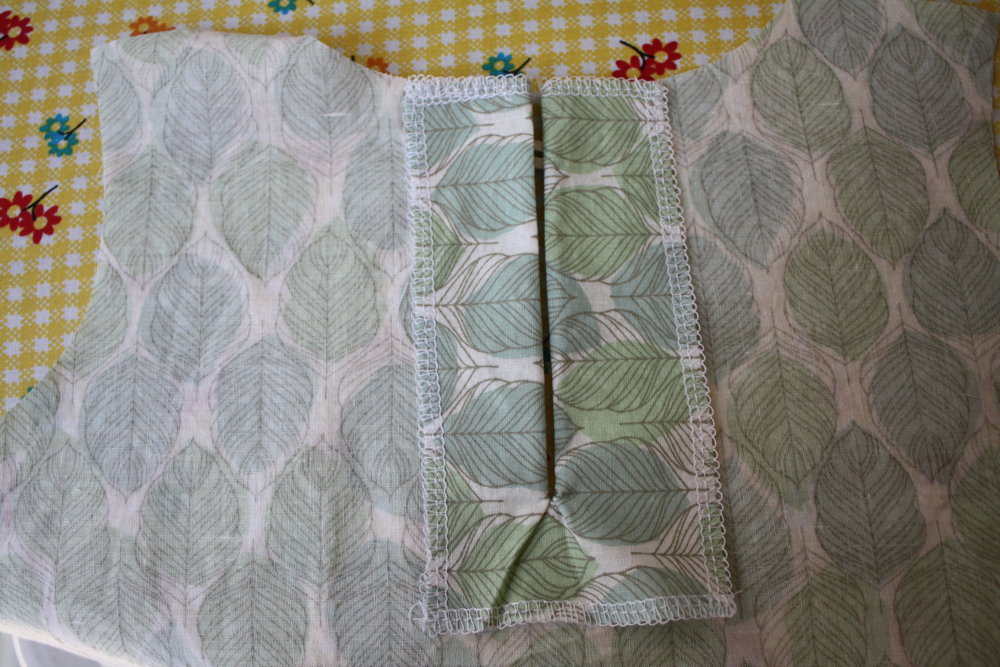
Hopefully your back was a little straighter than mine. lol. And that crease is just lazy ironing, ooh well.
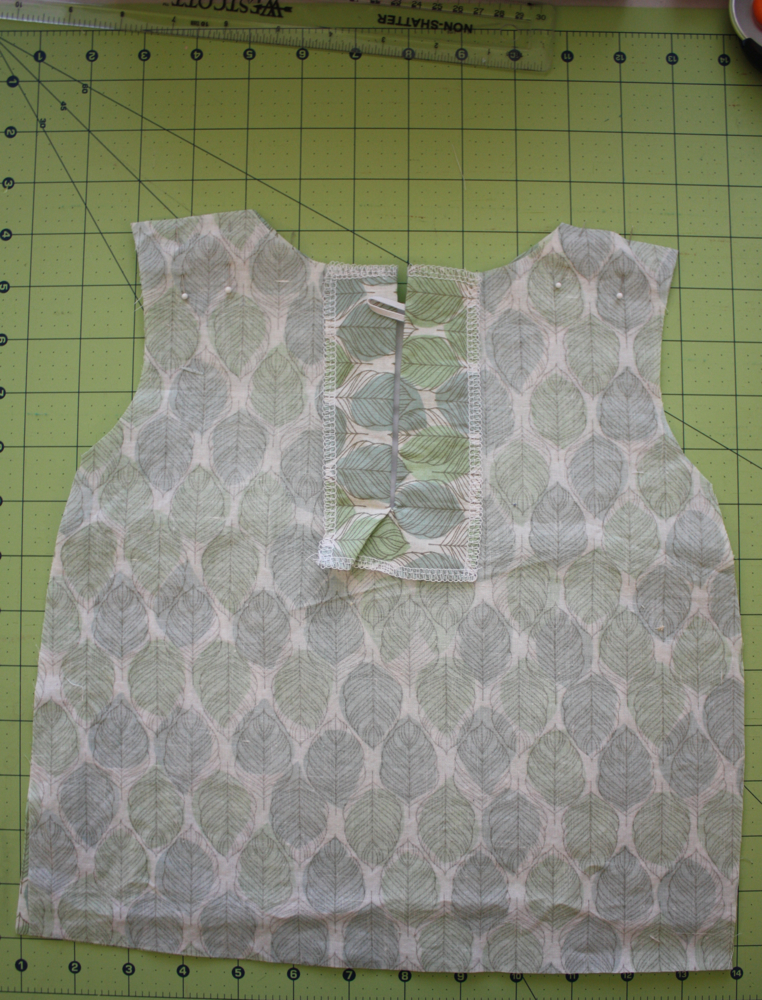
Next, place your front and back pieces right sides together and pin at the shoulder seams. Also, trim up the bottom of your shirt if it doesn’t match perfectly. (mine didn’t, no biggie)
sew the shoulder seams together and serge or zig zag stitch the seams.
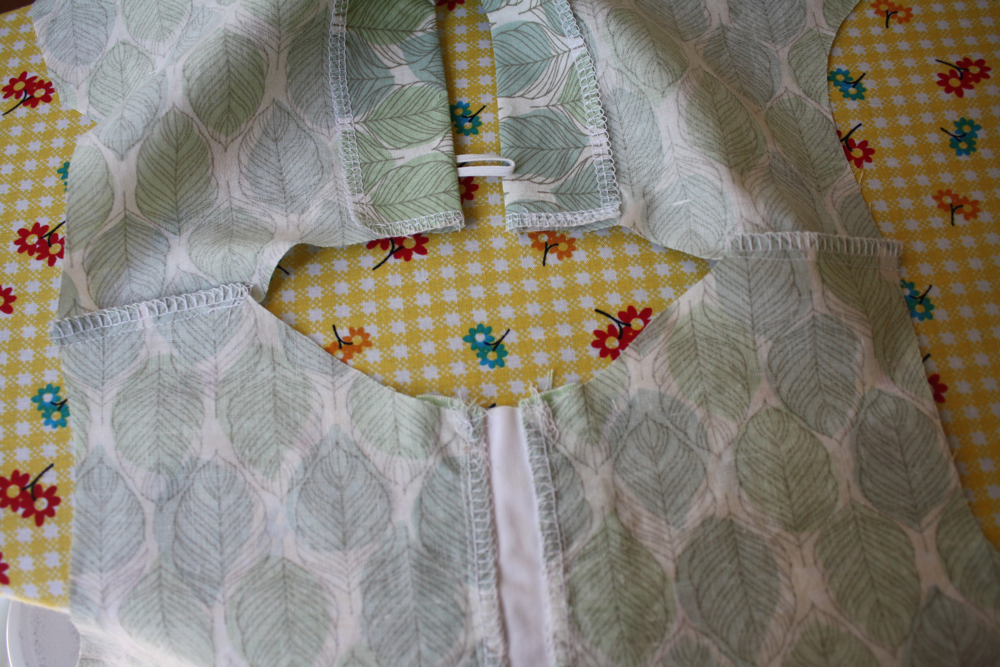
Your last step of the day is to press those seams. Press them towards the back of the shirt. My mom taught me that-it’s to prevent bulkiness in the front of the shirt.
Of course, let me know if you have any questions, and I’ll answer them in the comments.
Tomorrow: Sleeves!

Easy Peasy! 😉
Finished without any problems today, Jess! Great directions! (In case you missed it, today I blogged about a mishap I had on Day 2. I can look back and laugh at it now, but I wasn’t laughing at the time:)
I am having a blast with this sew along… and today I totally got carried away and sewed in the sleeves! :O
This is great! I’ve wanted to learn how to do this!
I am having a problem however with the bottom of the “loop” where the seem ends. When I flip it right side out when I’m all done, and iron it, it puckers and I can’t get it to lay smooth.
Any suggestions?
@ Vivismama-if you clip into the corners (so that you clip a V into the bottom of the seam) that helps it lay flat!
hi, I’ve just tried your trick for an easy close and thanks thanks a lot , I hated to sew thiese and now i found it so easy, will send you a photo of the dress I made later , have a nice day
Oh my goodness! I’m so glad to have found this. Every time I need a tutorial and I check on Pinterest, it links to something you’ve done. So much talent and such great directions!! Thank you!!
Such a nice tutorial. It helps me a lot to sew my daughters frock’s closure. Really good