


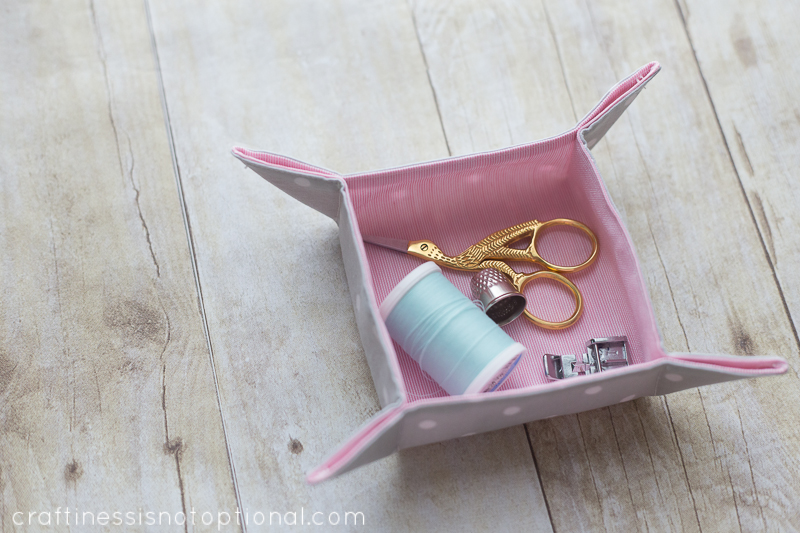
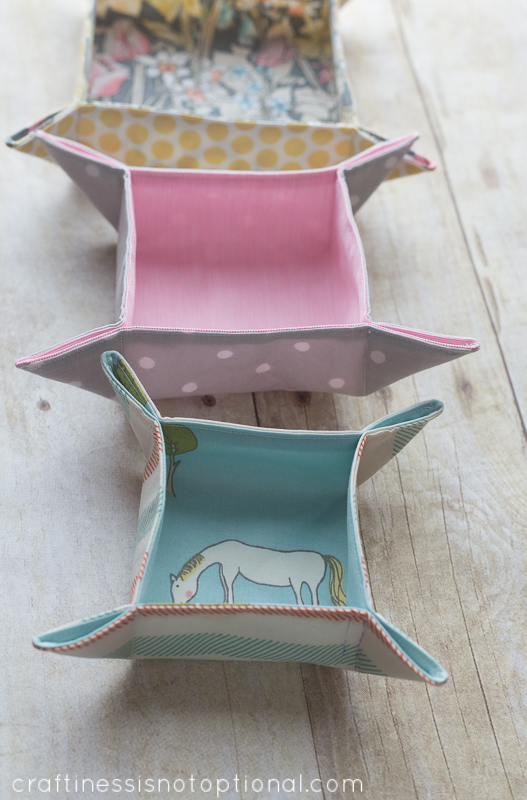
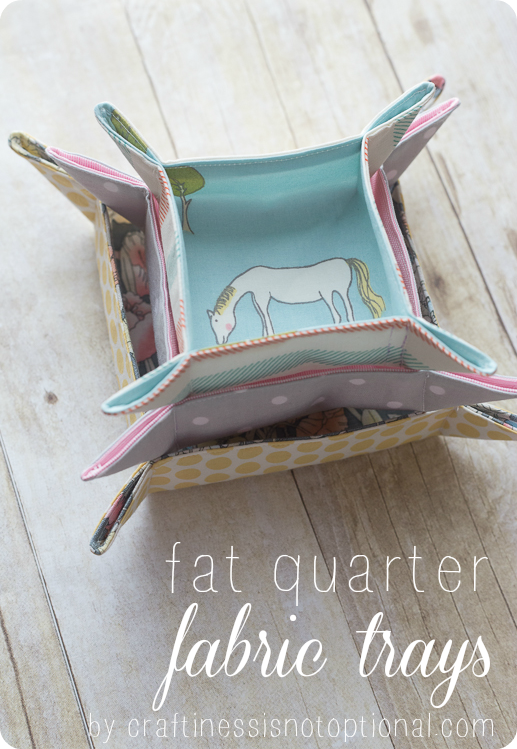
I am so excited to be over on Ucreate today (yes, THE Ucreate!), for their amazing series all about using up those fat quarters we all hoard. I know I’m not alone…right ladies? 🙂 The first step is admitting you have a problem…. hehe. This particular project is fantastic for scraps, as well! Which I also have plenty of. Fabric hoarders anonymous, anyone? Anywho, these little fabric trays can be whipped up in no time and are great for corralling small items, such as jewelry, loose change & keys, or the obvious: sewing supplies!
Hop over there to see the full tutorial!
and check out the other participants AMAZING projects by clicking through the links below!
Hi there! I’m Jess and I blog over at Craftiness is not Optional, about sewing kids clothes, sewing for me, and just plain sewing. I also love to craft it up, plan a good party and DIY the heck out of my house!
I am so excited to be here today on Ucreate for this amazing series all about using up those fat quarters we all hoard. I know I’m not alone…right ladies? 🙂 The first step is admitting you have a problem…. hehe. This particular project is fantastic for scraps, as well! These little fabric trays can be whipped up in no time and are great for corralling small items, such as jewelry, loose change & keys, or the obvious: sewing supplies!
Here’s how I made them!
You’ll need:
fat quarters or scraps-lining and main fabric
medium weight iron-on interfacing
thread and basic sewing supplies
that’s it!
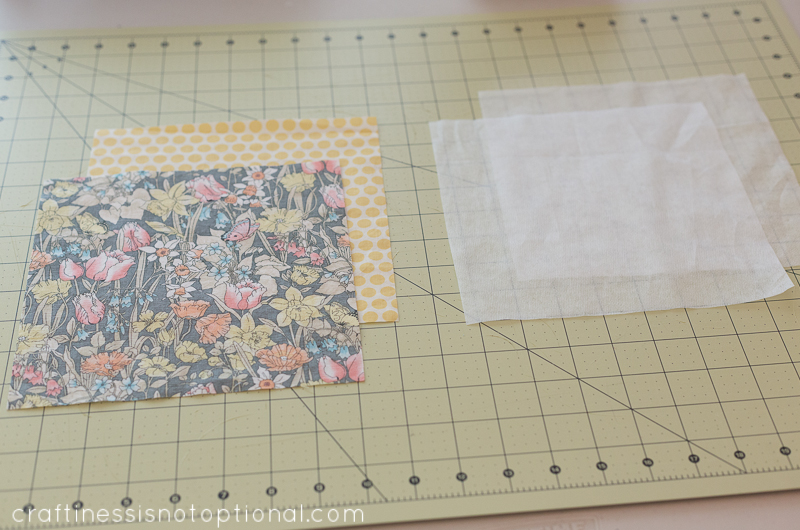
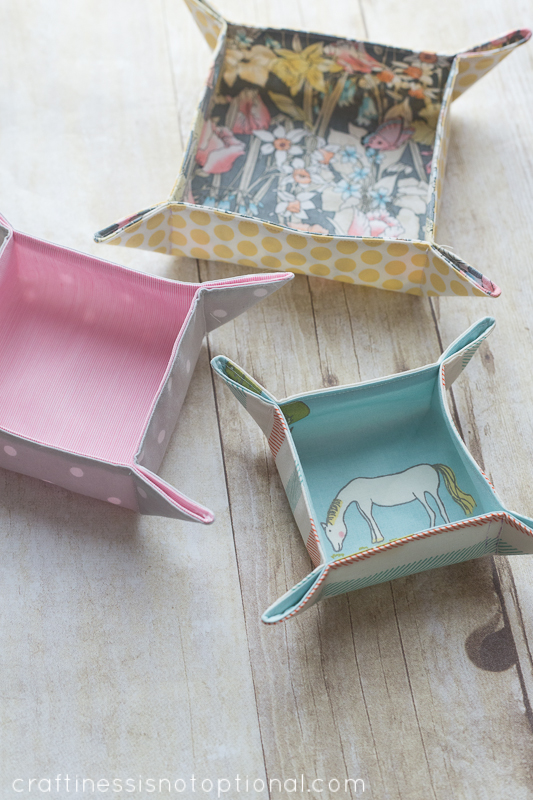
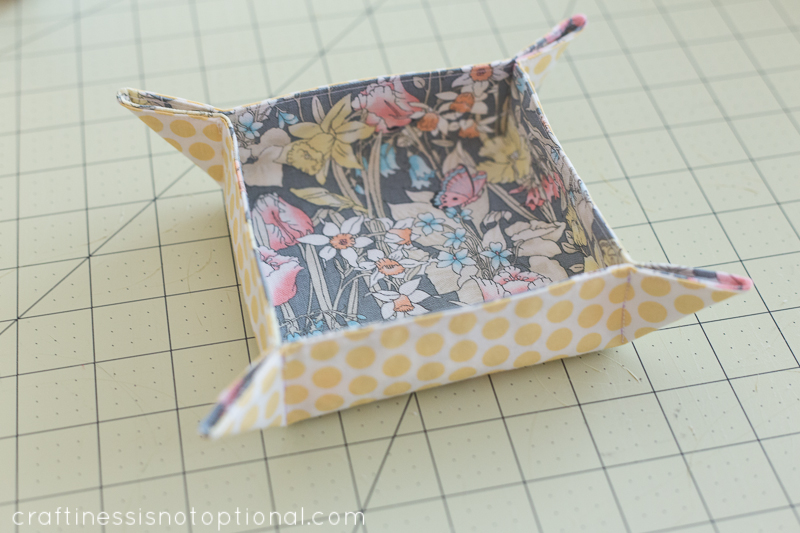
For the largest tray I made, I cut an 8″ square from my main and lining fabrics, and also two 8″ squares from the interfacing. The other sizes started out as 7″ and 6″ squares.
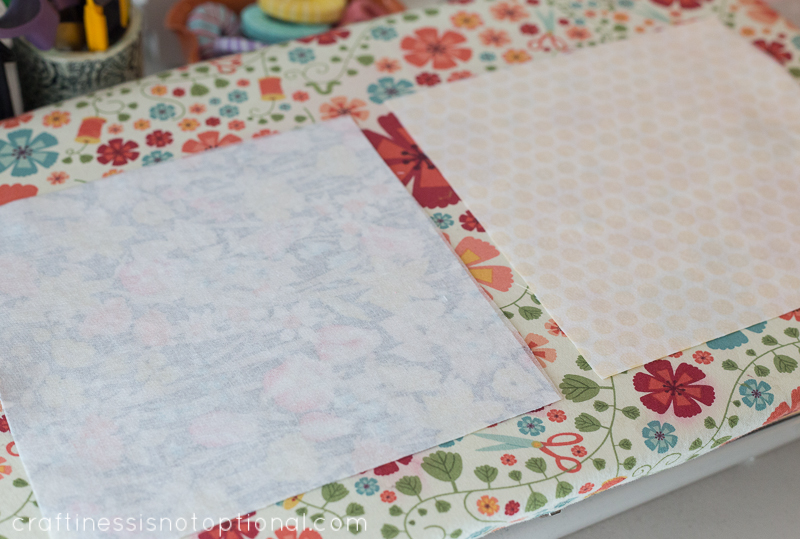
Apply the interfacing per the instructions to the wrong sides of the fabric.
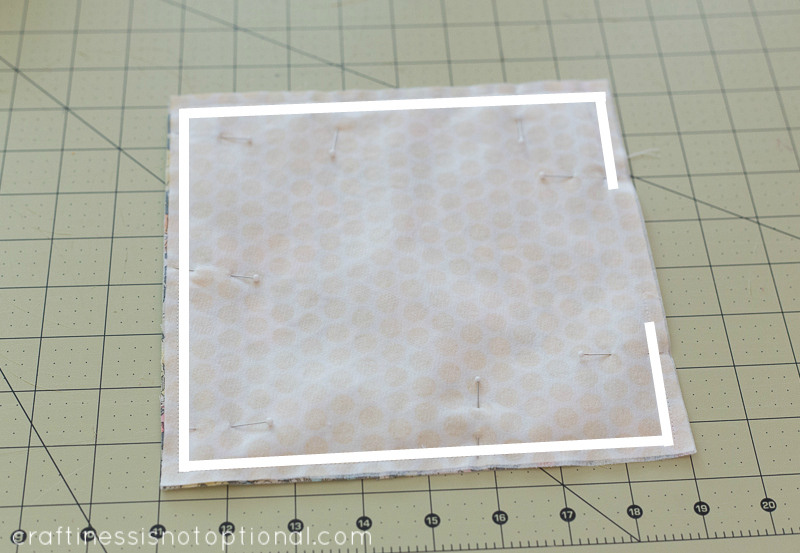
Place the squares right sides together and pin around the outside. Then sew around the square as shown, 1/4″ from the edge, leaving a 2-3″ space for turning right side out. Clip the corners to reduce bulk.
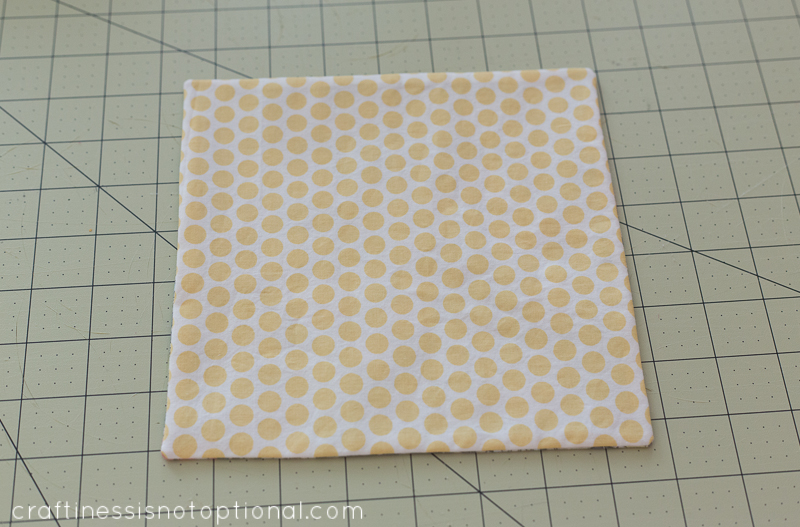
Next turn the square right side out through the hole you left, and gently poke out the corners (I use a chopstick), then press the entire square with your iron, rolling out the sides with your fingers to get a crisp edge.
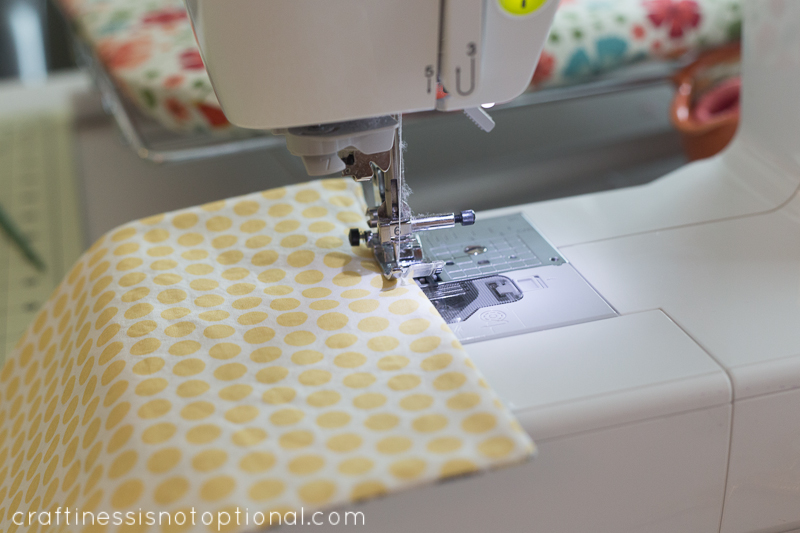
Then topstitch 1/8″ from the side around all four edges.
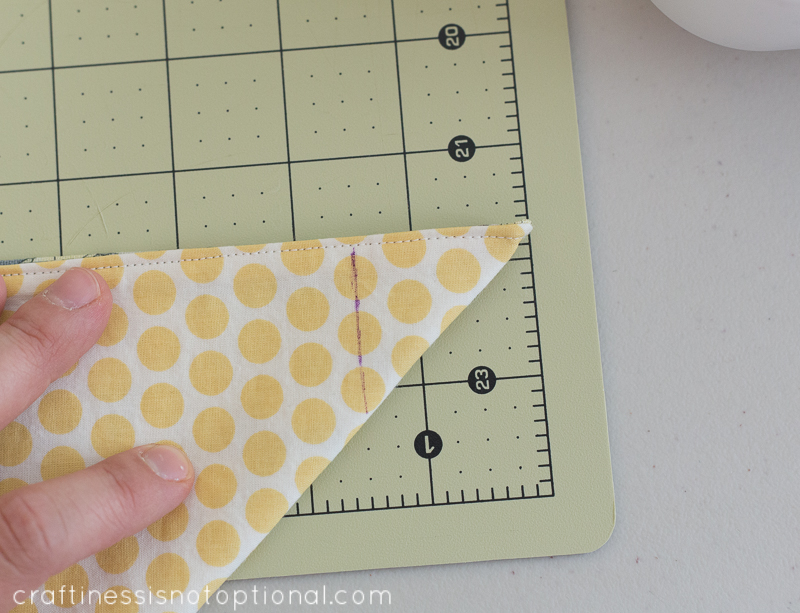
Then fold a corner so that the right sides of the lining fabric are facing each other like so. Measure and mark with a disappearing marker or pin, 1.5″ across the tip like so (1.25″ is a great height for this size, too), and sew along the mark. Make sure to backstitch at the beginning and end of this seam.
Do the same to the other 3 corners, and you’re done! Add your little gadgets and gizmos aplenty and enjoy your cute fabric trays! Thanks for having me, Kari and Becky!
So cute!! I’m drooling over that floral fabric you used – do you mind me asking where you found it? 🙂
Love it!
Thank you for a lovely idea and easy tutorial to follow.