


I’m so excited to be participating in Anna (from Noodlehead) and Shannon (from Luvinthemommyhood)‘s Sewing with Knits series!

Both Anna and Shannon are fabulous and talented gals, not to mention so sweet. 🙂 It took me forever to settle on a knit project to do-I had just come off of an obsession of my own with knits, so I was kind of out of knit ideas for the time being, lol. Pinterest to the rescue!
I quickly found (thanks to my best pal), and was enamored with the simple style of this top from Garnet Hill:
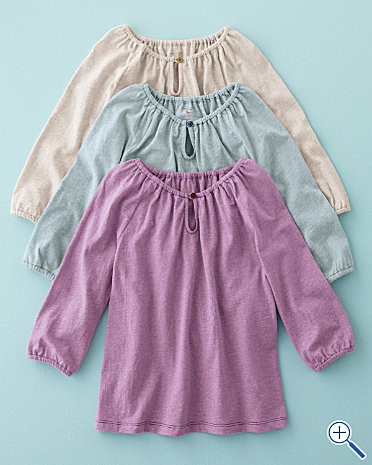
So I set out to figure out how to make it myself. I used my raglan tee pattern and tutorial for most of the construction, so I’ll refer you to that tute for some of the top, the rest I’ll show you how to do right here, right now.

It has a cute keyhole neckline, with elastic casing around the neck and button closure (though not that necessary because of the elastic, mostly there for the cuteness factor), and 3/4 sleeves with a bias tape trim. I used a jersey knit sheet set (clearance-$6), so I used the finished edge for my hem.

I think Sadie looks like a little woodland nymph or something. Grass nymph? What’s a nymph, anyways? I’m pretty sure it’s like a fairy. I hope. Am I thinking of a sprite? Anyways…that’s neither here nor there. Get on with the program, Jess!

Ok.
You’ll need:
jersey knit (yardage depends on the size of course, I probably used 3/4 yard or so for this top)
ballpoint needle
thread
1/4″ and 1/8″ elastic
Some tips for sewing with knits:
*Always use a ballpoint needle! It makes a difference, believe you me.
*You can use polyester thread, but sometimes I am too lazy to switch it out and use regular cotton and it’s fine.
*You don’t need a serger, but they are nice, if you have one, to use on knits. Though, I sewed on lots of knit projects before I started using my serger and got along just fine without it!
*Spray starch is your best friend whilst attacking knits. (especially lightweight jersey) It can help wrangle it into submission while making bias tape, or just keep edges from curling.
*Take your time while sewing and don’t tug at the fabric. Let the feed dogs do their job.
*Use your iron plentifully. Steam every seam when you’re done with it, but don’t drag the iron across the fabric. Lift and press. It will help your stitches sort of “settle in” and look much neater.
Ok, so first off you’ll need a raglan tee pattern. (which is so easy to make! Check out my instructions here.
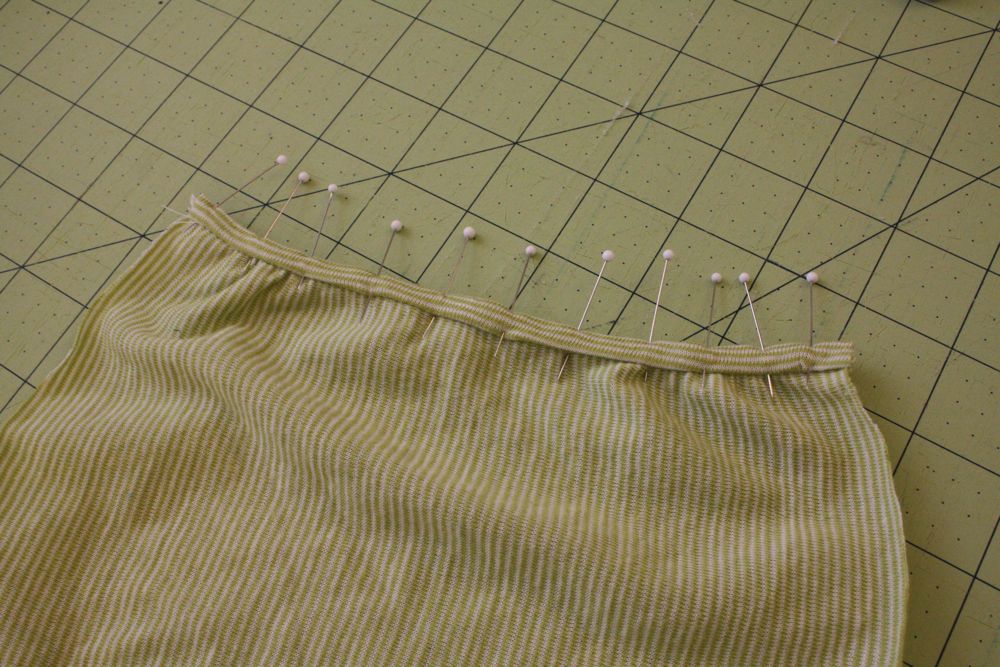
Ok, now that you’ve got a pattern…to allow for some gathering, add 1.5″-2″ of extra material on the fold. Cut 2 of your bodice piece on the fold. (use an existing hem if you can, if not, make sure to allow for fabric to hem up when making your pattern)

Do the same for the sleeves…I cut mine out a lot longer, but forgot to take a picture of those sleeves. oops. The sleeve length is of course up to you, but I love the 3/4 length!

Then I cut a piece of material (doesn’t need to be on the bias) 1.5″ wide x about 40″. It may need to be less or more, depending on your size, this will be the neck casing and bias trim for the sleeves. Press it in half, wrong sides together, with your iron. (I’ll call this bias tape from now on even though technically it’s not. I’m such a rebel.)

Then take one of the bodice pieces, fold it in half and cut a small piece out for the keyhole.

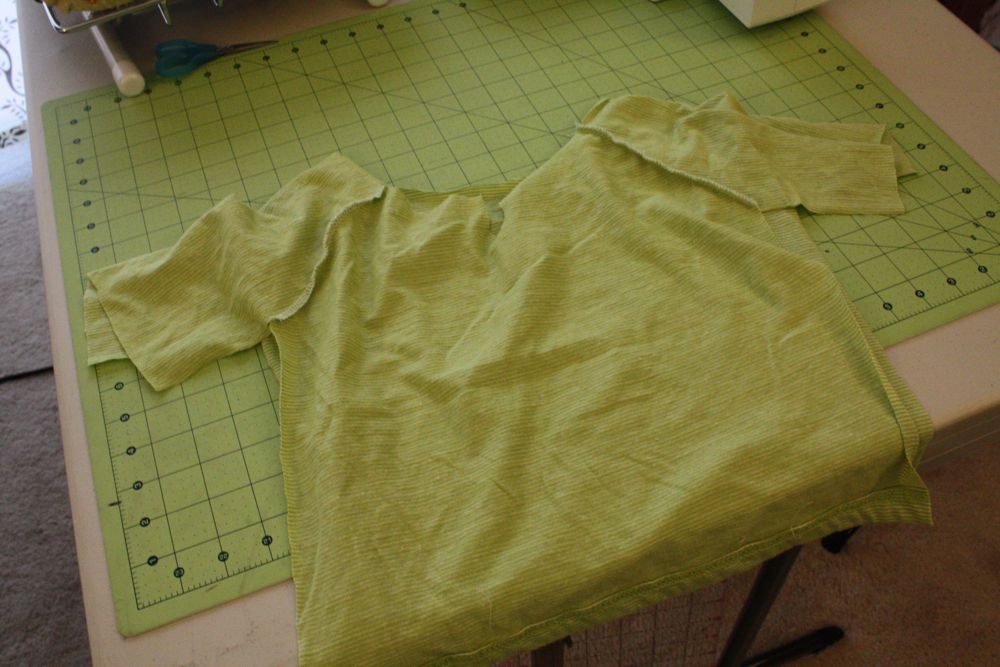
Then I sewed both bodice pieces and both sleeves right sides together like so. Leave the sides open.
I took a small piece of the bias tape, and pinned the raw edges of the tape and keyhole together.
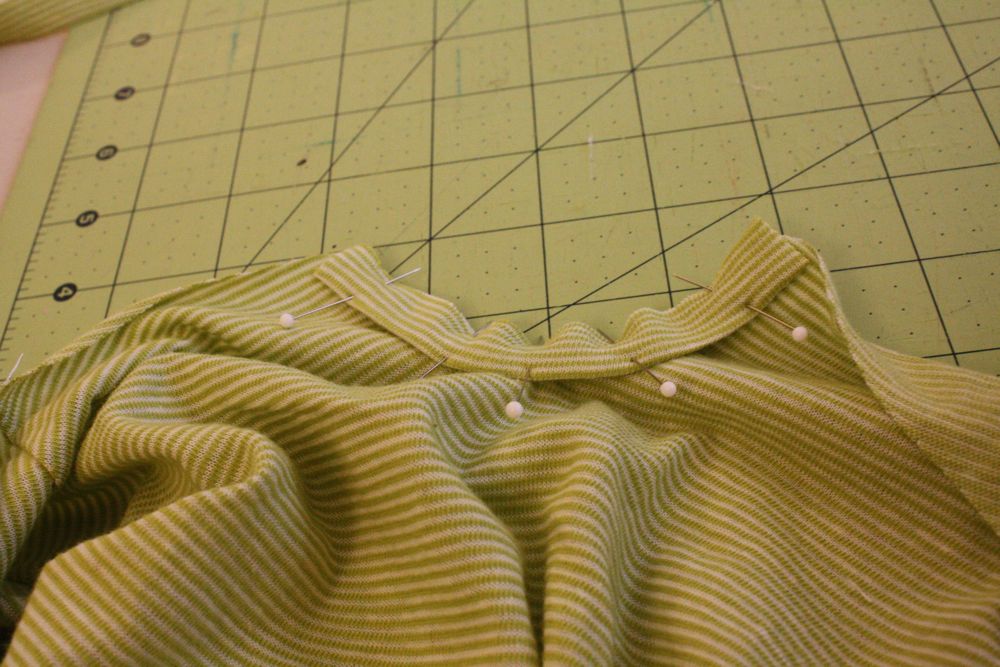
I sewed it on, then pressed with my iron.
Then I took the rest of the bias tap to make the casing on the neck. I folded in the end about 1/4″, then continued pinning it right sides together, to the neckline.

Then I sewed along the edge, 1/4″ from the edge. Fold under the other end of the tape as well.
Then fold the tape over, enclosing the raw edge, and fold under the edge of the tape, then pin well. Pinning close together helps the tape not come undone.

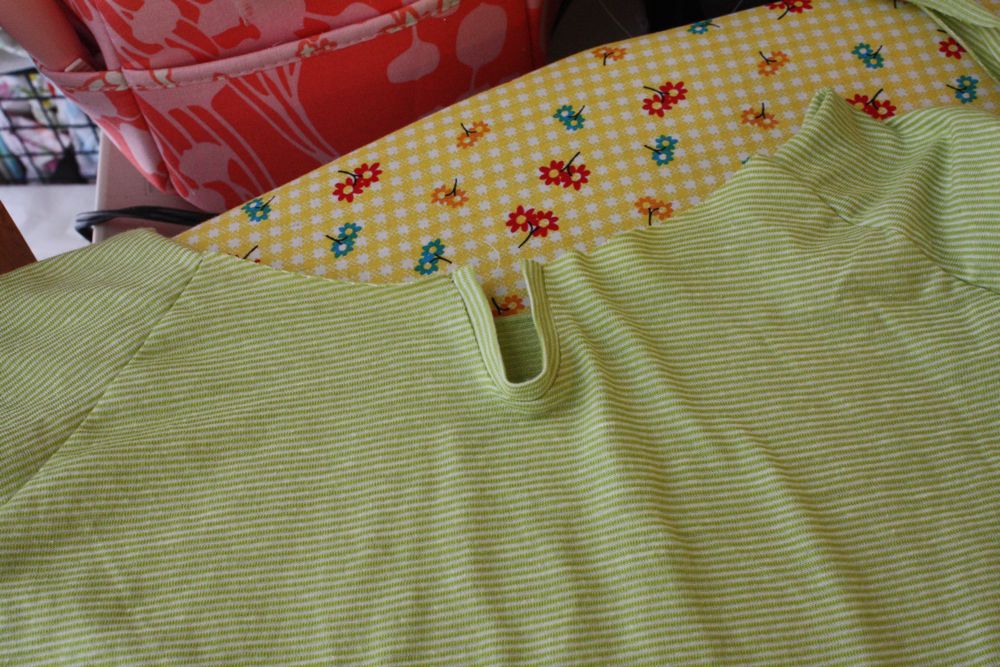
It should look like this when you’re done with that step.

Then sew along close to the edge, catching the other side of the bias tape with your stitches.

The two ends will be open, for you to insert some 1/4″ elastic (I cut mine 14″), with a safety pin. Pull it through until the end is almost enclosed, then tack it down inside the casing.
Repeat for the other opening.

Then cut a small piece of ribbon or 1/8″ elastic about 2″ long to be your button closure. (obviously I chose a different button in the end, that one had a dot on it. Sad day, it would’ve been cute!)

Then sew the elastic onto the back of one side of your keyhole. Sew the button on the other side.

Then do the same for the sleeves as you did for the casing. Pin right sides together, then sew.

Fold it over and sew again. I gathered the bottom of my sleeve just a tiny bit before I sewed on the tape.
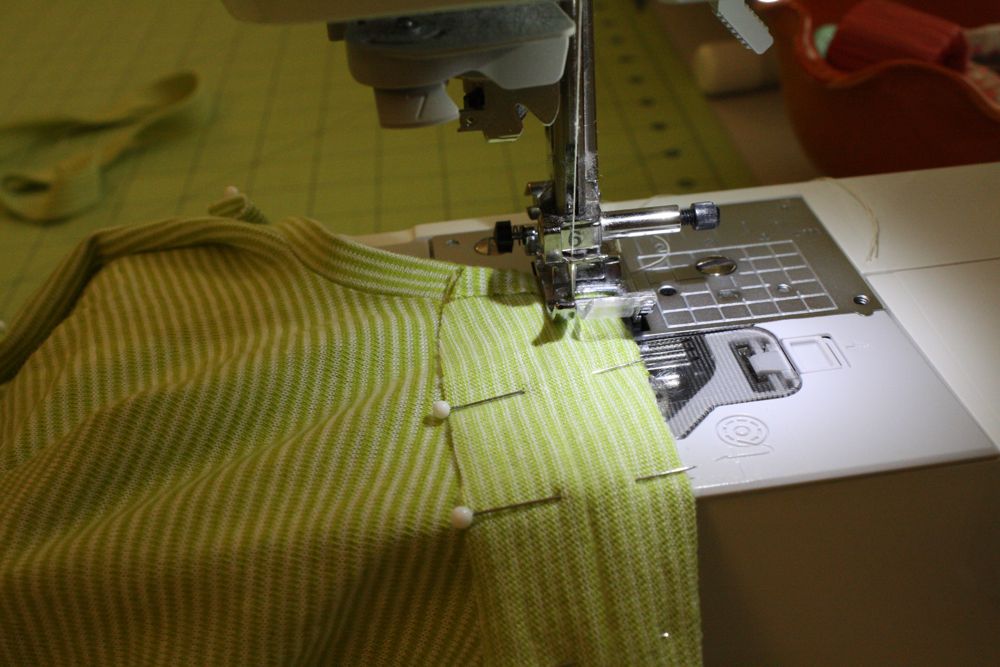
Then sew the sides of the shirt right sides together, and hem it if necessary.
I think it’s a winner! Thanks, Anna and Shannon, for inviting me to join in on your knit series!

Ohhh! it’s really beautiful, your girl looks so sweet!!! thanks so much for sharing it.
This is simply adorable! You are a great artist! Congratulations!
Ana
Jess, you have a gift.
lovely! a quick question…do i need to stretch the fabric as i sew or just hold it firmly while the feed dogs pull it through?! last time i made a top with knit bias tape it wouldn’t go over my daughters head :S thanks.
Your daughter is SO cute!! 🙂
This is a really nice top, too – doesn’t look too tricky to make either, which is great!
I love it 🙂 I hope to have a time this week to do this for my little girl 🙂
Adorable top!
i have to make this!
yay Jess! i looooove it. it’s so freakin cute! Thanks for hanging out with me. 🙂
This is really fantastic, Jess. It looks really comfortable… something my girls would love to wear all the time. Pinning now!
I love it!!! I linked to your tutorial on Craft Gossip Sewing:
http://sewing.craftgossip.com/tutorial-flora-fauna-knit-top-with-keyhole-neck/2011/07/25/
–Anne
Would make a great dress, too… hmmm, with leggings… adorable!
Omg, another amazing tutorial and a light bulb moment for me. Sheets! Why did I not think of that sooner! My daughter loves nightgowns and jersey and flannel are a bit pricey for something she out grows so fast but sheets on clearance would be perfect! Thank you!!!!
I am really looking forward with trying out knits more and this top is ADORABLE and looks so comfy. Thank you so much for the amazing tutorial…as always!!
Awesome! this is so cute! Back to school shirts for sure 🙂
Thanks Jess!
I {heart} this one.
Great tutorial! I’m looking forward to making this for my little girl this fall.
p.s. love that you got the fabric on clearance @ Target!
Love this! As usual, fantastic job! BTW according to Wikipedia: A nymph in Greek mythology is a female minor nature deity typically associated with a particular location or landform. 🙂
Also, your “You might also like,” doesn’t seem to be working. There aren’t any posts connected to them…
This shirt looks so cute and SOOO comfortable! I love the pictures of Sadie too! She is just adorable! Thanks for sharing yet another fabulous tutorial!
Oh I love it! I just got the Growing Up With Garnet Hill catalog last week and I swear this top is one that Luca requested. They run $39! Pricey for a knit top. Now all I have to do is learn how to make leather boots. Just kidding, Luca is in love with a pair from that catalog and they are $79!!! Not going to happen.
Your daughter is adorable and I love your shirt tutorials! I think I have pinned all of them so I can make them later!!! Thanks for sharing!
As always, love your tutorials. Be making my gal some clothes for preschool—this will be perfect: wash and wear but oh-so-cute!
Love your pictures of Sadie!
This is a darling top! Thanks for the spray starch tip! I’m kinda scared to iron my knits a lot b/c I’ve melted a few onto two irons (not on high heat and not leaving the iron in one place for more than the briefest of seconds). . . . Hopefully my very slightly less cheap iron won’t melt them.
BEAUTIFUL!!! Its lovely, would love to try this for my daughter.
This is just want I want to make, except longer – as in a dress. I have one question, please. When you fold the bias tape to the wrong side, do you fold the raw edge under? Thanks for much, and thank you for your wonderful ideas!!!!
This is so darling! What a super tut! I found you on Pinterest and have fallen in love with your blog!! New follower here. 🙂
Do you think I could use a quilters cotton if I turn it around and make the button area a bit larger.