


Today I’m excited to be a part of Sew Chic and Unique’s “Inspire to Create” series! There have been some fantastic projects so far-be sure to go and check them out!

I chose to make a cute little apron for the Sadester. To match her tablecloth and oven mitts of course!
Sadie just loves playing with her play kitchen-and also in the real kitchen. Cookies are her favorite thing to make-of course! Sugar! yah!

So, I thought I’d make her a little apron to help play the part, and stay “clean”. (since she already outgrew the one I made eons ago)
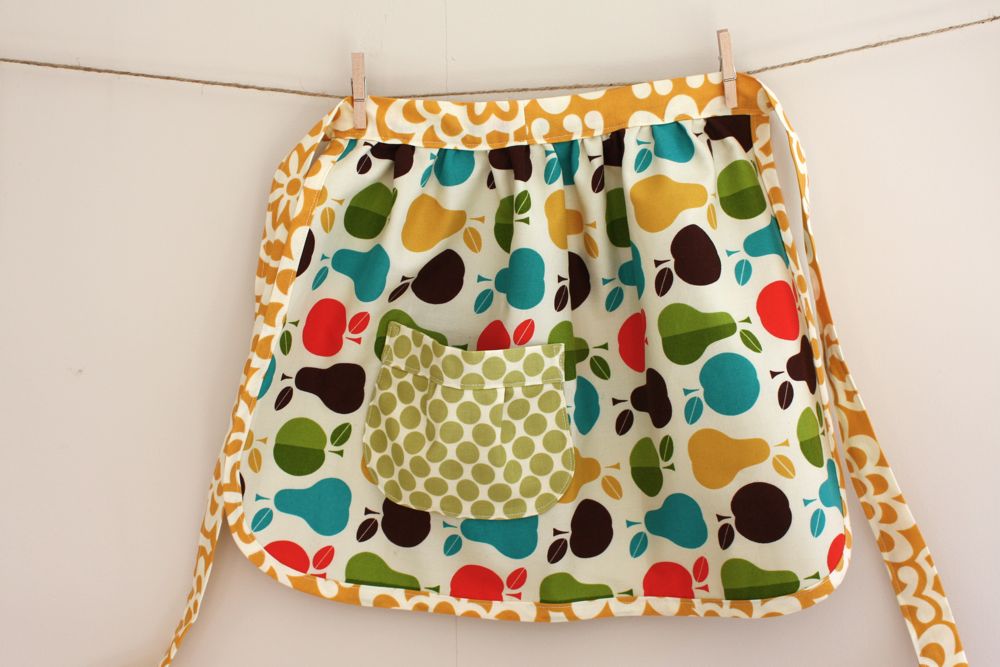
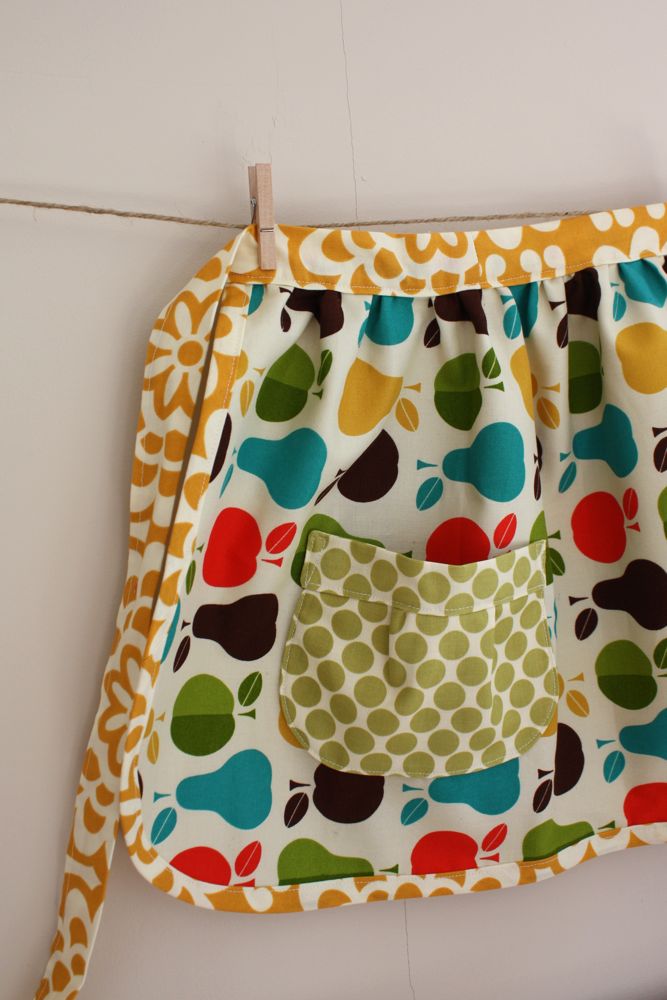
It has an adorable gathered waist and bias trim around the edges. (add a pocket if you’d like!)
Click below for more!

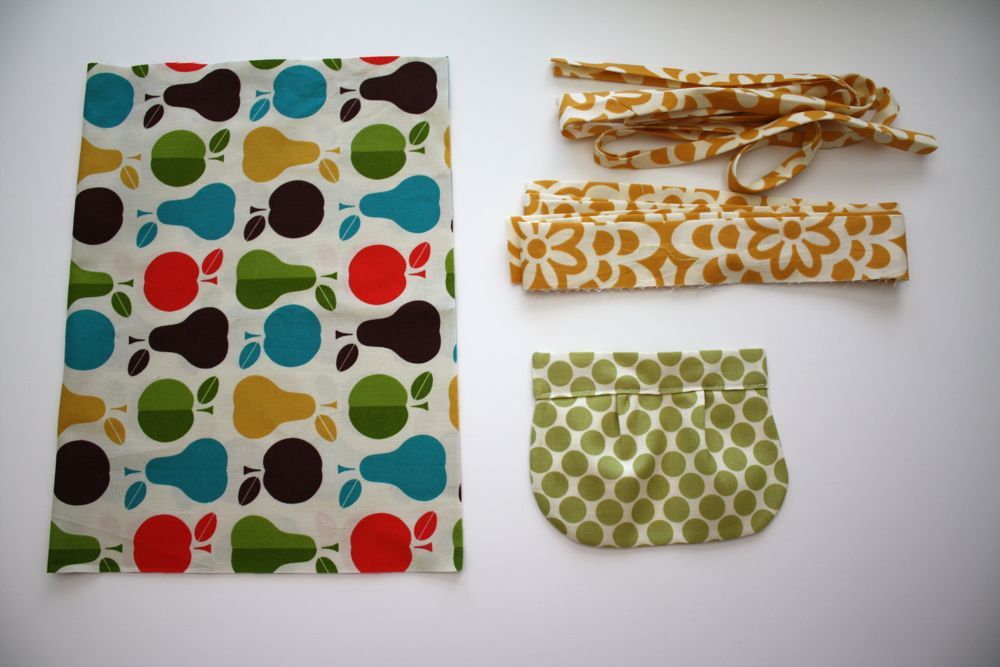
So, here’s what you’ll need:
one piece of fabric 18″x12″ for the main fabric…also a piece of the same size for the back-I used muslin (not shown) you could easily make this reversible-cute!
bias tape-homemade or bought
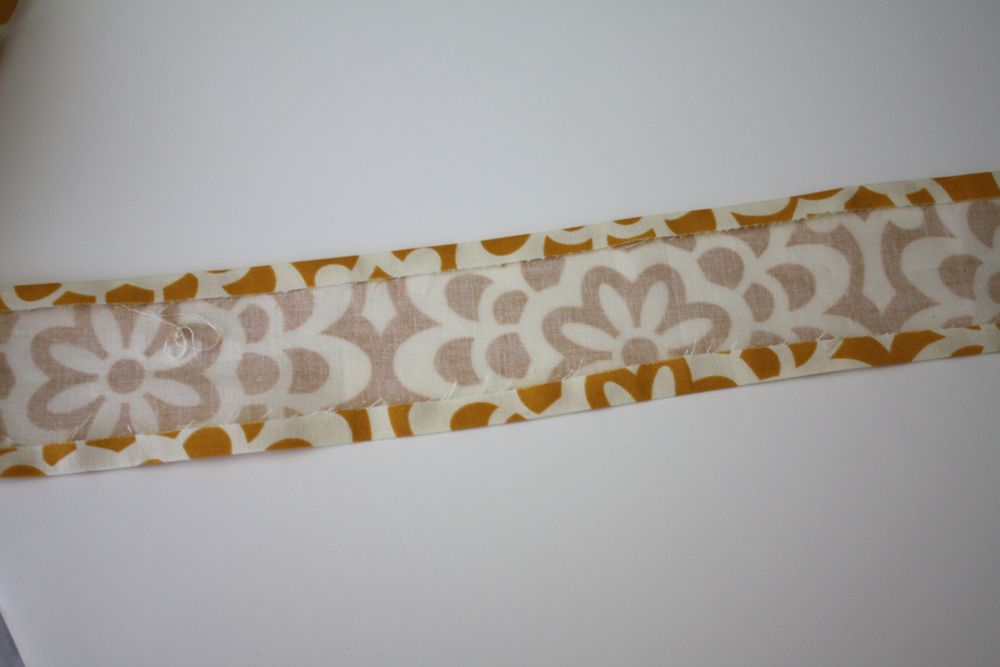
piece of fabric 72″x3″-folded in half and ironed (for your sash/tie)
a pocket if you would like one-I used this tutorial for mine
the regular sewing stuff-thread, machine, scissors, etc..
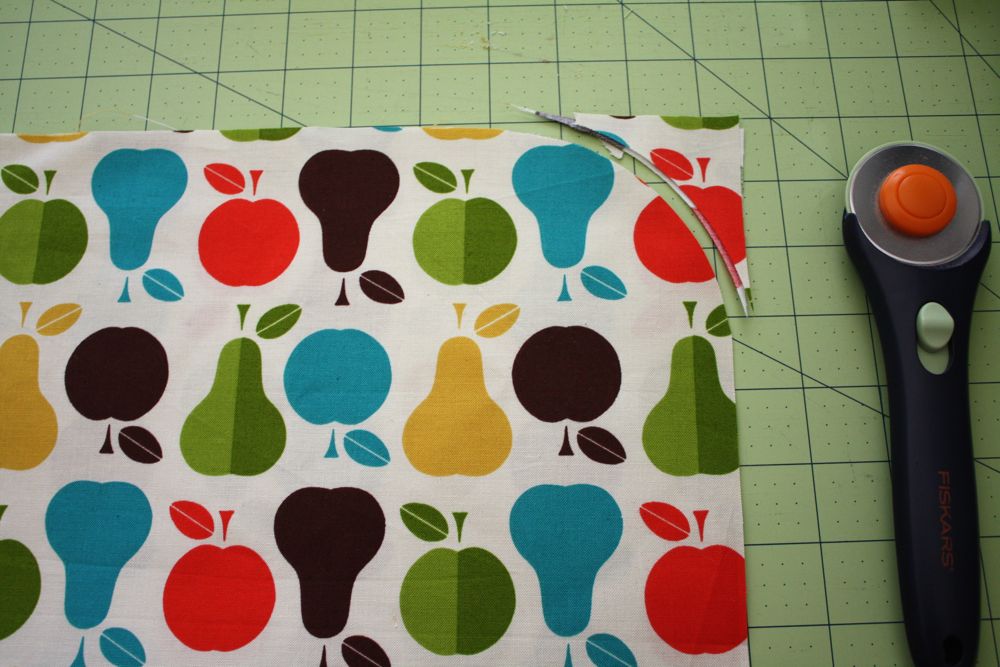
First, fold your main piece of fabric in half width wise, and using a plate or something circular, round off the edges and cut them off…do this to your backing fabric also!
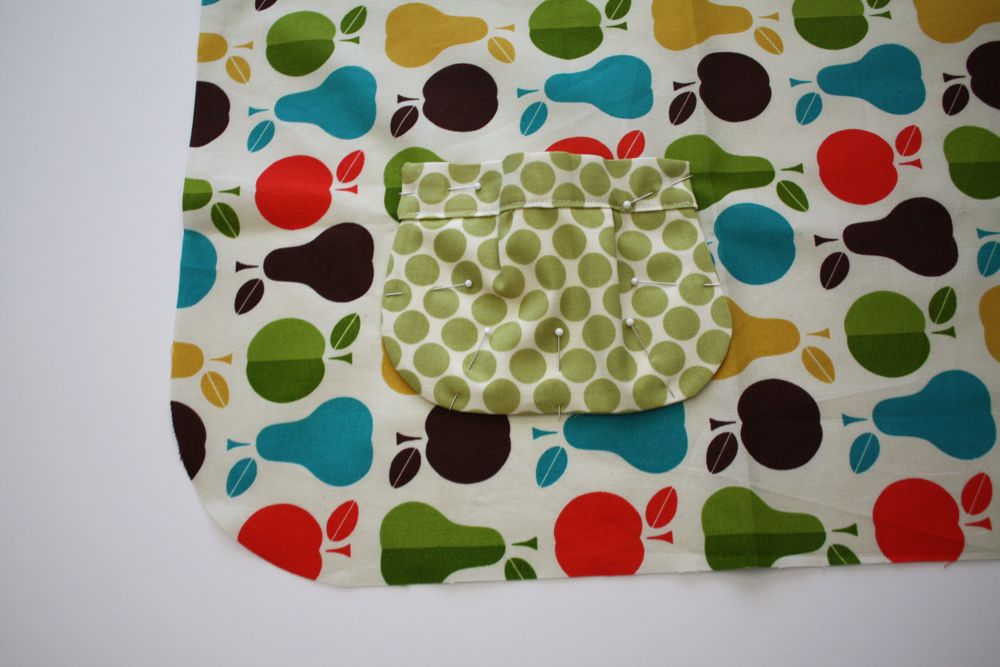
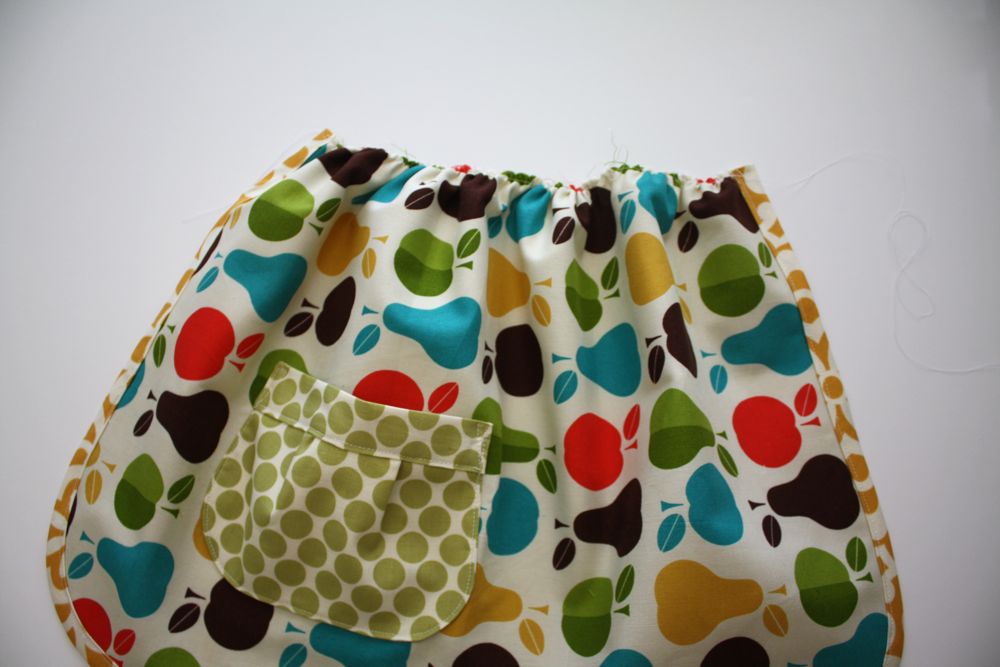
Next, sew on your pocket if you have one.
Now lay out your main pieces, wrong sides together, and pin around the sides and bottom…
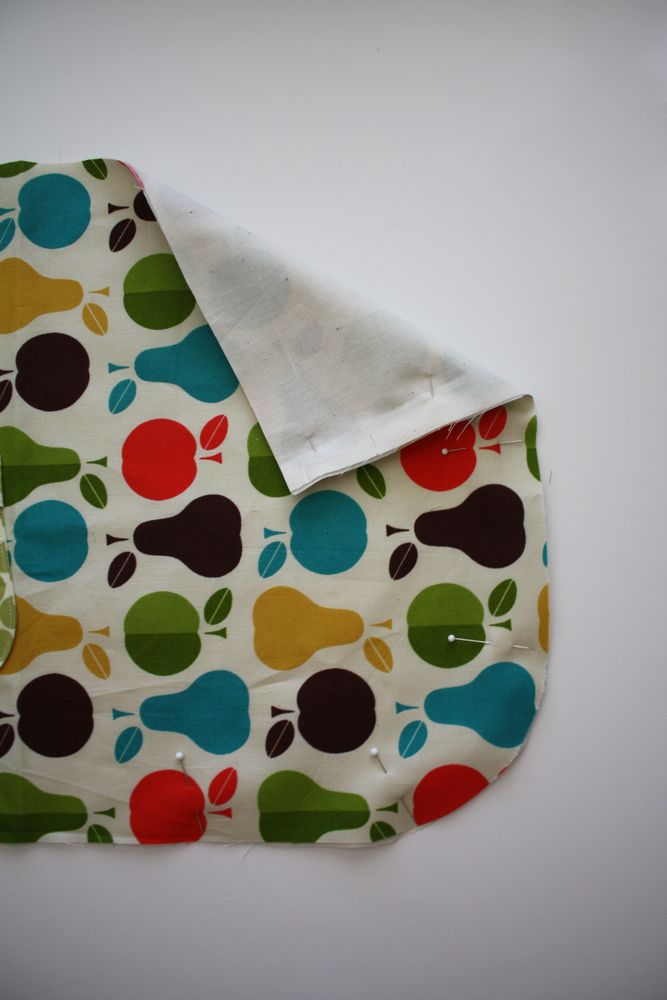
Baste them together along the edges…

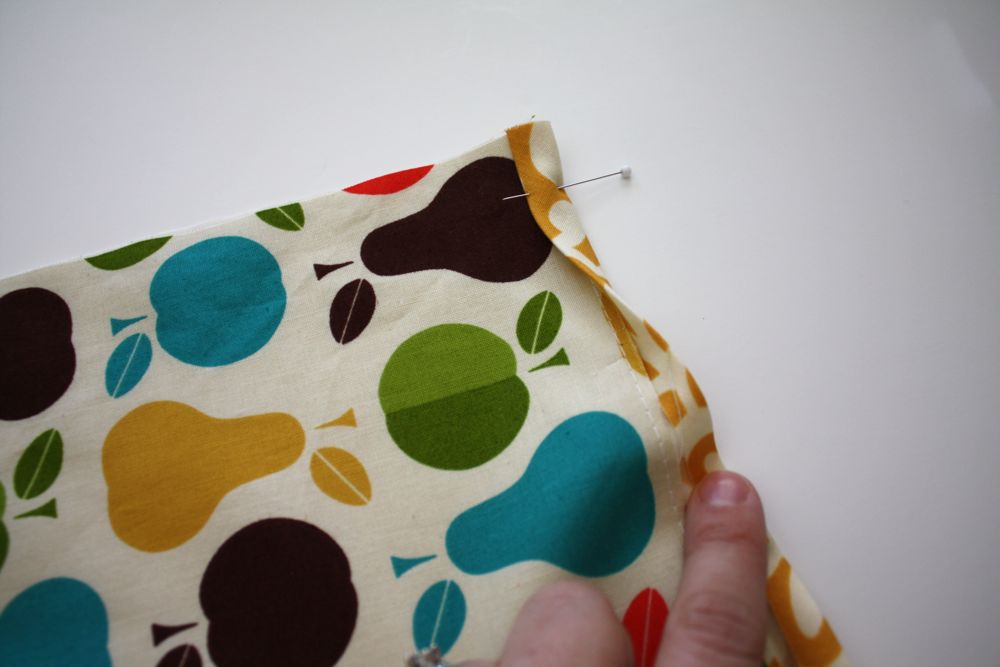
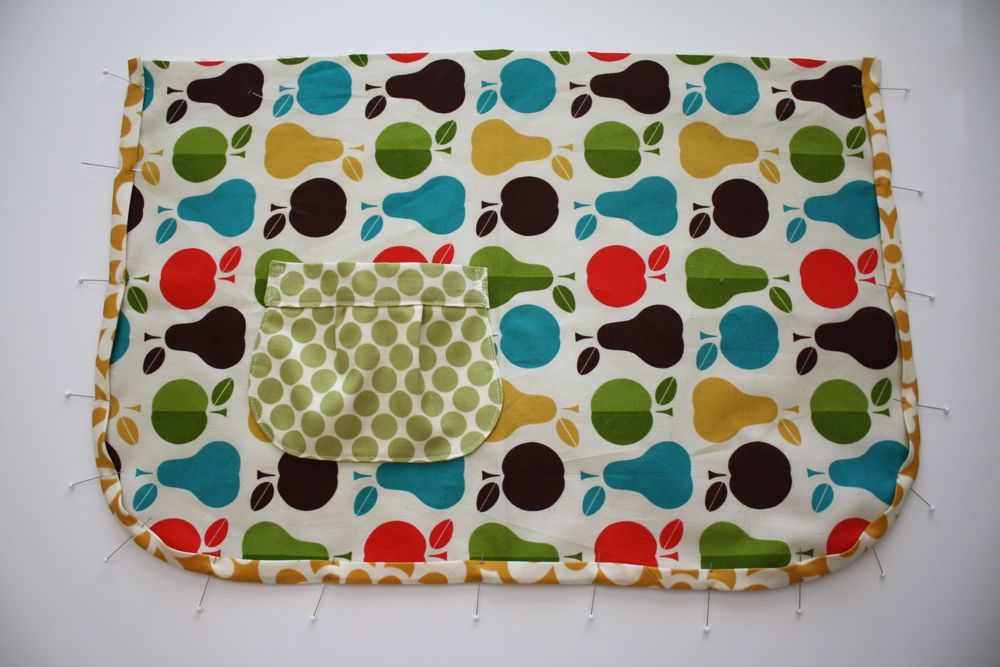
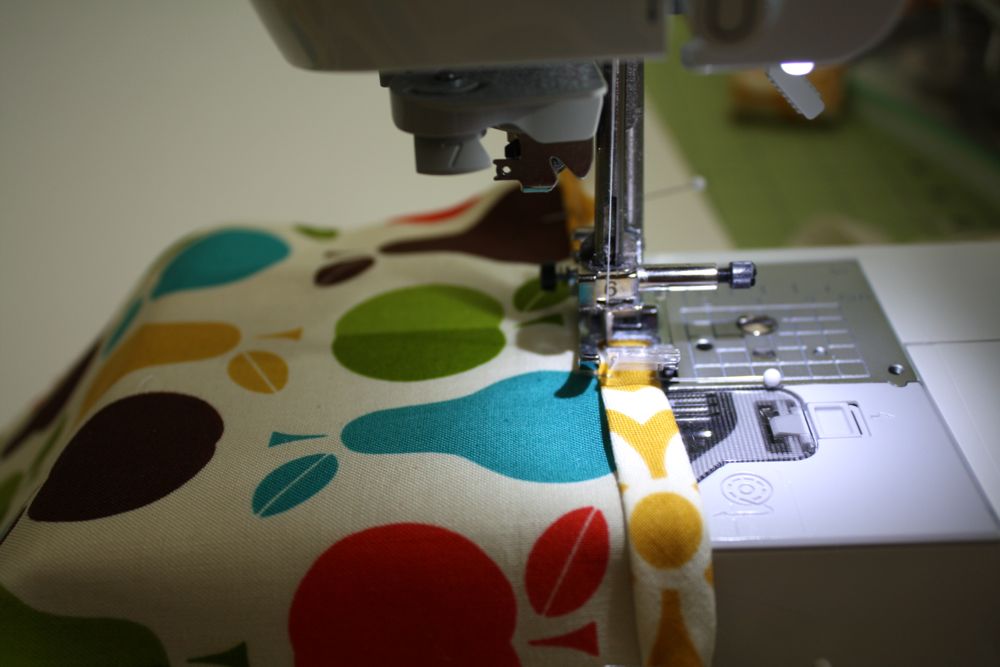
Now, wrap your bias tape around the edge of your apron, and pin together…
tada!
Now sew along the edge carefully, making sure to catch the back of the bias tape as you go.
Now sew a basting/gathering stitch along the top of your apron, and pull one of the threads to gather it together.
For your sash/tie-press the sides in about 1/4 inch with your iron, and then in half…just like big bias tape!
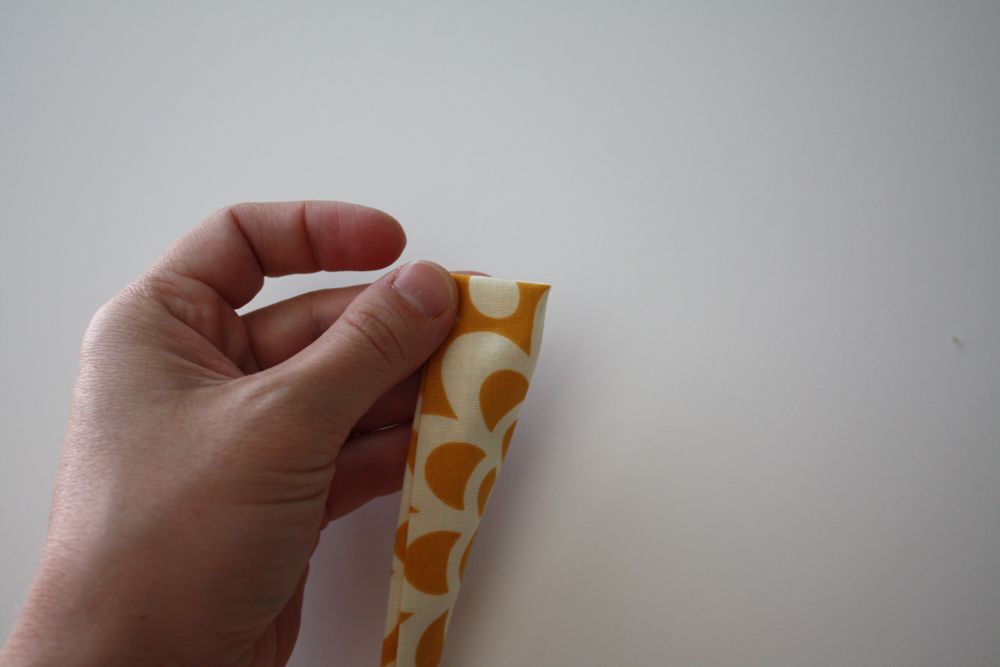
Now on the ends, fold the edge under like this:

and then together like so. pin.
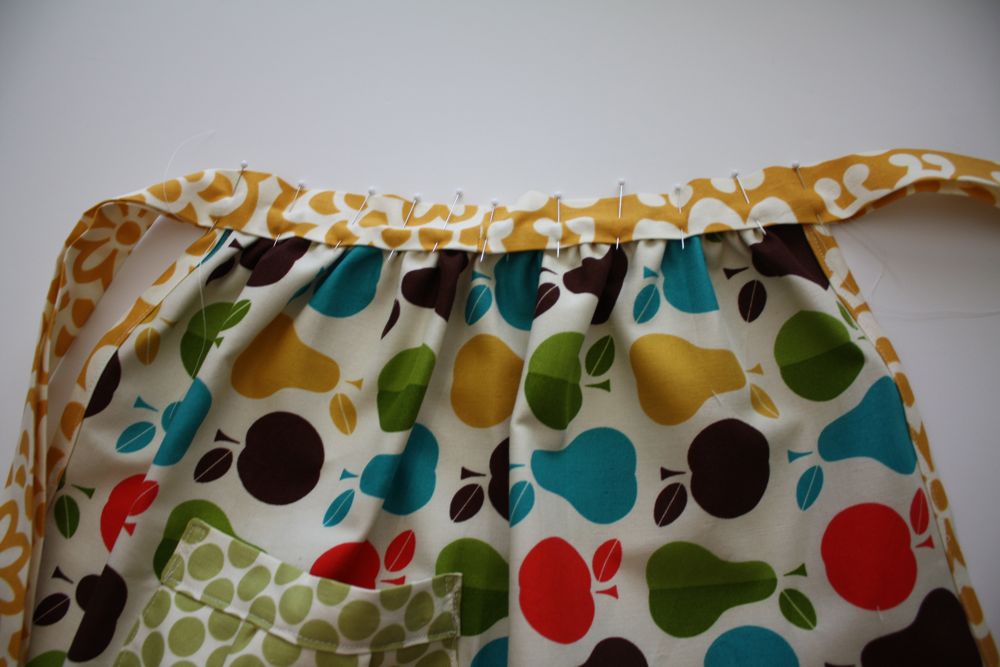
Find the middle of your sash/apron, and sandwich your apron in the sash/tie thing.
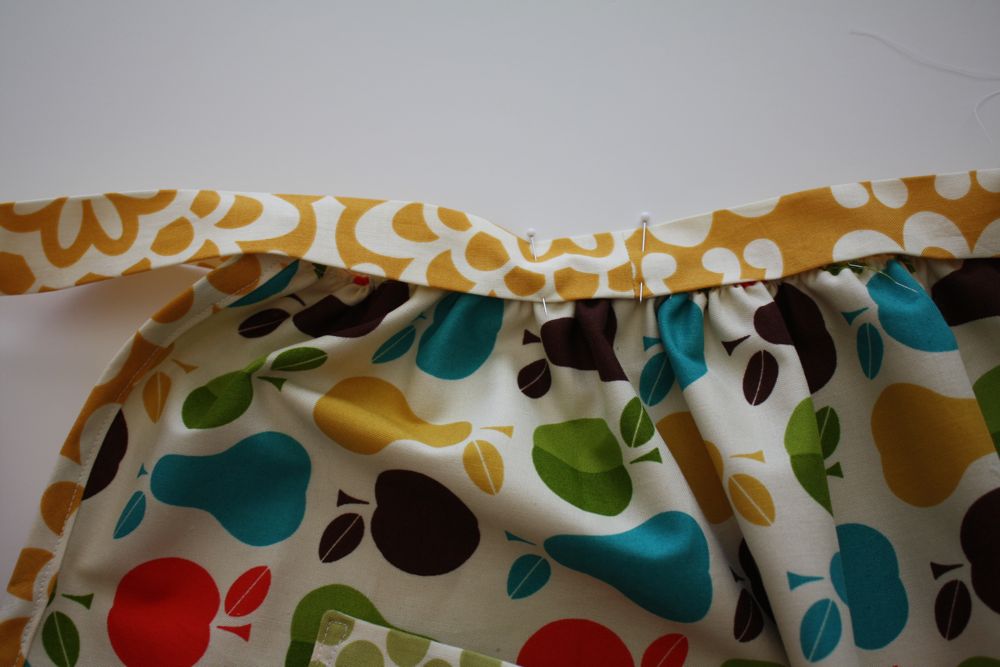
Pin it in!
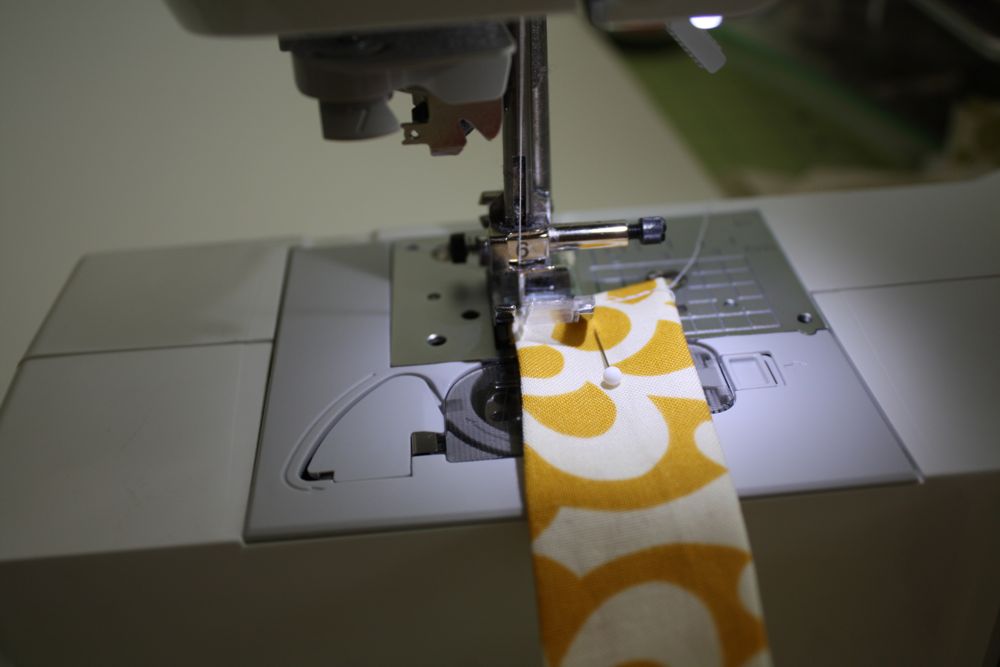
starting on the end of your tie, sew the end closed, turn your sash, and continue down the sash.
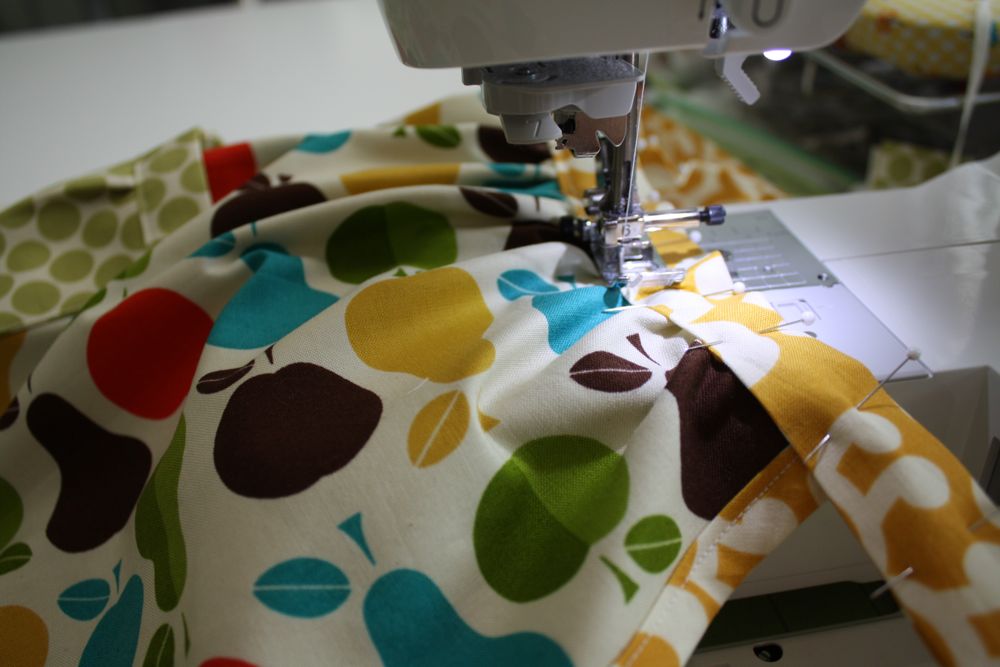
take your time top stitching over the gathers, and continue to the other end…back stitch a few times at the end.
tada! you’re done! This would be easy enough to scale up for an adult apron-that would be adorable!

Hope you enjoyed this tutorial! Thanks for having me, Mayya! 😀
***If you have used any of my tutorials, I’d love if you’d add a quick pic to my flicker group! Thanks!***
so cute! adding to my list of t-dos… my little one will love it!
This comment has been removed by the author.
Thank you Jess for guest posting at Sew Chic and Unique for Inspire to Create!
The apron is super cute & i’m sure any girl would love one including mine xxx
Mayya @ Sew Chic and Unique
So cute! I just love the fabric you’ve used.
Super cute & ace fabric choices, love Posie
That looks super quick and easy! Not to mention adorable 🙂
Cute! Thanks for sharing!
Adorable!!!
Those colors are really delicious. Makes me want to order more fabric. Adorable, as usual!!
Adorable!! And I love the bias trim around the edges!
I linked to your tutorial over at Craft Gossip Sewing:
http://sewing.craftgossip.com/tutorial-childs-gathered-apron-with-pocket-and-bias-trim/2010/09/25/
–Anne
this is so cute jess, I’m totally making two of these for Christmas for my girls!
It’s so adoreable!! I’m in love with that fabric!!
What an awesome tutorial! I just finished making my daughter an apron and the instructions were superb. Great job and very cute 🙂
Aww, that is darling and so giftable- I love it! Thanks so much, I’ll be linking.
You are just amazing! where has your blog been all my life. I’m totally inspired… Any chance you will be making and doll clothes to match those oh so cute girl clothes you have tutorial for? 🙂 http://runwithglitter.blogspot.com/
LOVE This! I’ve recently renewed my love for sewing over the past few weeks, and have been sewing my heart out! (It’s probably nesting seeing as my little boy will be here within the next 3.5 weeks.) My 3 year old daughter Sade loves to watch me sew and wants to help all she can. I told her that I would make her an apron so that when she helps me bake she’d be able to wear it and she was so excited! Now that I’ve found your pattern I can get to work! Thanks for sharing!
This was a fantastic tutorial to follow! Thanks so much. Here are mine: http://www.amytriedit.com/2011/11/aprons.html
Thank you so much for this great tutorial! I actually made an apron (minus the pocket) for my niece for Christmas to go along with a chef hat I also made. AND I made the bias tape myself! You can check it out on my blog if you’d like:
http://craftanyway.blogspot.com/2012/01/little-chef-hat-apron.html
I made more! 🙂
http://www.amytriedit.com/2012/01/more-aprons.html
Not only its adorable and stylish but the fabric you used is wonderful, I love the contrast and color!
I come from “angelmélie” to have a look at your tutorial. It’s a lovely apron and thank you for sharing!
LOVE the pear/apple brightly colored cotton print ! THANKS for sharing your tutorial for a child’s apron. I AGREE WITH THE ABOVE COMMENTS: cute, awesome, adorable, fantastic, super quick and easy. Sarah Helene, Minneapolis
This apron is beyond adorable!!! I hope you don’t mind but I have linked to this tutorial from my own blog. Thanks for sharing your wisdom! {http://selfbindingretrospect.alannarusnak.com/2014/08/the-perfect-gift-for-your-little-chef.html}
So cute! What age would you feel this apron would fit? Around 4 to 8 ?
yes!
Thank you so much!
Thanks for sharing 🙂 I’m excited to give it a try