


Time to finish that dress! Sleeves and skirt are on the menu today…

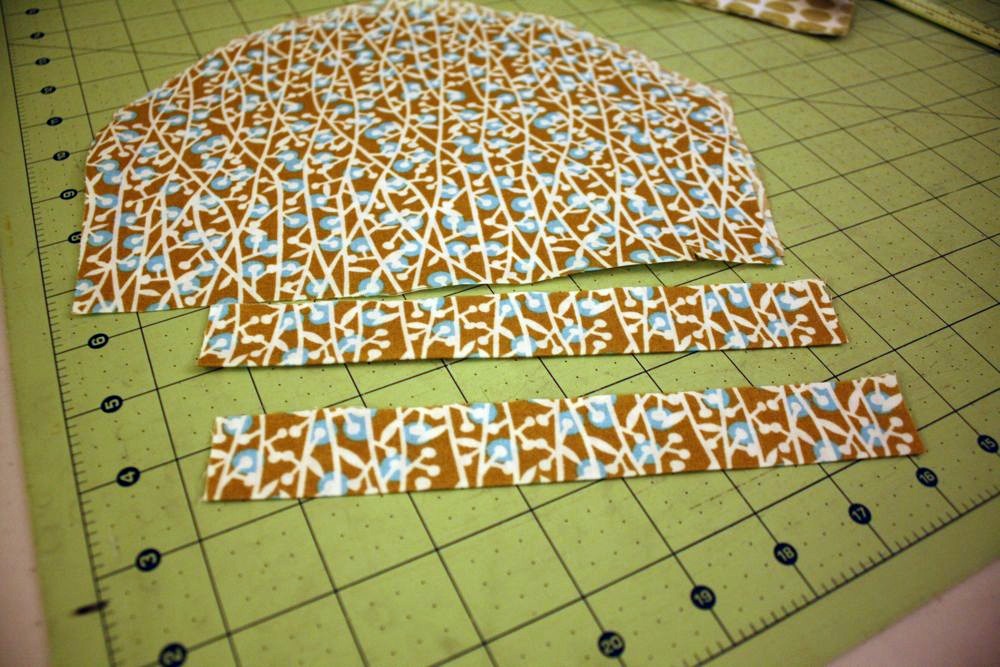
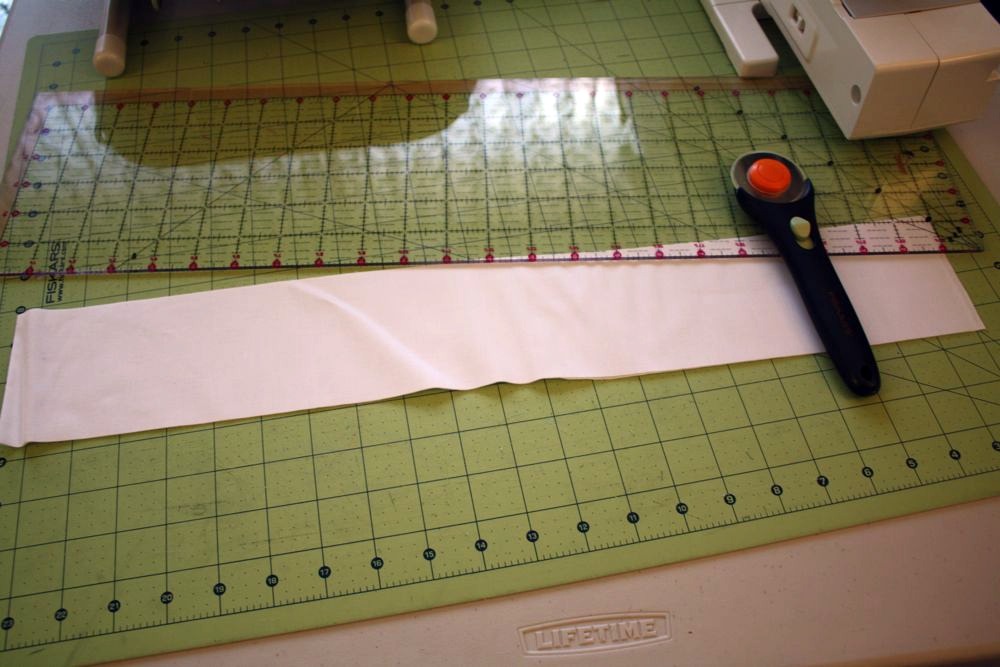
Now for the sleeves: Cut two strips of fabric 2″ wide. (unless you already did, and then good job for listening! Gold star.)
I cut mine to be 7.5″ long, you can adjust that to fit your child by measuring where the sleeve will hit, then adding seam allowance.
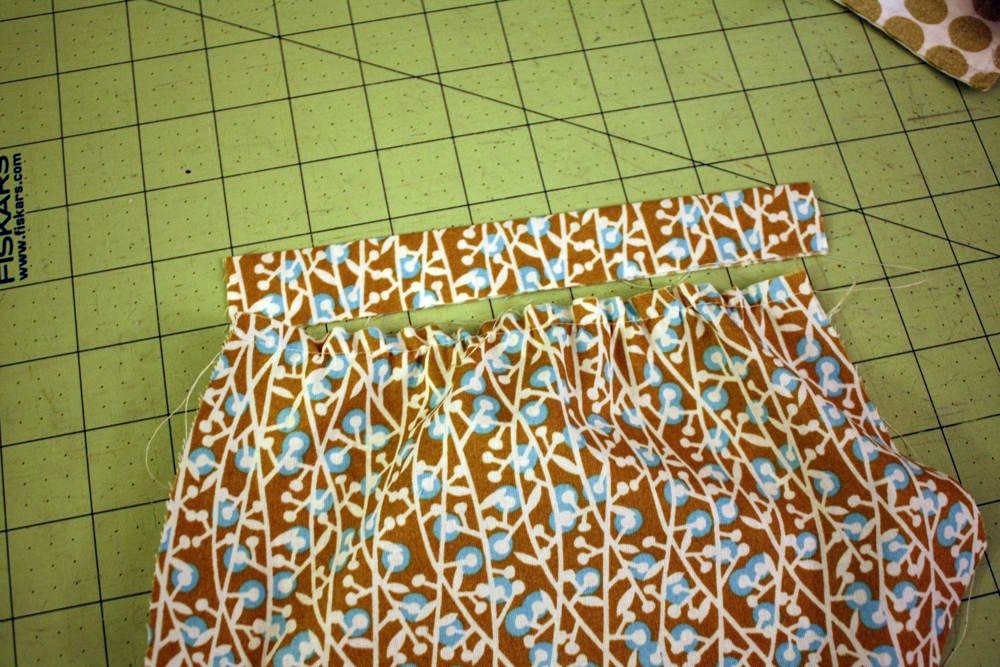
Then I gathered the bottom of the sleeve to fit the bottom band. (which is ironed in half lengthwise)
Then pin together…
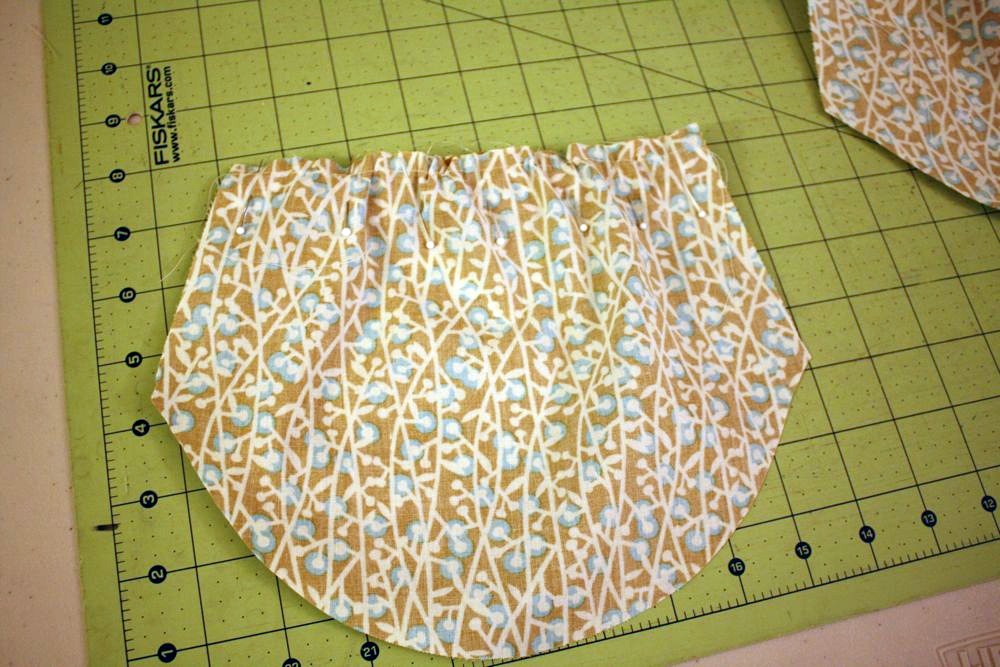
…and sew. Finish with a serger or zig zag stitch.
Lightly press with the iron, and repeat with the other sleeve.
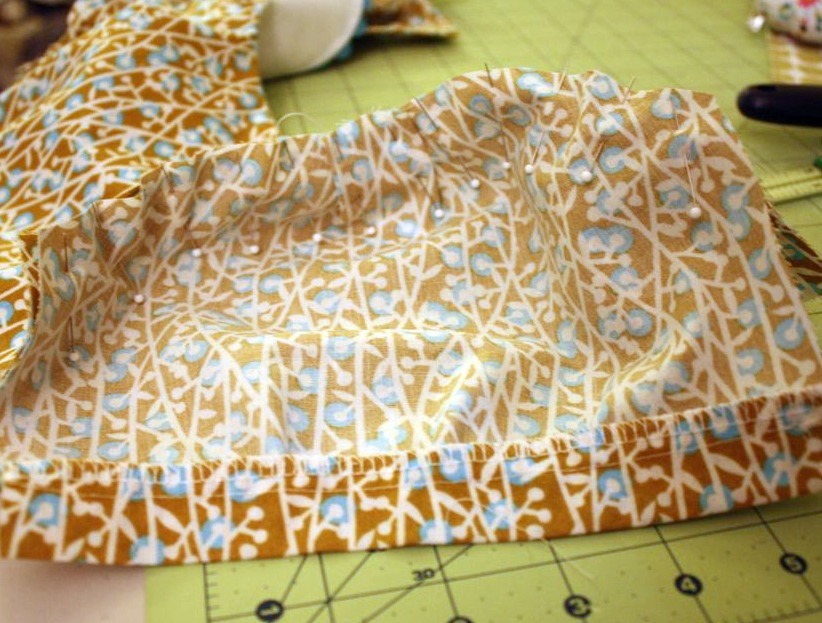
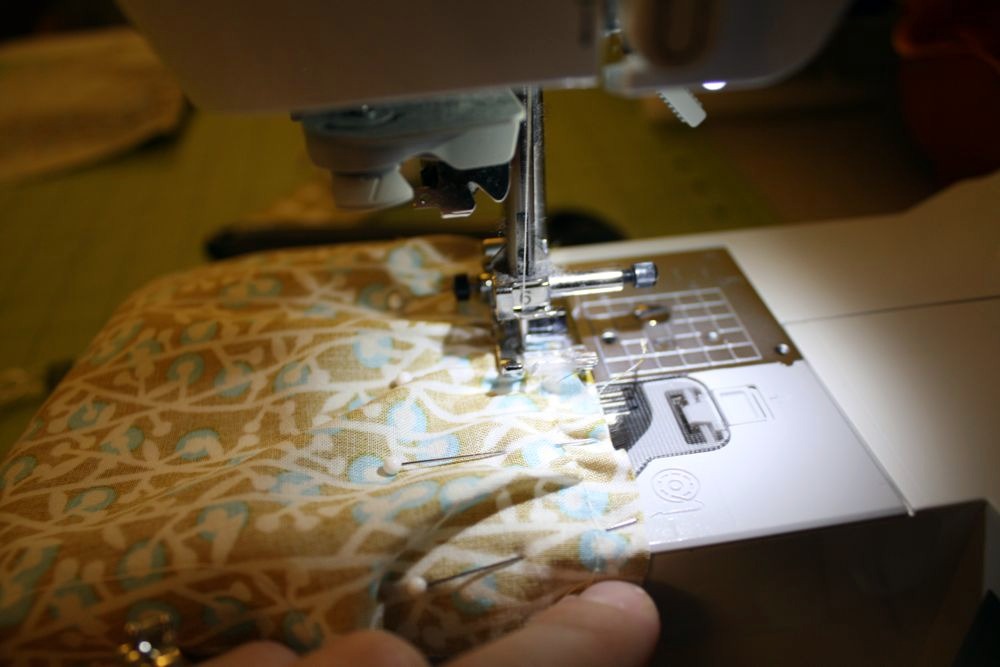
Then I fit the sleeve into the armhole, starting at the outside ends, and pinning as I went. When I got to the middle, I made a few pleats with the extra fabric, then pinned that down, then sewed the sleeves in and finished the seams.
On the front of the bodice, overlap the two front pieces and sew together at the bottom.
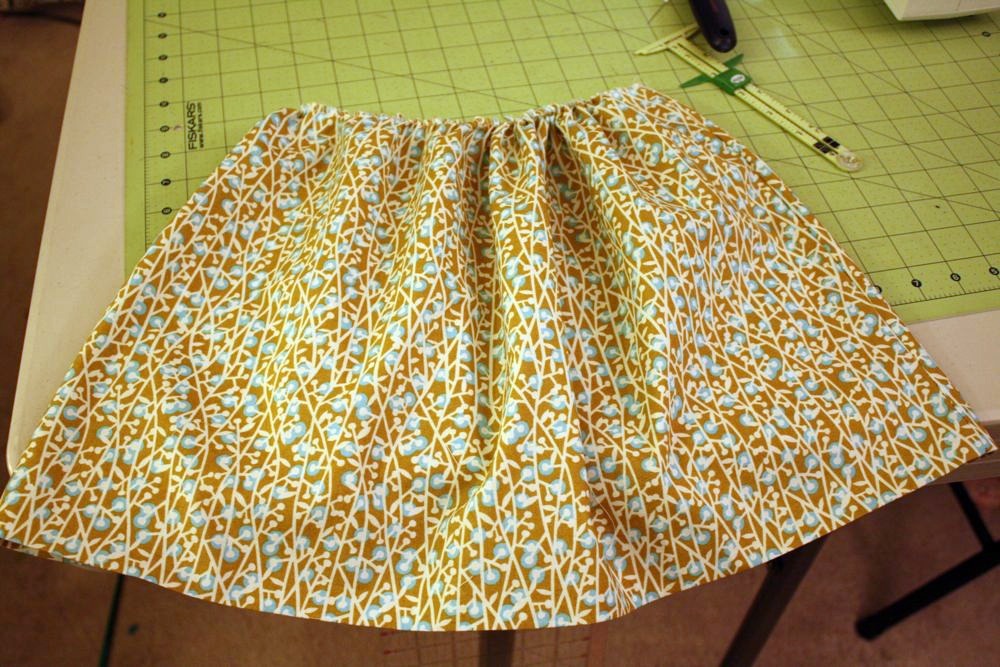
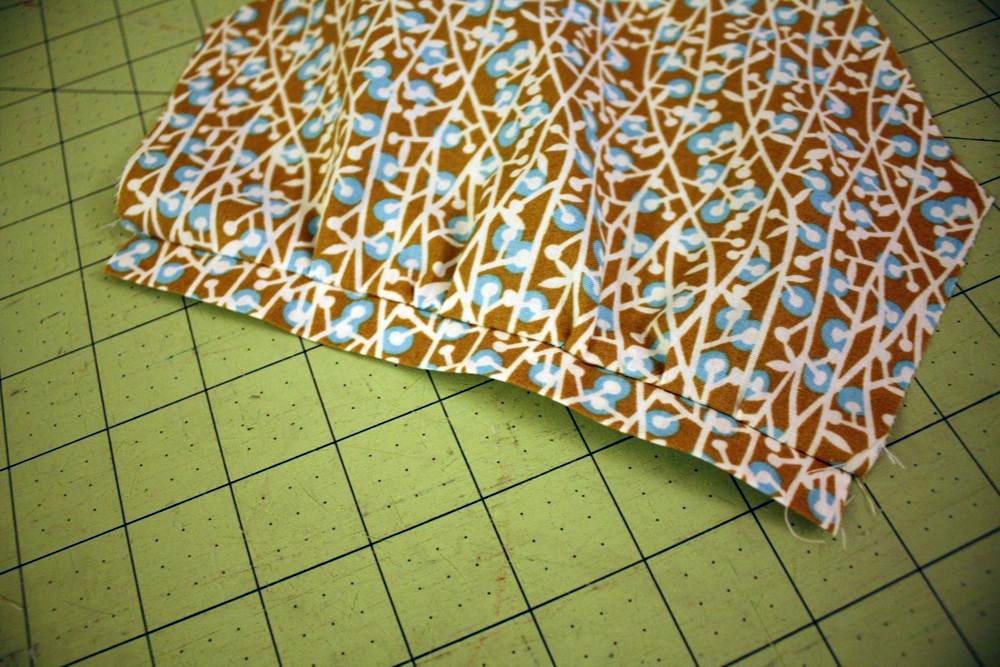
For the skirt, I simply cut a length selvage to selvage-my length for an 18 mo size is 10.5″. Keep in mind I added a band around the bottom, which added 1.5″. I sewed the sides together, then gathered the top to fit the bodice, then pinned and sewed them right sides together.
If you’re smart though, and want to sew in the ric rac band around the bottom, do that before you sew the sides together! I just changed my mind mid-hemming. 😀 Out came the seam ripper! No biggie, I just ripped the side seam open a few inches.
So for the ric rac band, I cut a piece of white fabric selvage to selvage also, 3.5″ wide. Ironed that band in half lengthwise.
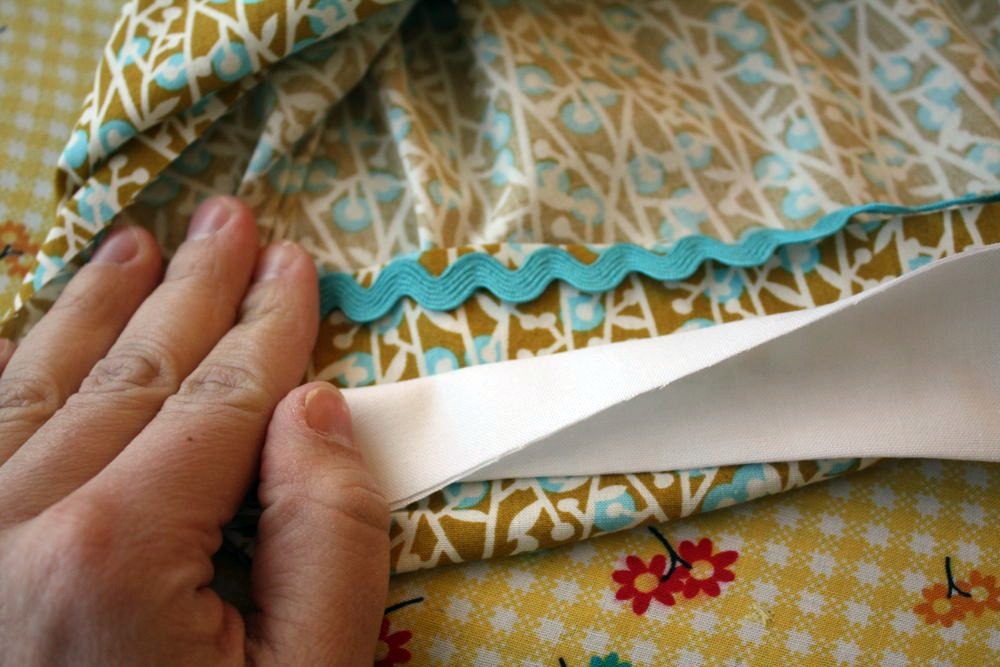
Then I pinned the ric rac in between the bottom of the skirt and raw edge of the band.
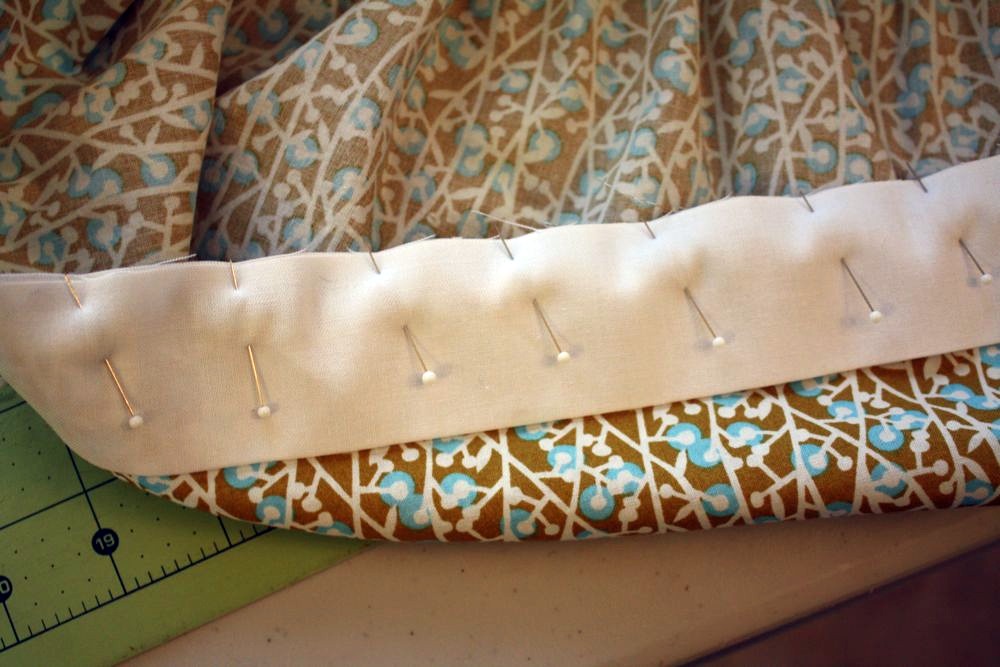
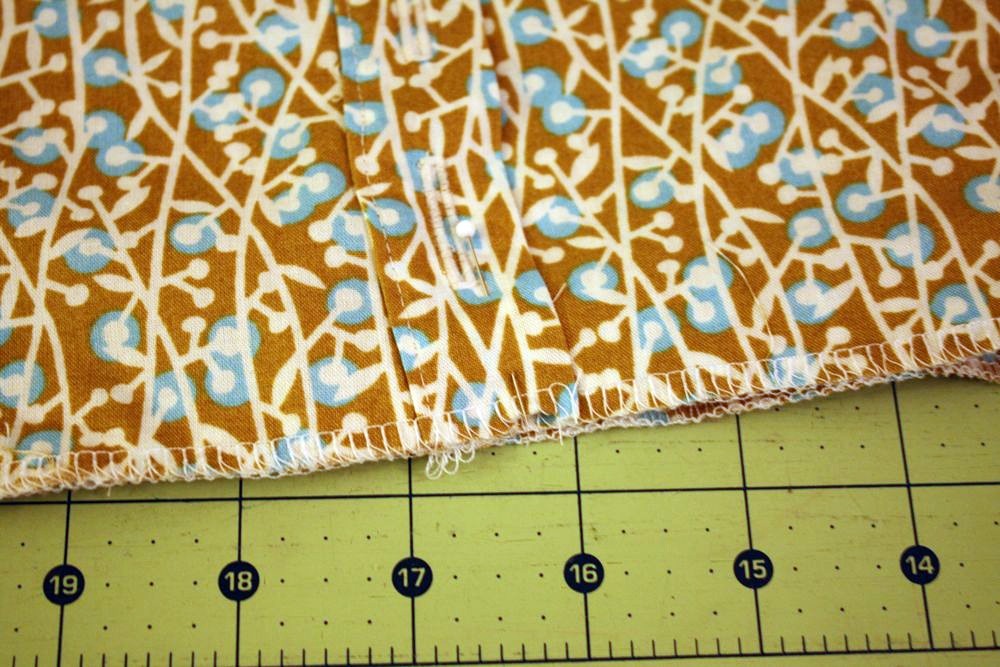
Sew around the bottom, also being careful to sew down the middle of the ric rac. (I kept checking every few inches, and had to fix one spot, but it’s not too hard.
Then finish the seam, and sew the side up. Bonus: no traditional hemming! 😀 Press the band…you could also top stitch around to keep the seam in one place, but I chose to leave it alone.
Then sew in your buttons, and tada! Enjoy the new dress!
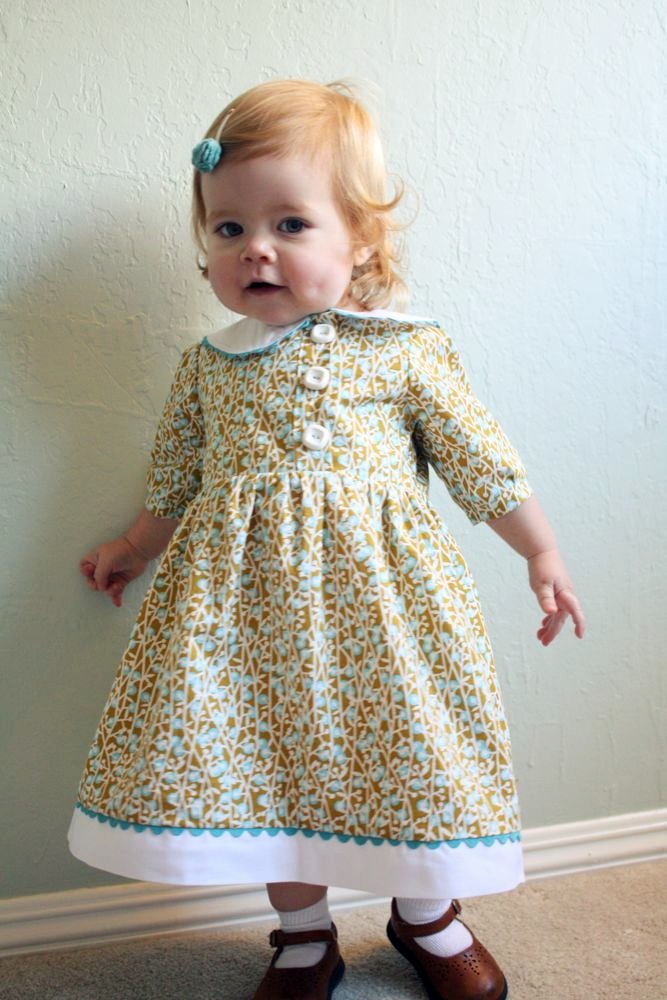
Add your finished dresses to the Flickr group, we’d love to see them! I’ll do a round up in a few weeks or so. 😀 Thanks for sewing along!
Jess-the dress is darling! Not sure how I missed the first 2 posts, but am planning to get this dress sewn for a granddaughter. It is so sweet! Thanks for sharing the pattern and your great tutorials! And she really looks so cute in the dress!
Amazing dress, and so cute Model. I’ll try it next time – the dress, not the model ;-).
That’s really gorgeous!
http://www.PSbyDila.com
I would love to see a detail shot of the finished lining—at the sleeves, side body and skirt. I presume some serging is involved…I will check the flicker pool, if that is a convienient place for you to post those….Cant wait to share my finished version. You have such great designs!
I’ve been sick all week, so i’m a little behind but still hoping to get mine made. Thanks again for the great sew-along.
very good