


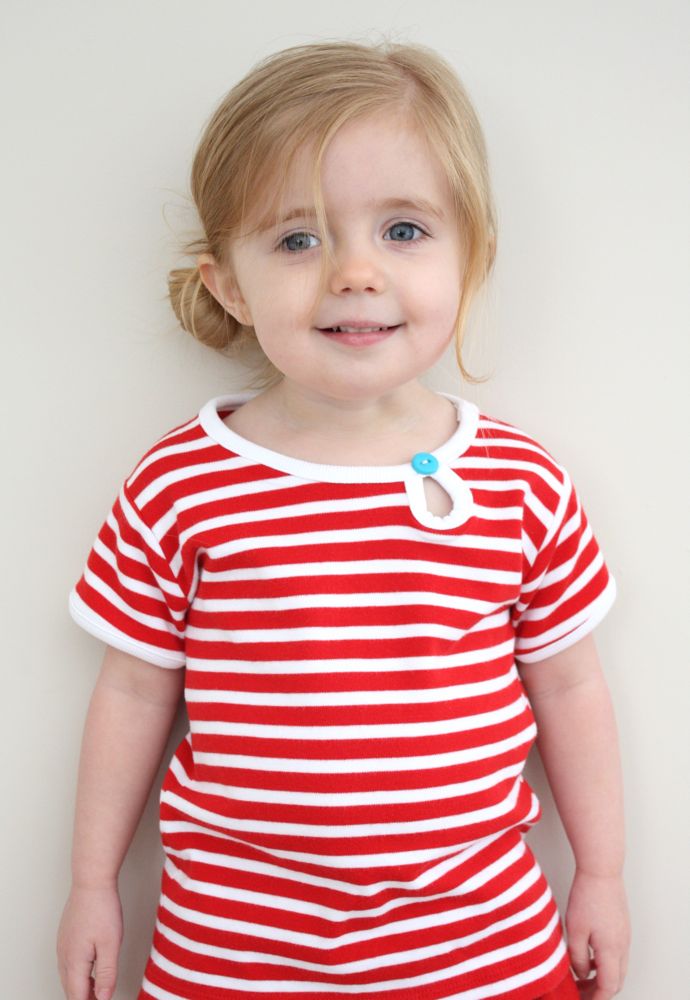
I saw a little keyhole detail like this on a friends’ daughter’s shirt and thought it looked fun, so of course I had to try it out asap. I used a thrifted tee (before pic below) and used the existing hem-I love doing that, it saves a whole step, plus my knit hems never look good.
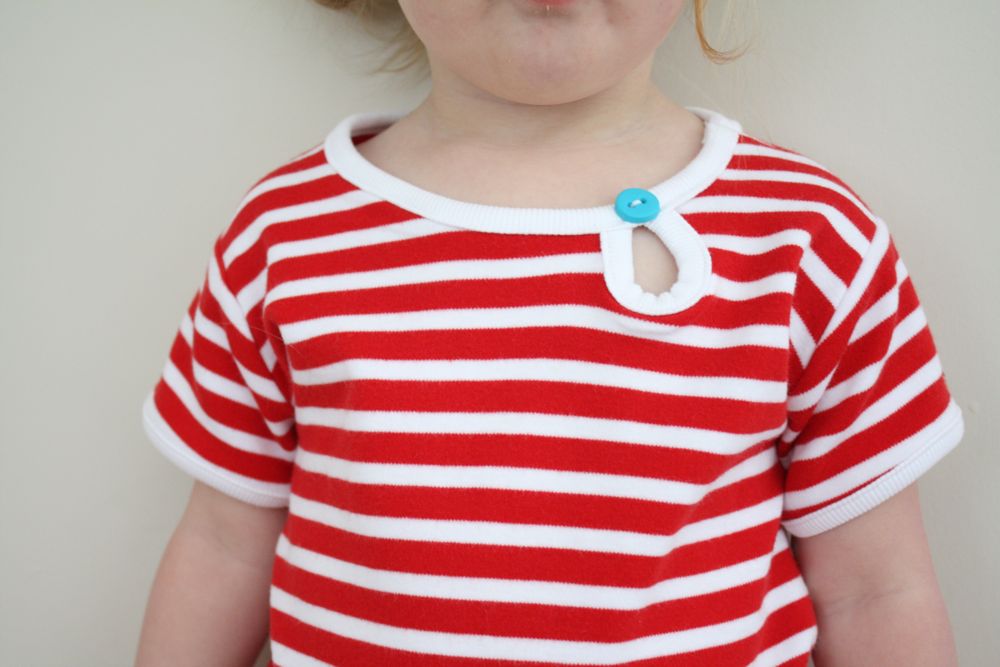
Isn’t that teal button the perfect accent (and color?) It’s from my sponsor (and good friend), Katie at From the Red Kitchen. Here are some the same color, with some fun dots around the edge! I would have used those actually, but I found them in my stash after sewing the plain one on, and I was too lazy to switch it out. Still way cute!

It’s a bit baggy on her, but that just means it’ll fit longer! Anywho, here’s the how to! (after the jump)
You’ll need:
a thrifted tee, or some knit (yardage depends on your youngster, most likely 1 yard will be enough)

rib knit (1/4 yard will make quite a few collars)
matching thread (polyester is best for knits)
ballpoint needles (these are specifically for knits)
a tee shirt that fits your child to make a pattern from
First off, make a simple tee shirt pattern.

So. You have that shirt that fits your child, right?
Lay it out, folded in half. I use freezer paper for my patterns-but you could use anything. Even a few pieces of copy paper taped together. (been there…done that)

Trace around your shirt, and make sure to add your seam allowance, whatever that is. (I usually use a 3/8″ seam allowance, just FYI)
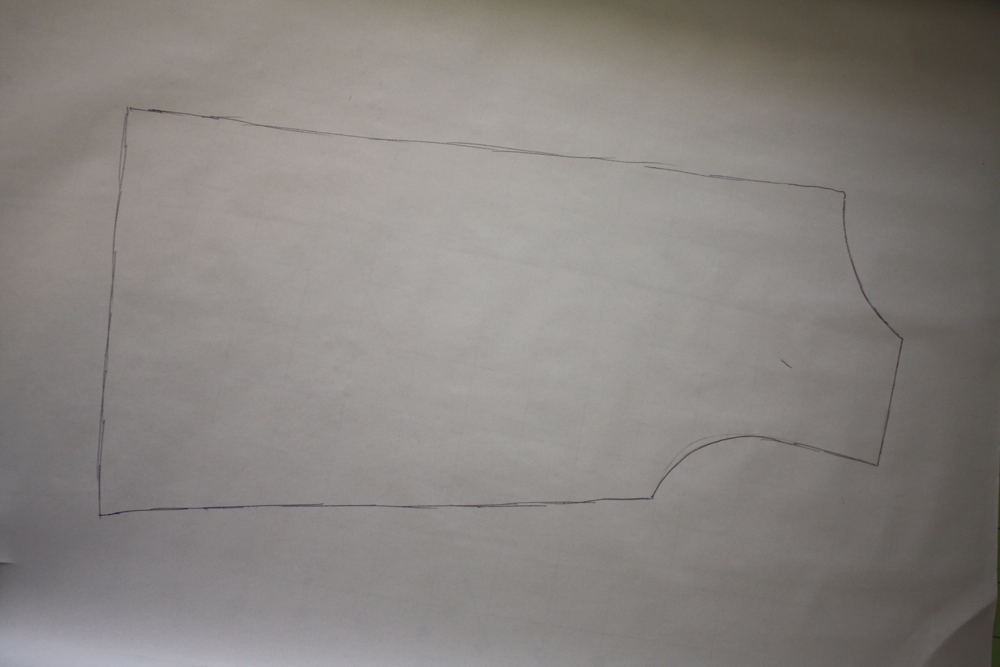
This is what it should look like!
Make sure to trace where it dips lower in the front.
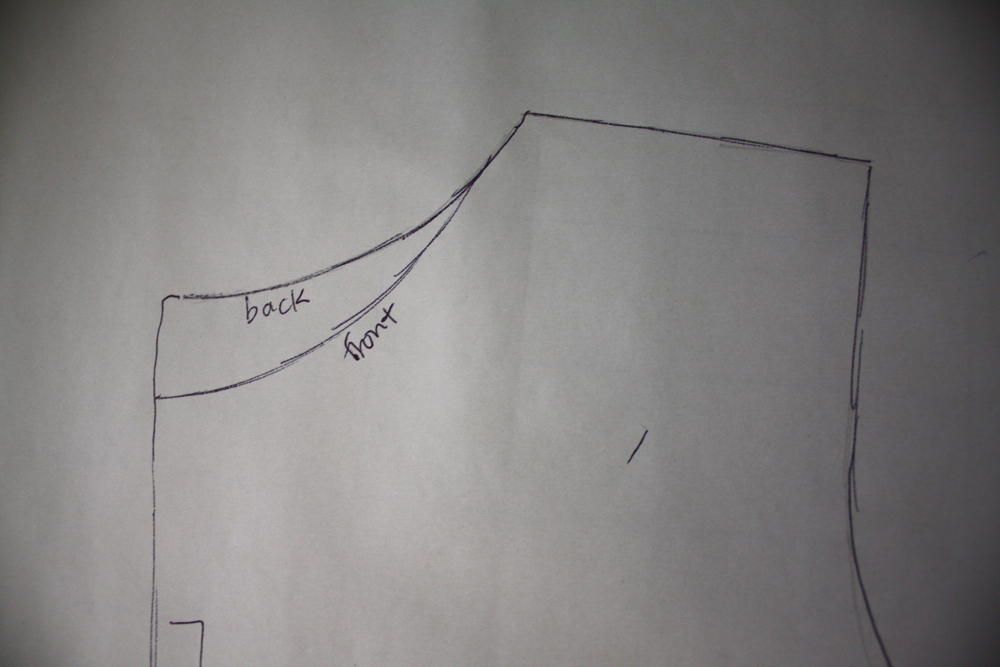
Now for the sleeves, trace around like so…

And the curve….then continue the swoop down like the picture shows. The top flat line is the fold, by the way.

Then cut out your pieces, I cut my bodice pieces on the hem to reuse it. 1 with the back neckline, 1 with the front. Cut two sleeves on the fold.

Then I cut out a small oval to one side of the front neckline.

Then I cut a piece of my rib knit, 42″ (width from selvage to selvage) by 1.5″. Just make sure the ribs are going vertically along your yardage so it can stretch when you sew it on.

I ironed in both sides 1/4 ” like so.
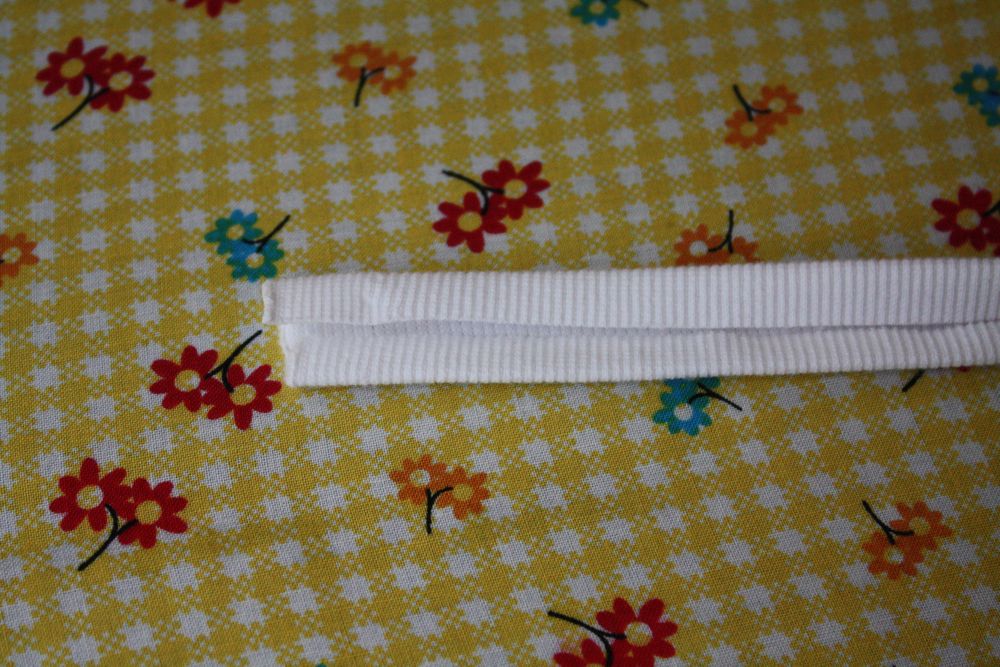
Then in half to make some “bias” tape. (not cut on the bias but made similarly)

Then take a small piece and pin it around the oval, sandwiching the raw edge.
Then pin and sew ONE of the shoulder seams, right sides together.

It doesn’t matter much, but I sewed the one opposite my little oval cut out.

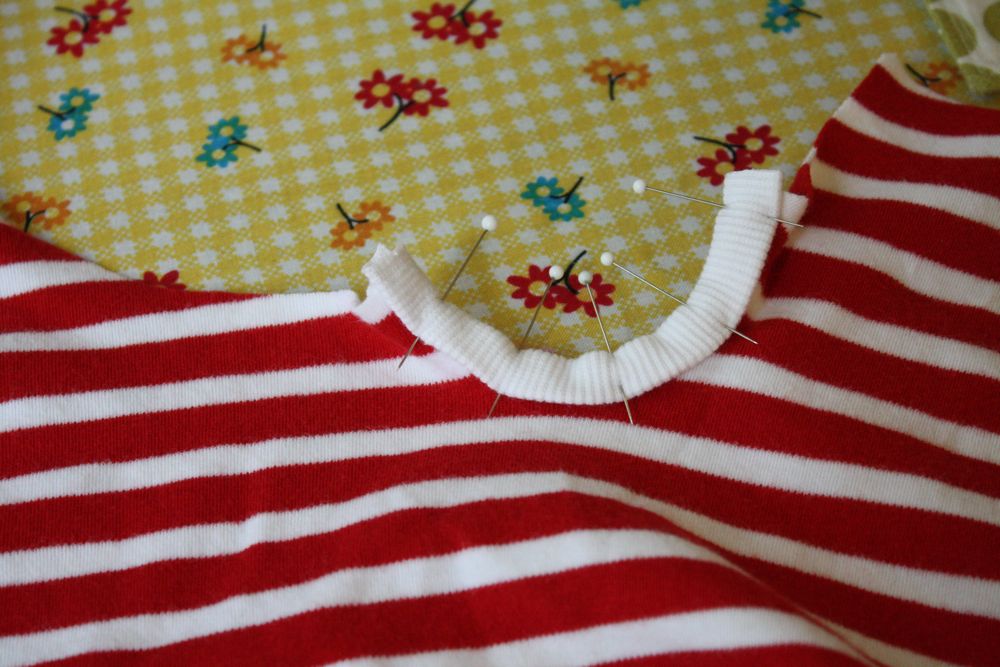
Then starting at one end of the neckline, pin the tape around the raw edge. Slightly stretch the tape a little between each pin. This will help the neckline retain some shape. Also when you get to the oval cut out, pull the ends together so it makes the keyhole shape and pin well.

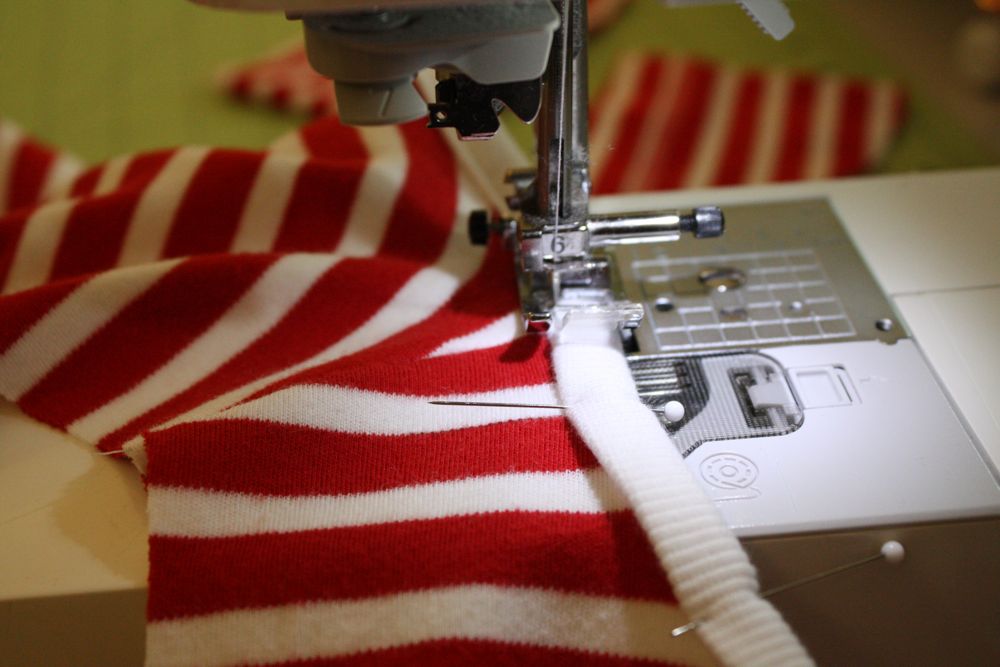
Then sew the tape on, close to the edge.
Next pin and sew the other shoulder seam together.

I tacked down the bias tape seam to the inside of the shirt.

I also pinned and sewed some tape to the edges of my shirt sleeves.

Sorry I didn’t take a picture of this step for this shirt, but here is a pic from another tute:
Pin and sew the sleeves right sides together, into the armholes.

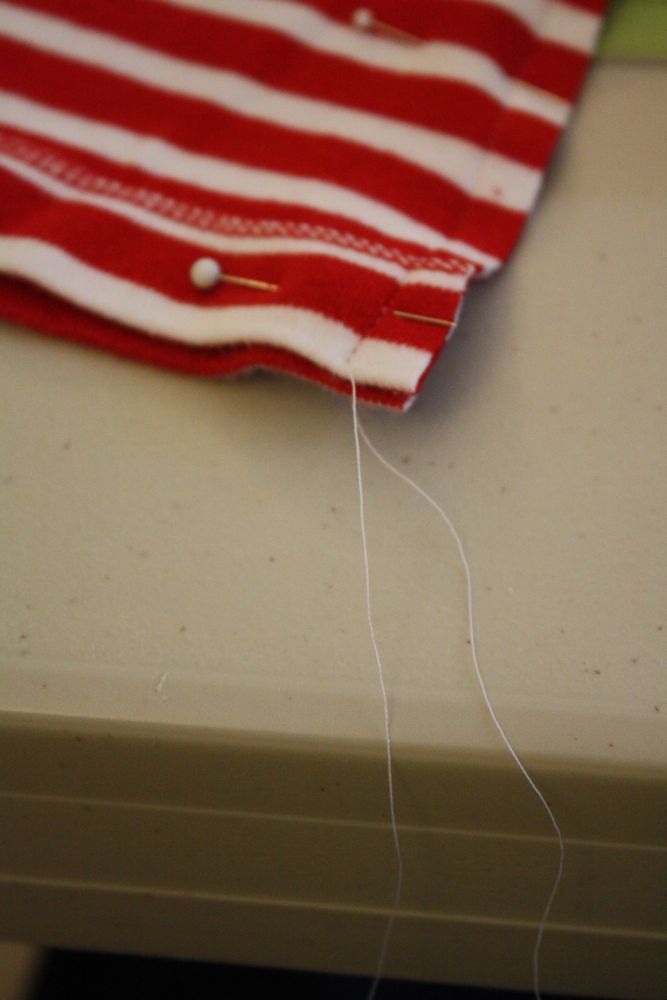
Then pin and sew the sides of the shirt together. Leave a tail at the bottom of the shirt if you don’t like to back stitch over knit…
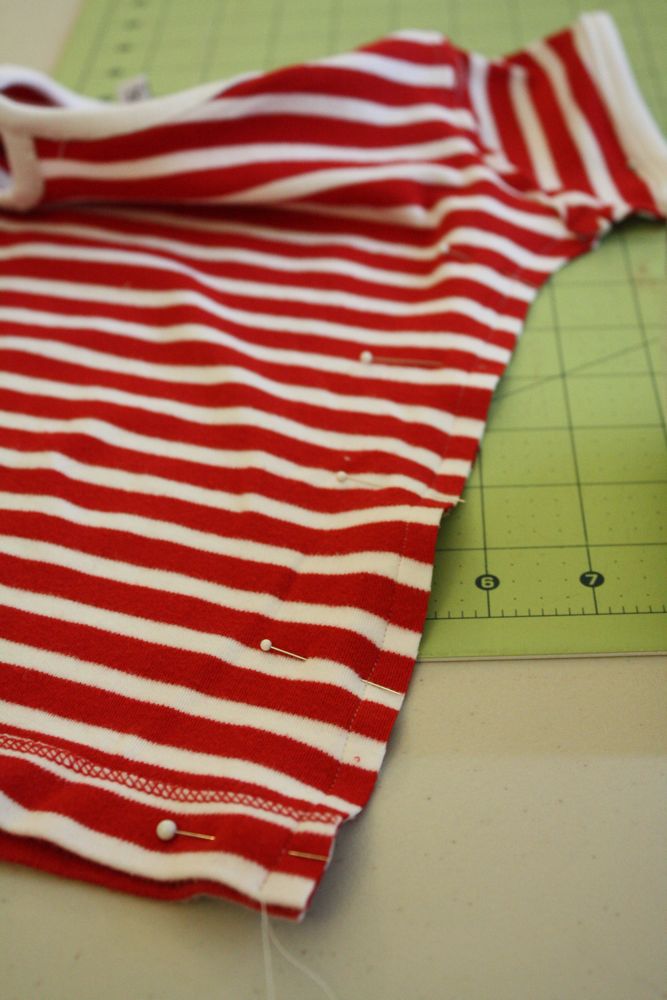
Cause then you can just tie them in a knot, trim, and be done!
Tada! A cute, easy top with a fun little detail. Thanks for stopping by!

Agh! So very cute!!! I love the colors you chose! I haven’t worked with ribbing before for actual edging, only used its knit for the actual body of a shirt. Is it difficult to mold into the bias tape?
Super!
Love this! I really need to get some courage on doing my own patterns!
adorable!
I love, love, love this!!! My oldest saw it this morning and freaked out… she really wants one. I love the button accent. Adorable, Jess.
Very cute! Thanks for all the tutorials you do. My daughter is in the “middle” of your two girls so we have really enjoyed all of your ideas and tutorials!
My daughter has one of those from Target and I LOVE it so i’ll be making this soon very soon! Thanks for the awesome tutorial!
Very cute Jess.
So cute Jess! Love that button! 😉
Ummmmm so so cute! Really great tutorial! I am so impressed! Love you making your own patterns!
Jess… your kids are some of the best-dressed I’ve seen EVER!!!! 🙂 And they are SOOOO cute!!! Charlotte is just ‘squishy-cute’!!! [ha!! hope you know what I mean!! :)]
Oh, and if your blog stats suddenly go up… that’s me checking out the pretty awesome things you have made. 🙂
Keep this wonderful stuff coming!!!
e(dot)wielinga(at)hotmail(dot)com
I am always so impressed by what you do. One of these days I need to get over my fear of not using a commercially purchased pattern!
This might be one of my favorites! It might have something to do with the colors 🙂 but that little keyhole is adorable!
Nicely done. I like it very much.
Cute shirt! I recently tried my hand at making a knit shirt for my daughter. I used my machine’s stretch stitch. It worked fine for the seams but it stretched the hem. Did you use a stretch stitch on this t-shirt?
Really?! That’s just beyond cute. Love the keyhole detail, the button, the colors. Where do you get your rib knit? I’m so going to have to try this out.
Seriously – all your stuff is so cute!! This is so simple, yet so adorable!!
Nicole has a nightie with that kind of fastening on the front, I think it’s just adorable! I wouldn’t mind doing a few tshirts for myself with the same thing, eh? eeeeh? Yeah.
My husband hates the one on Nicole’s nightie, though, because he always forgets its there. Apparently if things do not fasten in center front or center back, they should not fasten at all, haha. (he’s also the reason I have started putting little tags in everything I make Nicole, even if they’re blank. The world stops turning if he needs to figure out that the one and only seam in the waistband should go in the back.) ;p
I love it! This is sucha cute shirt and I’ve been eyeing them at the stores a lot, I am so excited to try making my own!
As far as making my own patterns, I always use the brown paper bags from grocery sores (if your store still uses them!) my Grandma and my Mom both did that and I love taking out their old brown bag patterns to reuse 🙂
Adorable!!
darling! you have such great step by step directions. And I love how you repurpose older shirts for this. Fabulous. Knits have scared me in the past but you’re making it look easy. I did always think that you were supposed to stitch them with some kind of zig zag stitch so that they could still stretch…but it doesn’t look like that is what you did.
Super cute..i have to ask where do u find the knit fabric??? i seen a different project that used kniot fabric and could never find fabric for it!!! thanks!!
My, that shirt turned out great. I love how the button and keyhole embellishment turned out. Great tip about using the existing hem too.
thank you! such a good tutorial’ exactly wthat i needed/ very beutiful shirt!!!
oh my goodness, that is so stinkin’ cute, I don’t know what to do with myself!!!!!
I always get a little stumped with how to create an accurate sleeve piece when *attempting* to make my own pattern. Thanks for the quick & simple explanation and pictures! This gives me a little more confidence to try it out.
so so cute jess! I’ve never done ribbing on knits, but I bought some a while back and WILL try it out this summer sometime. 🙂 sadie is just as cute as ever.
LOVE.
I really need to look in the shirt sections of thrift stores, not just bakeware. My youngest is in serious need of shirts for cheap.
AND, I just noticed, I put my pin heads on the right, and you do it on the left. Are you left handed, or is this just how you do it?
hee hee, pin-heads.
This would make an adorable dress as well. Thanks for the idea!
The keyhole at the neckline is the perfect little detail! Love it!! And I agree with Andrea @ The Train To Crazy – it would make an awesome dress!
I linked to your tutorial on Craft Gossip Sewing:
http://sewing.craftgossip.com/tutorial-keyhole-tee-shirt/2011/05/19/
–Anne
Really adorable! I love being able to use the existing hem from a thrifted piece, too!
I have to say I don’t see how any discipline happens in your house…one bat of those cute little eyes and she’d be out of any trouble she ever got into. She’s such a little doll! Everything you make is so cute.
Thanks for the adorable tutorial. I always enjoy reading your blog!
OMG what a cutie 🙂
Very cute and a great tutorial! @ Anita, try using a twin needle on the hem. It looks like a straight stitch on top, but is zigzagged on the bottom and will give a little stretch without making the fabric look stretched out!
I absolutely adore your blog and your tutorials are revolutionary! They’ve actually made sewing understandable.
I’m off to try one of your patterns now.
Love this t-shirt (I may make myself one – BIG SIZE).
xx Cheers.
Bindu
I know this tutorial is old, but I love it and I’ve included it in a round-up posted to my blog today. Come check it out! http://hotcommodityhome.blogspot.com
Krissy
Jésus, i love this so much! I will be trying this tonight and I have one question. It don’t have any ribbed jersey… Is it possible for me to regular jersey (ie. the same jersey as used for the main fabric) to make the binding? Thanks!
Natalie @ la gang à Nat
[email protected]
Oh my! Just as I pressed “publish” I noticed that my auto-correct, which was set on French, changed “Jess” to “Jésus”… So sorry about that!!!!