


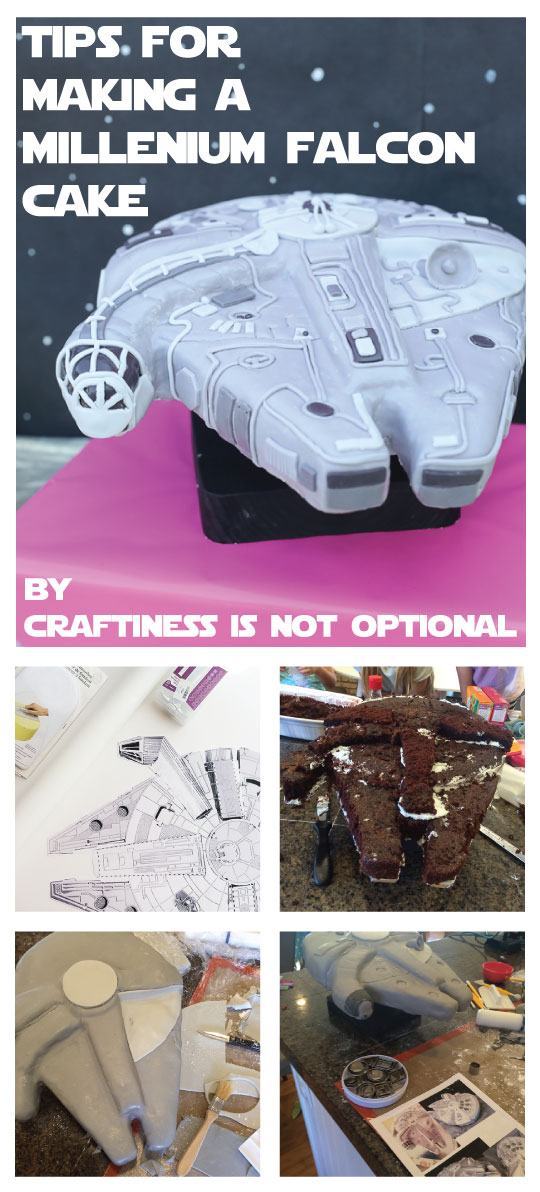
I thought this cake deserved a post of it’s own. amiright?
Plus I have some tips on what to do/what not to do and thought I’d share them for any future millenium falcon cake enthusiasts.
So. I decided on making a Millenium Falcon cake because hello?! it’s the best spaceship ever. Also Han Solo is my fave character so I had to do his ship justice. Sadie was totally on board so I started planning.
First, I looked up a ton of cakes on Pinterest…luckily a lot of people have attempted this before I did, so I could kind of piggy back off of them, design wise.
a few of the cakes I referenced.
Plus the design is pretty iconic and you can find a ton of reference pics all over internetville.
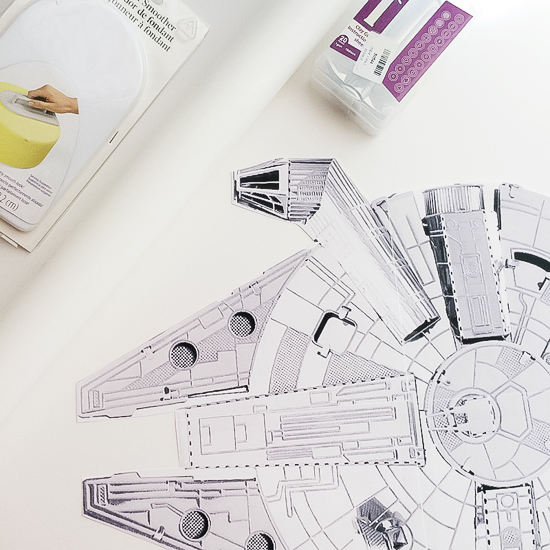
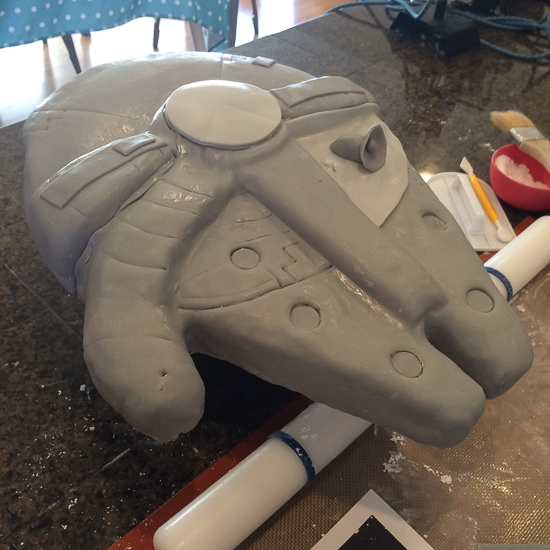
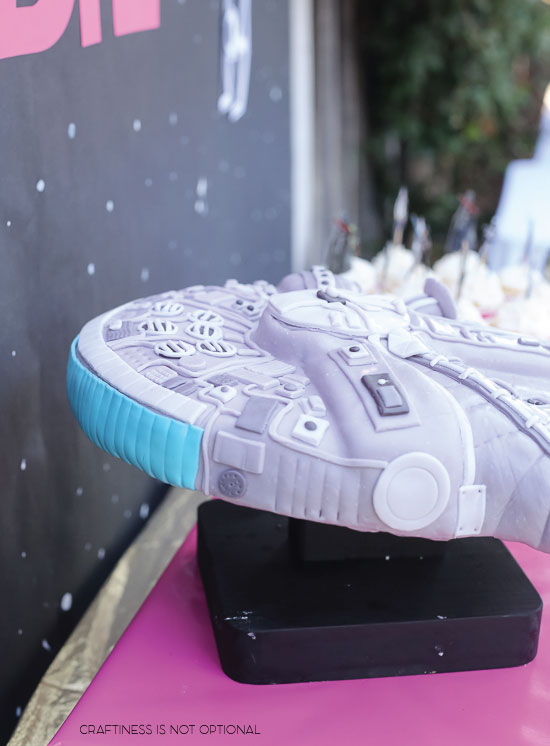
I found a graphic of the MF via google and in Illustrator, I enlarged it so that the circular part of the ship was 12″ round. (that’s the size cake pan I decided on using) I printed it out (it took 4 sheets of paper that I taped together), and then I purchased a 1/4″ thick piece of plywood. My dad has an awesome wood shop set up in his garage so I traced the MF and cut it out of the plywood. Then he helped me create the stand. I wanted it to look like it was hovering (ie, not flat on a board), so we lifted it about 4-5″, on a slight tilt towards the front, and then screwed that part into a larger wood stand on the bottom, and of course, to the bottom of the plywood cut out. I spray painted the stand black. (not the plywood. That I covered in foil.)
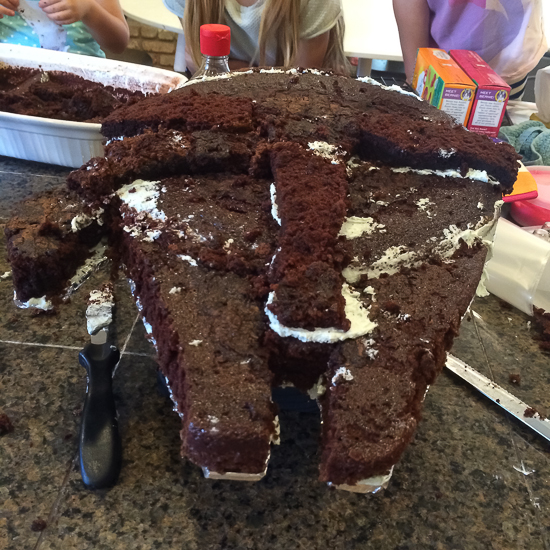
Phew! On to the cake! I baked a 12″ round chocolate cake and 9×13″ cake (using two batches of this recipe), and let them cool.
Then using the printed template, I cut it apart to use to cut out the front angled pieces, cockpit, and the pieces on top that are lifted, then “glued” them all together with frosting. I covered the entire cake with a crumb coat and then chilled it to set the frosting. Had to clear out the entire bottom shelf of my fridge, but it fit!
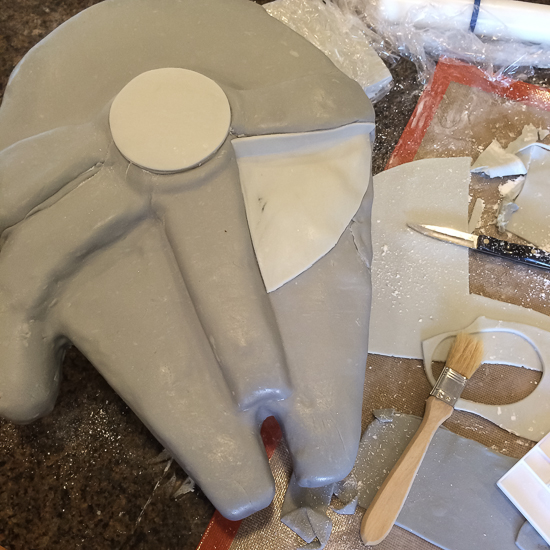 .
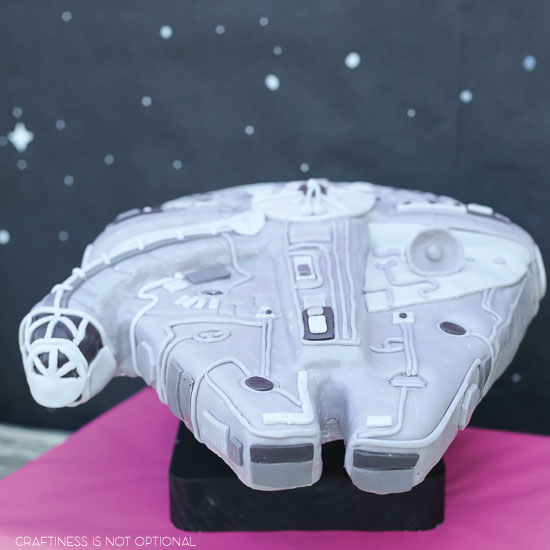
.Then, I covered it with fondant. Easier said than done, lol, but I worked in sections and rolled it out to 1/8″ thick and then draped it over the cake, smoothing into the corners and crevasses. I had made 3 batches of marshmallow fondant, and used probably only 2, but I wanted to have plenty! I did two batches of darker grey, and one of light grey.
I then chilled it again but forgot for a little while, to cover it first with plastic wrap! MAKE SURE TO COVER A FONDANT COVERED CAKE WITH PLASTIC WRAP! If you put it in the fridge.
Otherwise it can get kinda sticky and weird. Once I started covering it, it recovered but I also brushed it with powdered sugar to try and reduce the stickiness.
Make sure when you take it back out to work on it, leave the plastic wrap on until it comes to room temp so that the condensation doesn’t warp the fondant too much.
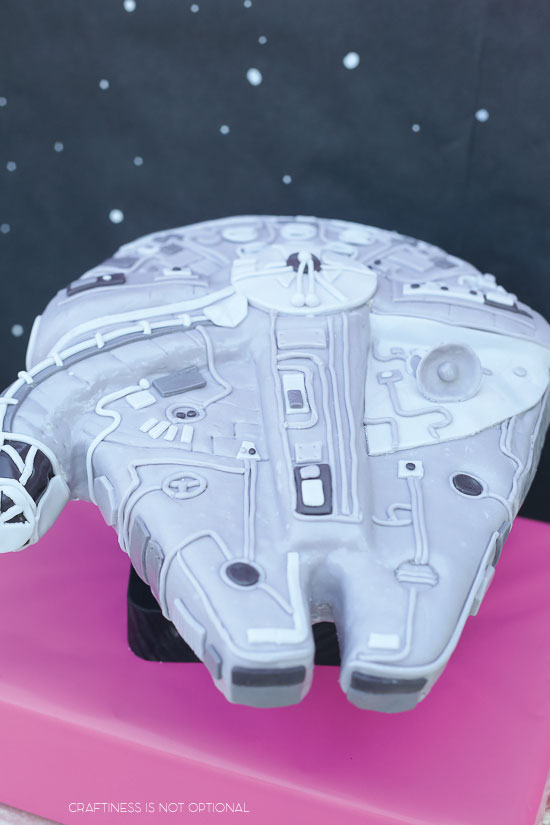
Now I started to add more detailing…I used this fondant tool set which was awesome!
Also this set of different sized small cutters was ideal.
Also I’ll just link to my fondant roller and smoother here cause this appears to be the tools section of the post.
And this large silpat mat. love it.

So as you can see I printed off those pics and used them for reference while I cut out all the pieces.
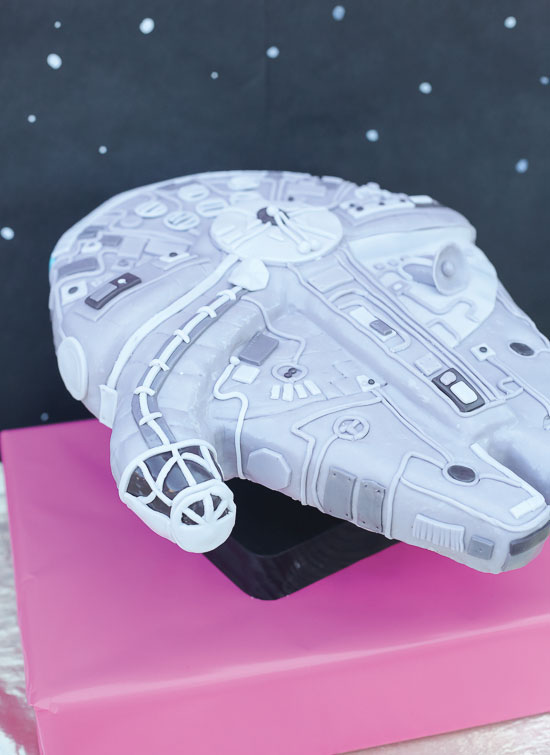
For all the pipes I simply cut thin strips of rolled out fondant with a pizza cutter. I played around with a clay extruder but it got clogged too much so I gave up.

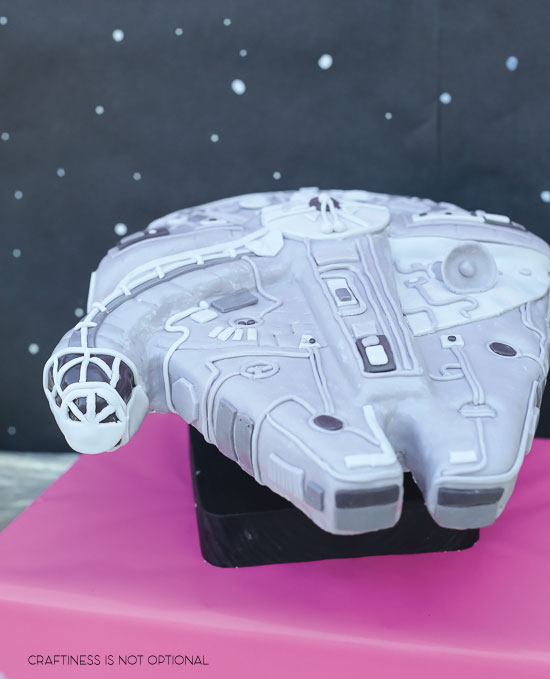
Basically my sis and I decided that I really couldn’t put enough details on. Every time I thought “is this enough?” I’d add something else and say ” nope that looks awesome!”
All in all it took about 9-10 hours of prep and decorating work, but I’ve gotta say I loved every minute of it.
It was SO fun and challenging in the best way possible!
On to more pics!
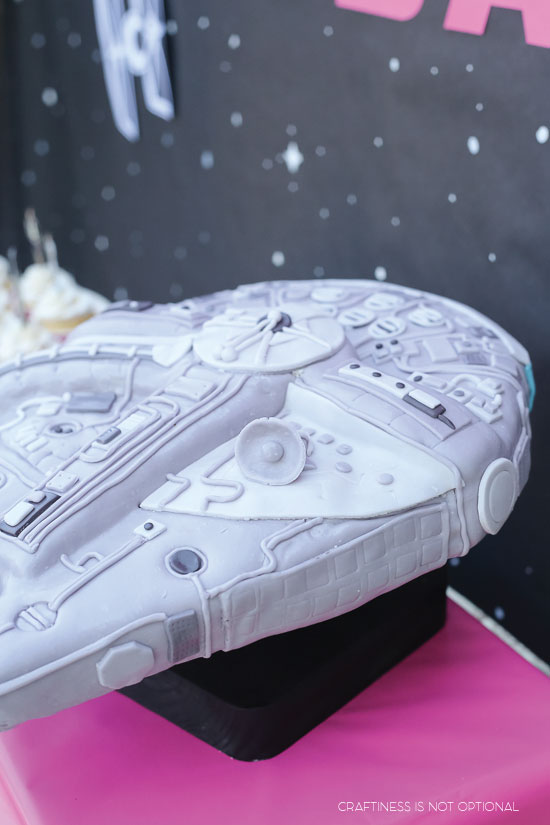
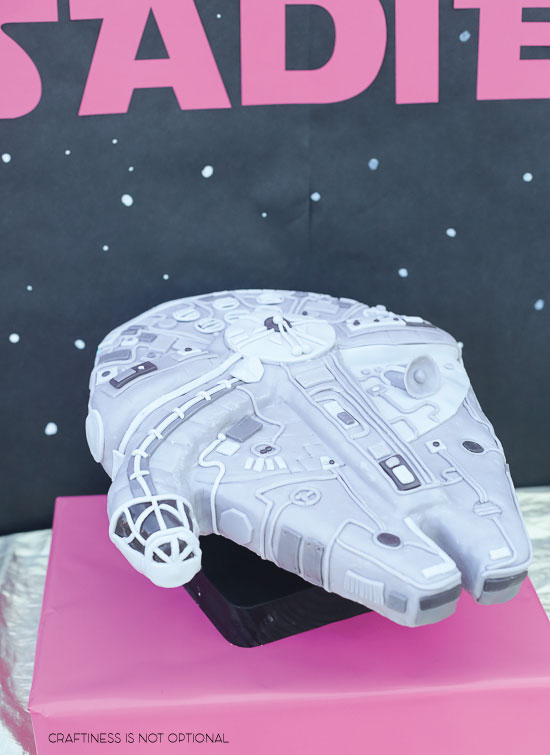
couldn’t have nailed it any better (unless you baked a tiny han and a tiny chewie into the cake but that’d just be crazy, right?). seriously, though. amazing.
#shesfastenoughforyouoldman
I thought about putting action figures of them nearby but they were too tall! 😀
Amazing. Absolutely amazing.
Omg!!!!!! Amazing cake, it’s been quite a while I have been following ur blog,love the efforts that u take for everything. I started by looking at ur sewing projects bacically to teach myself to sew,ur work is just admirable love it,,keep up the good work of inspiring people like me.love, nikhat.
Absolutely incredible! It looks amazing, I am so impressed with all the detail, and love your stand.
omg.. this is AMAZING! it looks unbelievable! xx
https://justthatdiy.wordpress.com
wow, amazing. this looks so fantastic. too bad it is for eating lol
a big thank you for your receipe !!!! 😉
Not sure I could have been present for the cake cutting after all that work. Did you let anyone eat it? How did it taste?!
yup! we ate almost all of it and it was delish!!
Truly amazing. I am in awe!
I’m planning on tackling this cake for my son’s Halloween birthday. Just wondering what kind of frosting you used to “glue” the cake pieces together
just a simple buttercream 🙂
Do you have the link for the picture template you used? Thank you! It’s awesome!
I don’t think I do have it still, but I think I searched through google images to find it.