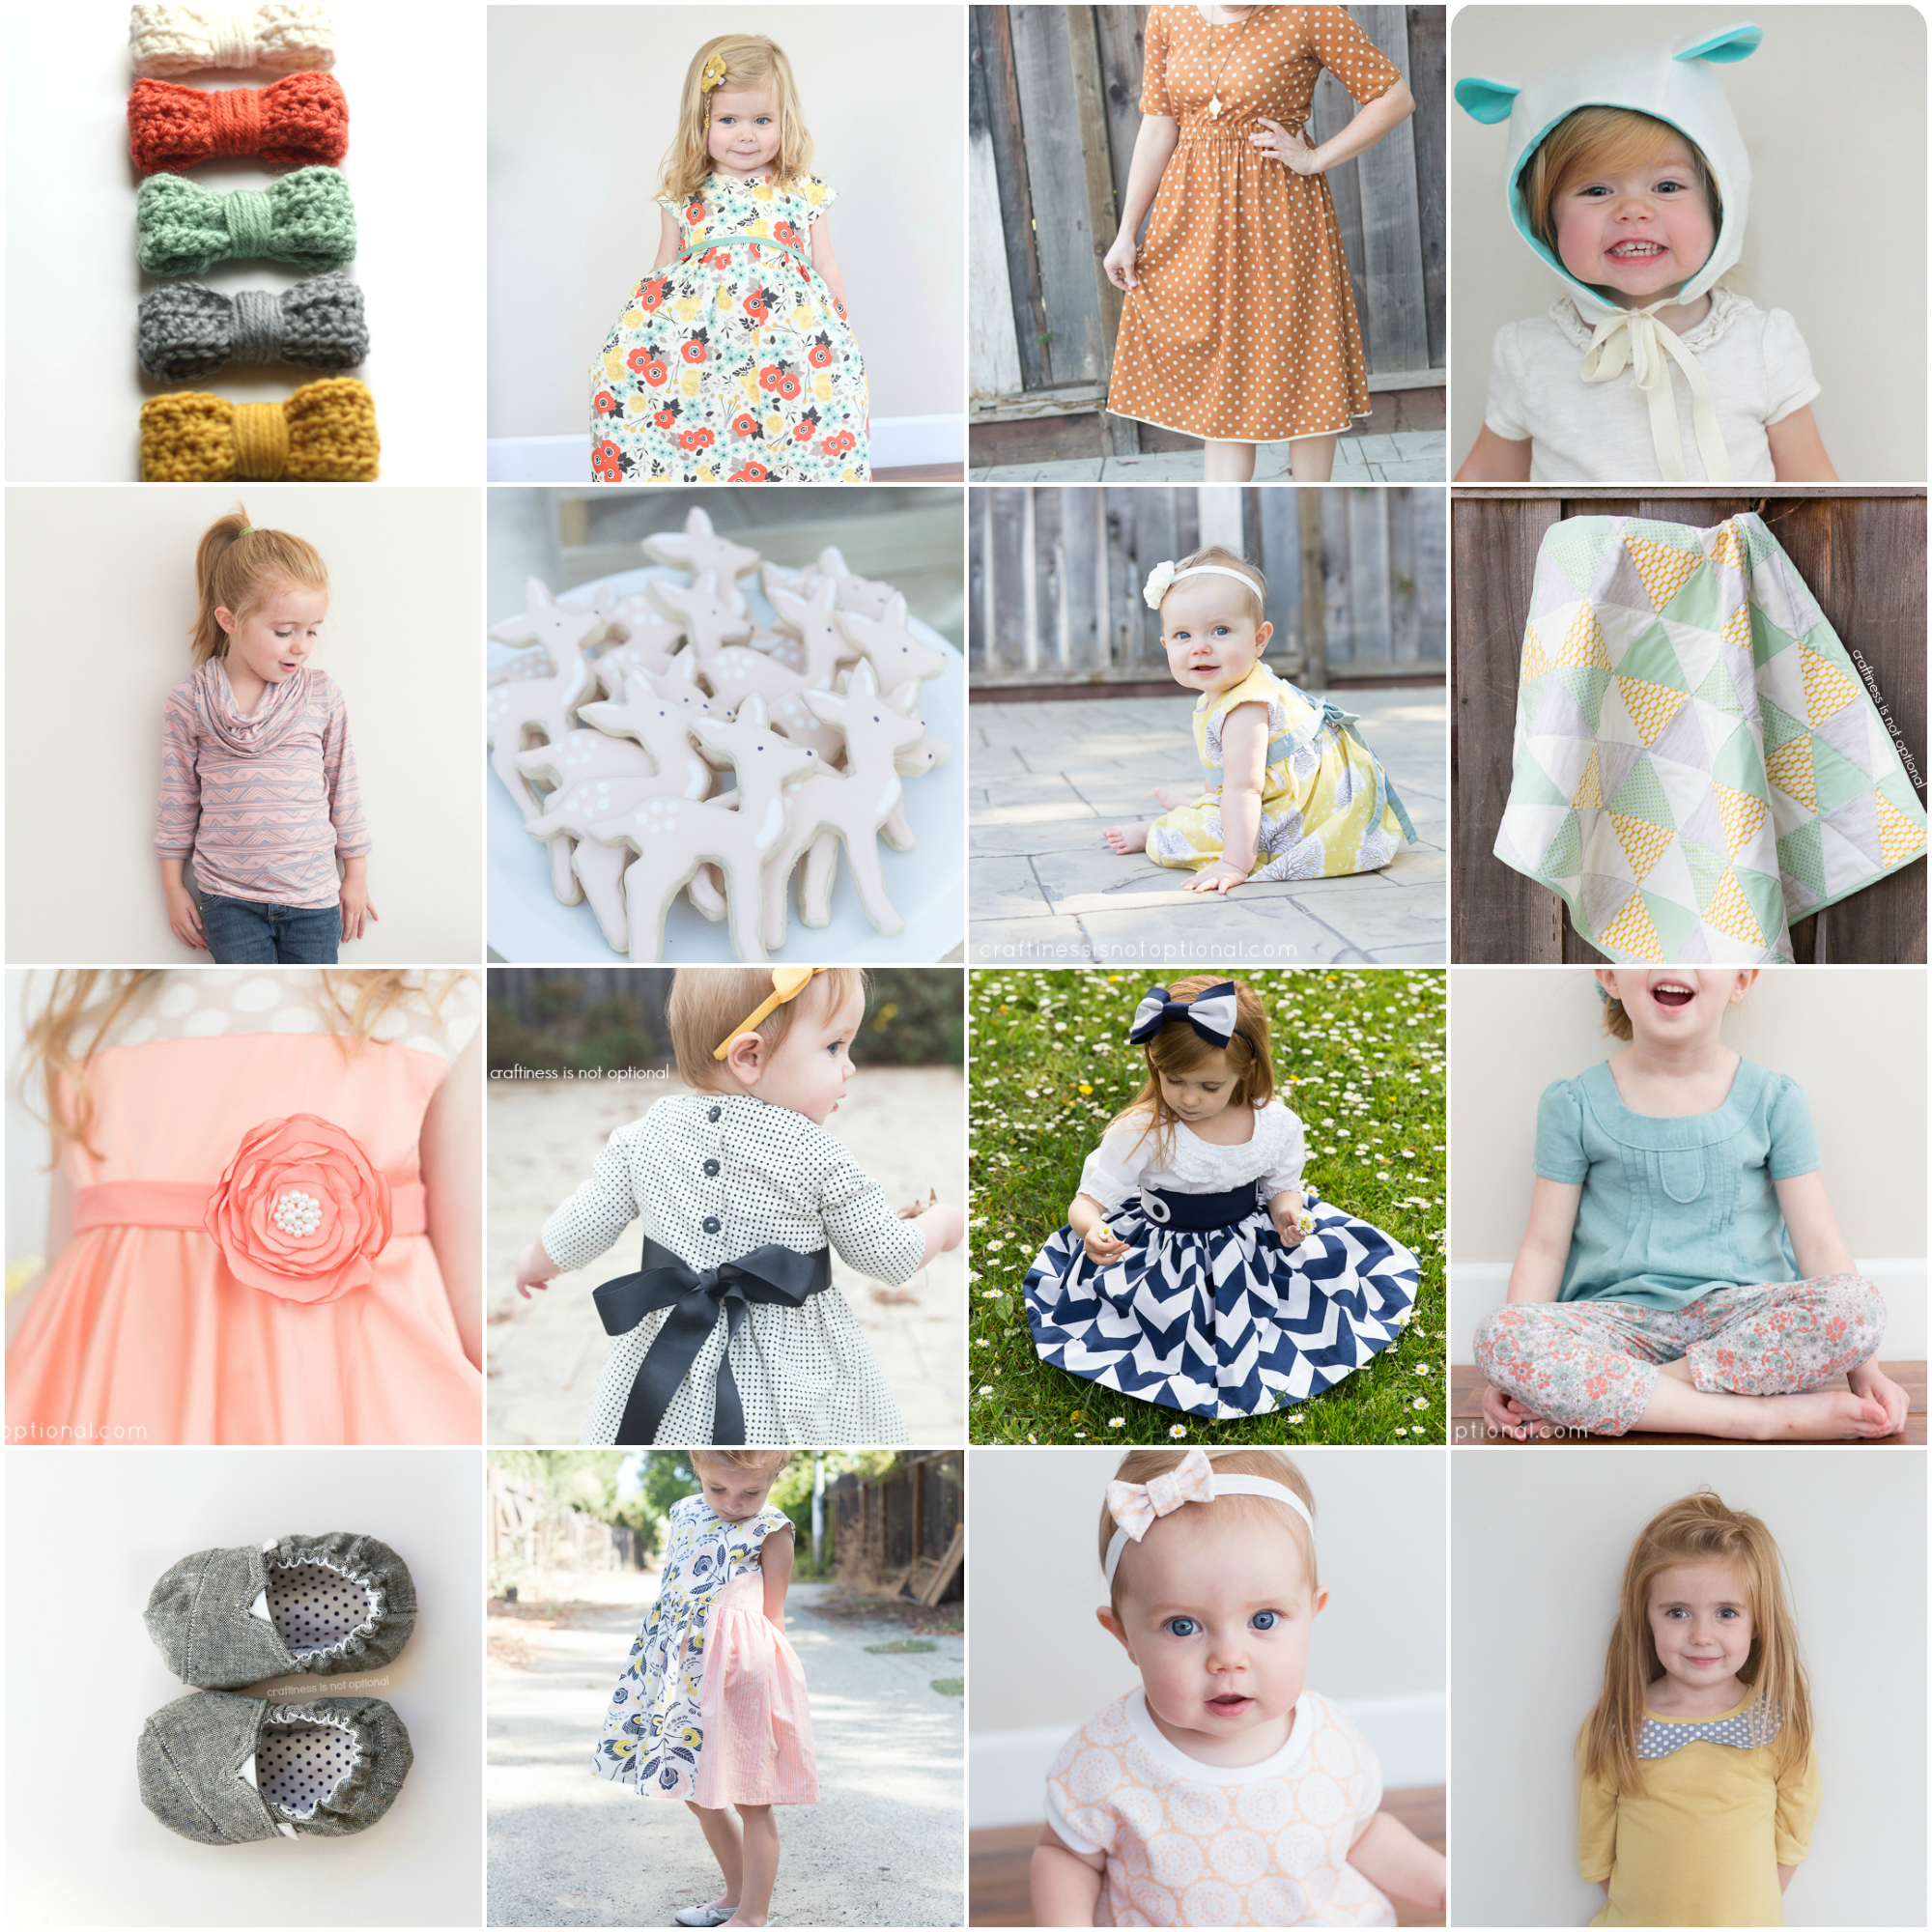
Wednesday, February 27, 2013

chocolate, pecan, and caramel "Turtle" cupcakes


"Heaven in a cupcake" is what these should be called. I had absolutely no self control when it came to this caramel frosting. Seriously. I pretty much ate it by the spoonful. (after they were all frosted of course...most of them were at least...) It's pretty darn delicious on a graham cracker too...just sayin'.

 If you've never made swiss meringue buttercream, it does take a bit of time to make, but it's worth it. Oh so worth it. It's basically the only buttercream recipe I will make. Add that to the best chocolate cupcake/cake recipe I have in my arsenal, add some caramel sauce and pecans. DONE. Turtle cupcakes go Boom. (and by Boom I mean go right in my mouth.) So try these soon-they are delish without the nuts too if you're not a fan of pecans.

Seriously...go make them. Now.


HERSHEY'S Chocolate Cake 

via Hershey's site

Ingredients

  • 2 cups sugar
  • 1-3/4 cups all-purpose flour
  • 3/4 cup HERSHEY'S Cocoa
  • 1-1/2 teaspoons baking powder
  • 1-1/2 teaspoons baking soda
  • 1 teaspoon salt
  • 2 eggs
  • 1 cup milk
  • 1/2 cup vegetable oil
  • 2 teaspoons vanilla extract
  • 1 cup boiling water

Directions

  1. Heat oven to 350°F. Line cupcake tins with paper liners. Makes about 30 cupcakes.
  2. Stir together sugar, flour, cocoa, baking powder, baking soda and salt in large bowl. Add eggs, milk, oil and vanilla; beat on medium speed for about 2 minutes. At this point, I usually stick my water in the microwave in a glass measuring bowl to get it boiling. It takes just about 2 minutes-so that works out perfectly! Mix in the boiling water slowly. Pour batter into the liners. It's a thin batter, so I usually use a 1/4 cup measuring cup and use that to fill. Only fill the liners 2/3 of the way.
  3. Bake 22-25 minutes (rotating halfway through) or until wooden pick inserted in center comes out clean. Cool 15 minutes; remove from pan to wire rack then let them cool completely.  Then frost to your heart's delight...preferably with the recipe below...
 

Caramel Swiss Meringue Buttercream
makes enough to frost about 2-3 dozen cupcakes


(wipe down your bowl, whisk, beaters, etc with lemon juice before you start, this will help your meringue)

Ingredients

1 1/3 cup granulated sugar
5 large egg whites
Pinch of salt
3 sticks unsalted butter, softened and cut into tablespoon-sized pieces
1 scant tablespoon pure vanilla extract
1/2 cup caramel sauce

Directions

  1. Whisk together sugar, the egg whites, and salt in the heatproof bowl of a standing mixer. Set bowl over a pan of simmering water; whisk until sugar is dissolved and mixture registers 140 degrees. (I rub a drop between my fingers, if it's grainy, it still needs more time.)
  2. Return bowl to mixer; fit mixer with whisk attachment. Beat on medium-high speed until stiff peaks form and mixture has cooled down. Switch to paddle attachment. Reduce speed to medium low; add butter, a few tablespoons at a time. Continue mixing until fluffy and smooth. This may take some time, if it curdles, keep mixing and it will come together.
  3. Add caramel and vanilla; beat on lowest speed until combined. Pipe onto cupcakes, drizzle caramel sauce on top, then sprinkle chopped pecans on top! Yum!

Monday, February 25, 2013

topped with a bow tee


This latest tee for Miss C was a refashion-I spotted this top at the thrift store on 50% off day, and it hopped right into my hands. By itself. Ok...maybe not, but as soon as I saw those coral and grey stripes, I knew it was meant to be. I always forget to take a before pic, but picture it as a boxy, shapeless tee. But with a cute pattern and in great shape.


So I chopped off the bottom half, used a self drafted pattern for the top, cut out some sleeves, gathered the bottom to fit the bodice, and sewed it all together. I unpicked and re-used the original binding for the collar, too. I sewed it on with a double needle and it worked fabulously! I can't wait to try that again.  The gathers were a little funky since I sewed it together with my serger, but it's wearable, so....I'm done. I made a quick little bow and hand sewed it to the neckline to add a little something!


Definitely one of my favorite refashions ever! See more refashions here!

Speaking of sewing...it might slow down here a little bit in the case of sewing clothing...since most of my creative energy is being poured into the Project Run and Play All-stars season! I can't tell you how excited I am for this season! Ok I will...I am super duper freaking excited!

 If you're on Instagram, we'll all be posting little teasers, etc under the hashtag #prapallstars. Check it out! (follow me under craftinessisnotoptional)

Oh, and the winners of the Petit Kids pattern giveaway are.....Jacinta.....Tiffany......and Leeann Carpenter.

The winners of the $5 craft it forward Michaels gift cards are.... Kristie....Dorothy Girl....Michaela....Deahna....and Greendoodle. Congrats ladies!

Friday, February 22, 2013

vintage bow-tacular valentine


Just as promised, here's what we handed out to the girls at the party! Again, I found it in this flicker set, and then personalized it and added the label on bottom.  I just love the cute little giraffe and monkey!  Ok, the greeting is hopelessly cheesy....but all those vintage ones were dripping with cheese. (and some of them kinda suggestive, for kids valentines! yikesabee!) I crocheted up some mini yarn bows and Sadie helped make them into clips, then we attached them to the card by cutting two small slits with an exacto knife (I did that part, obviously), then clipping it on. I heard the girls liked them, hooray!

Wednesday, February 20, 2013

vintage airplane valentine


Well ya'll know I went with a vintage Valentine theme for our exchange party this year. (which is probably my all time favorite theme....you know....out of the three years I've done it) So I happened upon this amazing flickr set of old fashioned valentines and spotted this adorable little guy in the red airplane. Sheesh, the cuteness!

So I searched around online and found some of these awesome foam airplane kits (which Rory told me he used to get from the ice cream man! So nostalgic), and ordered a dozen. They were a sweet deal and they will be fun for the boys, I hope! (aka their dads most likely;) I added the "from Sadie and Charlotte", then printed and cut them out, then taped them around the packet. I love the idea of giving tiny little gifts for Valentines Day!


Come back tomorrow to see what we made for the girls! And by we I mean me. Not true, Sadie helped me assemble them all! We had a blast!


Maybe you've already spotted them, but I've been guest posting in a few places recently:

Naptime Crafters-Barbie clothes roundup

Sew Much Ado-sewing flashback

Sugar Bee Crafts-How has blogging changed your life?


Sunday, February 17, 2013

a vintage valentine party


We had our annual Valentines exchange party last week and it was so much fun! I chose a vintage Valentine theme and ran wild with it!


Here is the dessert table I had set up-the kids were actually really good around it and only snitched candy off of it a few times without permission.....Ok, those were my kids. ;)


I made some of my sugar cookies-and really wanted to get some edible paper with vintage valentines printed on them. I found this fantastic shop and Joanna, the owner, was super quick to print and ship them off to me! I can't say enough how amazing she was to work with. Thanks Joanna!


I simply trimmed the images, piped some royal icing in a square slightly smaller than the image, then let it sit for about 2 minutes. Then I pressed the image into the icing, making sure it spread to all the edge. Then I let them dry, pressing any edges down again that curled up. Then I piped around the edges with a star tip.


I got some cute festive gummy candies at, of all places, Walmart. They were so cute and I put them out in a few pieces from my milk glass collection, with vintage valentines propped up in front.


I made some vanilla cupcakes with caramel swiss meringue buttercream (sigh...yum recipe coming soon!) and made some cute toppers to match the theme. I got the awesome square cake liners here.


I displayed a Valentine on my photo display frame , then reused one of the wooden crates from Charlotte's cowgirl party for some cupcakes, and coffee liner flowers in a tin pail. I made a few of the cake plates: the red one, and large white one in the middle, and the rest of the dishes were thrifted except for the tiered tower with the cookies on it, I got that at Target a few years ago.


I got the "Be Mine" banner from Groop Dealz last month, then made the rest. The top one is just scalloped and round punched paper sewn together, the next one is some small doilies with gold vinyl hearts taped to some yarn...and on the bottom, my bow garland.


Then I made a few tissue puffs and hung them above the table.


I found these bags at Hobby Lobby for the kids to collect their valentines in, and these are what kicked off the theme!


The fabric here is by Holly Holderman called Retro Valentines Blocks-I hemmed the edges under and it was a cute place to put our drinks-I served some strawberry lemonade for the moms, which I forgot to get a pic of. Drinking it in these adorable jars with the cool lids and straws was so fun! (for me, I'm easily excitable I guess)


I found some free vintage-y valentine coloring pages online and printed some off for the kids to color in...Sadie was at this table a lot, she's our little artist!


I made some easy but festive lunch bags for the kids-to make it easy for all the moms to grab 'em and find a spot to eat! They included: a heart shaped sandwich, cutie, string cheese, yogurt, and spoon. Of course I added the cheesy labels...because I'm all about the cheese.


To wash down the kids lunch, I bought some red juice boxes, removed the straws, and wrapped them in wrapping paper (same paper I wrapped the dessert table in), then printed out and taped on a fun cheesy Love Potion no. 9 label and taped a paper straw to the side with washi tape. They fit perfectly in the juice box hole!

For us mommas I set out a salad bar-complete with heart shaped cucumber slices, chicken, croutons, tomatoes, avocado, etc. It was yummy!


Across the whole kitchen I hung up another doily banner, this time they were folded over some red yarn and taped, then I taped a red heart on each, cut out on my Silhouette.


I have so much fun with our annual exchange party! Next year I'm thinking LoveBug or Cupid's Arrow for the theme...so many options! Did you go to any Valentines Day parties this year?

Friday, February 15, 2013

Petite Kids Boutique pattern giveaway

***This giveaway is now closed. See below for the winners!*** 

 Hey guys! How was your Valentines Day? Ours was pretty great-we had our annual Valentines exchange party which went really well, and then had a heart shaped pizza for dinner. So pretty much a fantastic day.

I've got a great giveaway for you today! Have you seen the patterns over at Petite Kids Boutique? They are adorable! I love the fun details they add to their patterns. Their fabric combos are so cute, too! They are generously giving away your choice of 2 patterns each to 3 winners. 3 winners-woohoo!


I love the tie at the neck of this cute top!


That bolero is adorable-they have these cool outfit pattern bundles available so you can create the look you see!


and some cool unisex pants...for those of you with boys!

So like I said, they are giving away your choice of 2 patterns each to 3 winners! 

How to enter:

1. Visit their shop, take a look around, then come back and leave a comment on this post telling me some of your fav patterns!

2. "Like" them on Facebook. Leave a comment telling me you did so on this post.

Please leave your email address with one of your comments so I can contact you if you win!

The giveaway will run until Friday the 22nd! Good luck!

The winners of the Petit Kids pattern giveaway are.....Jacinta.....Tiffany......and Leeann Carpenter.

Thursday, February 14, 2013

button magnets and a covered button tutorial


First off, Happy Valentines Day!

I have more "craft it forward" gifts to share with you today! Cause I just can't stop with one...gotta share the love! Plus they did double duty as Valentines for my "mommy friends" as Sadie calls them (ok as I call them when I'm talking to her). I decided to make some sets of fun fabric covered button magnets-after all, most people have a fridge right? Although my parents' fridge isn't magnetic on the front...so I guess they are the weirdos in the refrigeration world.

I had a few people ask on Instagram (follow me-username is craftinessisnotoptional....I love Instagramming!) about covering buttons-it's really easy and so fun! It's the perfect way to get custom buttons. I use these all the time to match dresses, tops, etc. It's great because you can use the same fabric you sewed it with-a perfect match!


When you're done covering them, simply hot glue a magnet on the back, and you have a magnet! Watch out world....or....fridge. You're about to get a magnet makeover.


So here's a quick lesson in button covering.

1. You'll need buttons to cover and the tools to do it, too. Most sets come with them-a little rubber white piece and a blue piece.
2. Cut a piece of fabric for your button (most kits come with a guide on the back of the cardboard that you can cut out and reuse...I stick each size of button/guide/tool set together in a labeled baggie so I don't lose them)
3. Center the fabric on the button and push it into the white rubber piece like so. Tuck the edges in towards the middle.
4. Place the button back on top.
5. Then use the blue piece to pop it into place. Just make sure to press evenly, and that all the edges have been pressed in fully.
6. Tada! Insta-cuteness!


I got these metal tins (and the magnets too) at Michaels...they are 2" wide so the perfect size for four 7/8" buttons to fit in. (I get flat backed buttons on Etsy) Plus the magnets stay put. Awesome. I wrapped some pink washi tape around them (plus some truffle chocolates-not shown-and totally not because I ate most of them....), and was done! But wait...it needed a cheesy, Jess-ish saying. hmmm......"You are cute as a button" works. DONE.


Do you like to give your gal pals Valentines? I think it's a fun tradition! Another question: have you crafted anything forward yet?

Tuesday, February 12, 2013

washi tape frame tutorial-craft it forward!

Have you heard that this week is Random Acts of Kindness week? I had no idea there was such a thing, until Michaels (yes the Michaels store Michaels) contacted me about participating in their craft it forward event. They are aiming to inspire creativity and kindness by encouraging us all to "craft it forward"-to create a simple gift that will make the recipient smile! I thought it was a fantastic idea! I love to craft for others, and love sharing what comes of that urge with all of you. Isn't that what blogging is all about? Community, friendship, and of course...crafting!


So I headed to my neared Michaels store (luckily we have one 5 minutes away) and wandered the aisles (kid-less..it was heaven on earth I tell you)...and gathered supplies for a simple but oh so adorable gift...for my kid sis Julia. Well, she's not quite a kid anymore, but when I thought of who to make it for I could only think of her. So here's my easy Washi Tape frame tutorial!


I love how it came together, and it was so, so simple to make. Those kinds of gifts are the best, right?


I grabbed a wooden cut out frame (I had no idea Michaels carried these, btw...going back for more soon.) some flowers, and washi tape. You'll also need some sandpaper, a hot glue gun, an exacto knife, mod podge, and a sponge brush.


So it's pretty straight-forward. I first removed the inside part of the frame, then lightly sanded the edges...thought about painting them but I liked the raw wood color with the tapes I used so I left it alone. Then start laying down pieces of washi tape on top of the frame.


 I made sure that the first strip was as straight as possible by looking at it from the back and adjusting as needed.


Then just keep sticking on strips of tape til it's full...line them up with the previous strip of tape so they're straight. I did a sort of random but intentional pattern-this would look awesome with two solid colors, too!


Then flip it upside down and trim off all the outside edges with your knife, and also the inside of the frame.


Seal it all with a layer of mod podge...


...and glue on your desired arrangement of flowers! The white one was purchased, the pink one was made using this tutorial, the green one using this tutorial. I also designed a quick little inspiring quote to pop in the frame, that I hope she likes!

Download it here. (in 4x6 and 8x10 sizes)


So....I challenge you to craft it forward! Make and give a little or big gift this week...or next. Whenever you can! The point is that we could all use a little more crafty kindness in this world, right? And who better to give it than someone who loves to create and give from the heart? Cause I know you all are like that. Super awesome and everything. ;D


Also, leave a comment here for a chance to win a $5 Michaels gift card! I have 5 of them to giveaway to ya'll. Tell me if you've ever received a Random Act of Kindness or if you've done one for someone else. Leave an email address please so I can contact you if you win!

***This giveaway is now closed***

The winners of the $5 craft it forward Michaels gift cards are.... Kristie....Dorothy Girl....Michaela....Deahna....and Greendoodle. Congrats ladies!


Blogging tips