


I loove the grey and teal together! I think pretty much every darn color looks great with grey. (and mustard yellow for that matter…ya with me?)

So…I messed up how the waistband lined up in back with the invisible zip, so I covered it with a quick bow-simply safety pinned on. You could also sew it on, but I don’t think fabric bows wash up very well, so I like being able to remove them.
Of course, did this one get removed before I washed it? NOooooope. Do as I say, not as I do, folks.

agh! enough of the cuteness, C. You’re killin’ me. I love babies in pigtails.
YES SHE IS STILL A BABY.
I may or may not be in denial about this.

So let’s get on with it! I won’t have instructions for every part of this dress, since mostly it’s to show you how to do the yoke. I will show ya what I took pictures of though!
See below for the tutorial!
(fabric from Hancocks, but it didn’t have a selvage with info on it, weird huh?)
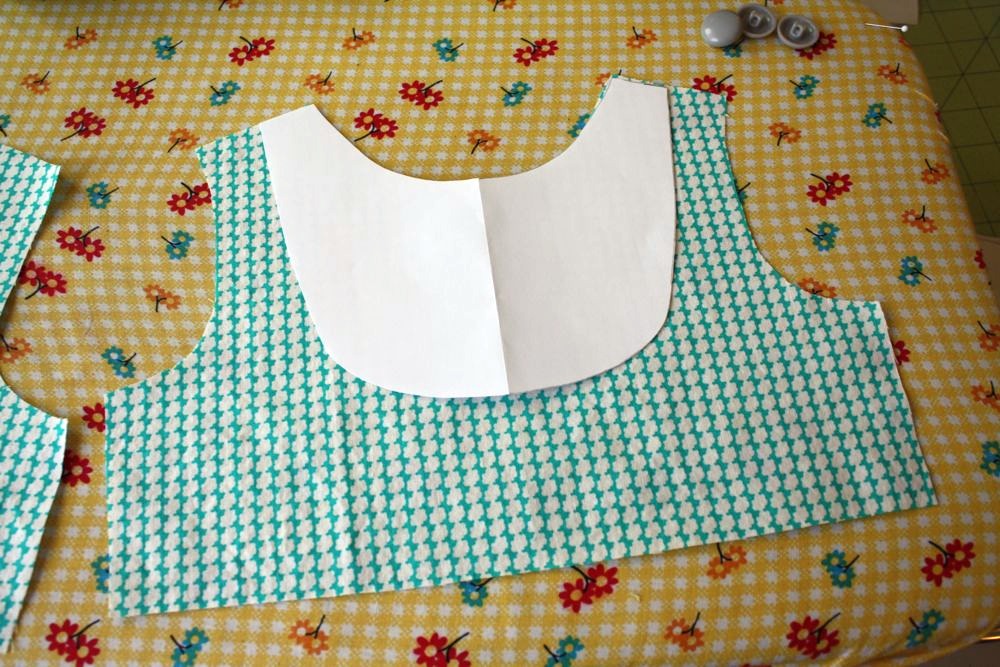
First, I took a simple bodice pattern (from this dress actually) and cut out 1 piece on the fold, for the front. I did scoop down lower on the front piece. (make sure to mark where you did this on your pattern)

Then for the back, I cut 2 pieces…with 1/2″ extra on the fold line, like so. This piece is not cut on the fold…just two pieces of material, with wrong or right sides together when you cut.

Now to make the collar/bib/yoke pattern.
1. First: trace the neckline, center line, and shoulder of the bodice pattern.
2. Then draw a bib shape that you like like so.
3. add the 1/2″ to the back piece like you did to the pattern.
4. Do the same for the front bib.

Then I also cut out a test pattern piece on the fold to see how I liked the shape and size.
If you want a regular flat yoke-skip ahead to where I assemble the yoke…otherwise, if you want pleats, read on!
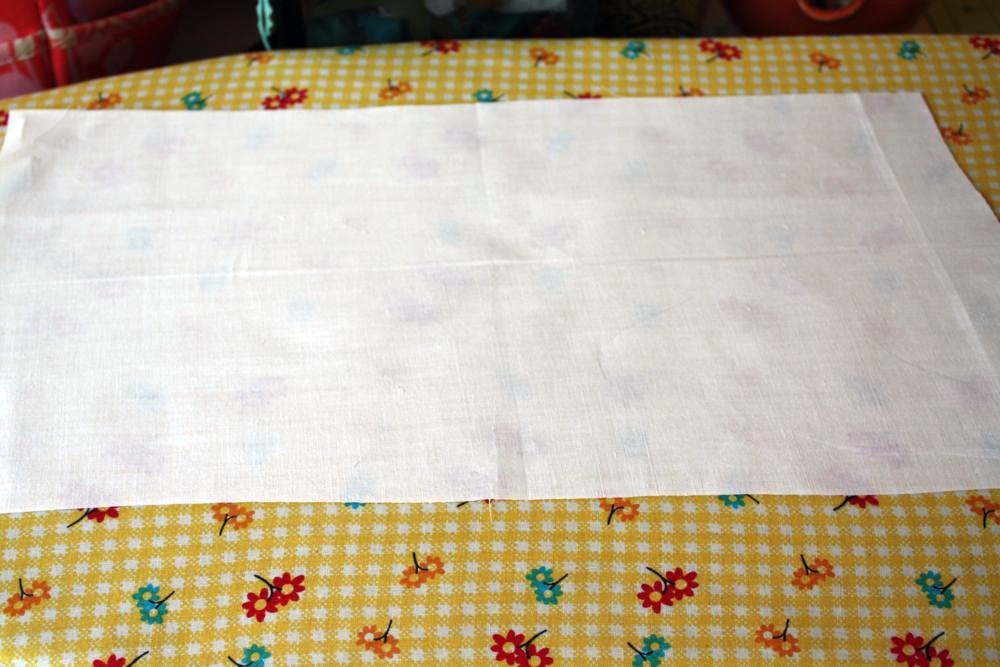
I cut a piece of fabric that was tall enough to fit my pattern piece, and a lot wider. No specific measurements, sorry…but I wasn’t sure how much I needed so I over estimated. Better safe than sorry.

Then fold it in half width wise, and iron. At this point I laid out my buttons to see how wide the center would need to be. (I got rid of one of the buttons later on obviously)

Sorry so dark…then I marked where the other side of the center pleat should be.
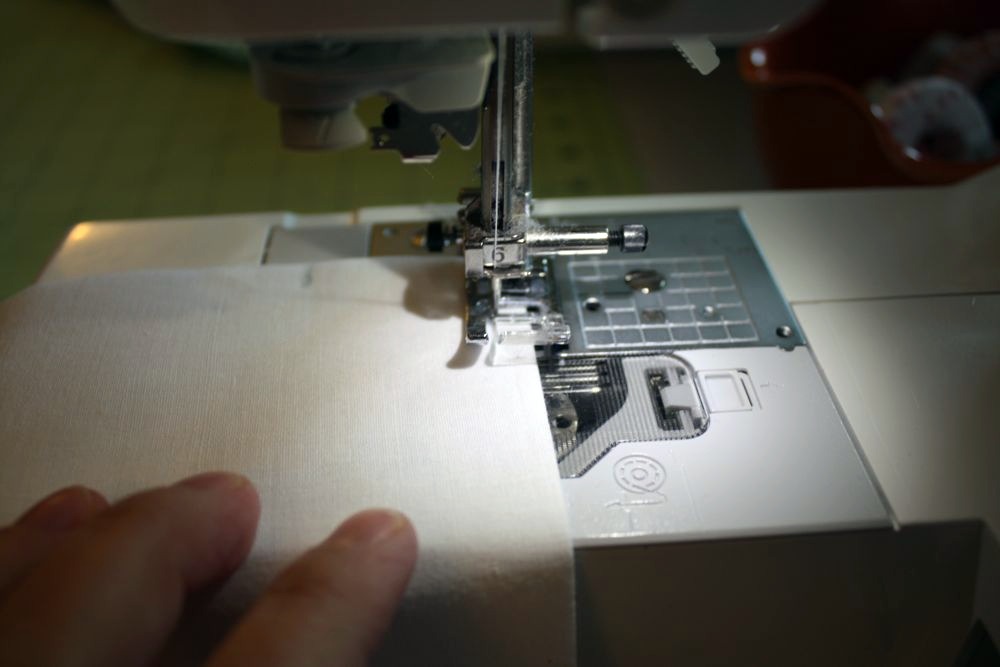
I then sewed the pleat 1/4″ from the ironed over edge. This is where stitching straight really looks good, so take your time!

Then press that seam flat, to the right.

Then at the mark, fold in half again and press. Make sure to use a ruler to keep both ends as straight as possible. Sew down that side 1/4″ from the edge as well.

Then measure how far apart you want your pleats to be. I kept mine pretty close.

Continue measuring, folding, ironing, and sewing pleats until you have enough to cut the pattern from. Fold in half, using the center of the center pleat as your center…(probably could have explained that better, oh well)

…then cut out your yoke like so. Also cut one more of the front from regular fabric, and 4 from the back.
Next:
1. Pin and sew the yoke lining and outer fabrics together at the shoulders.
2. Press seams open.
3. Pin lining and outer fabric yokes together, and…
4. sew around the outside only!

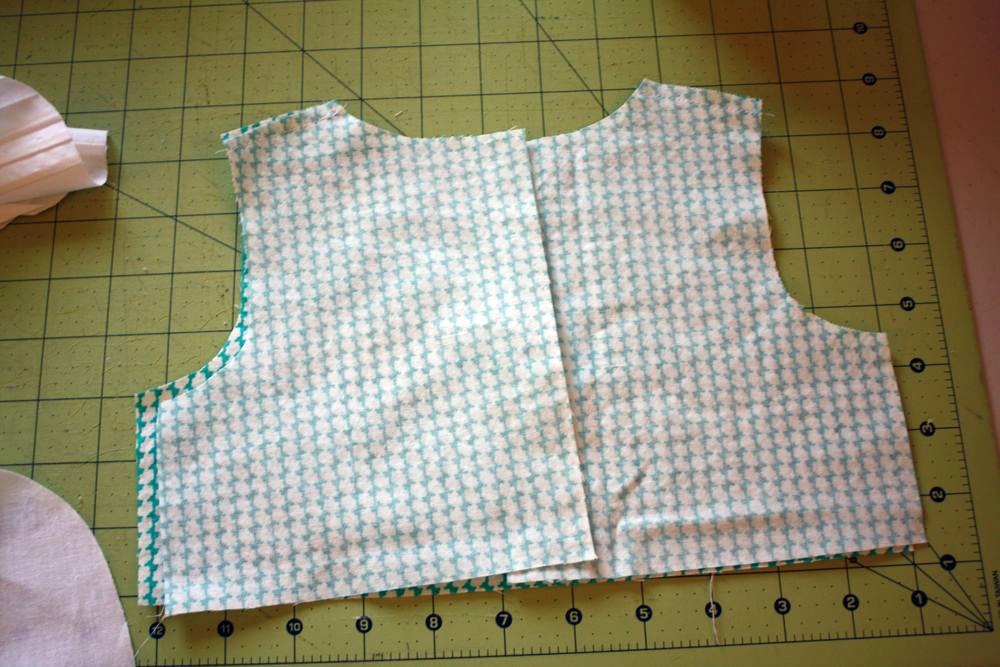
Also sew your bodice pieces together at the shoulder seams and serge or zig zag stitch the raw edges of that seam.
Back to the yoke.
1. Trim around the outside seam with pinking shears or clip v’s into the curves.
2. Turn right sides out and press around the edges. I use a chopstick to help turn tricky spots out.
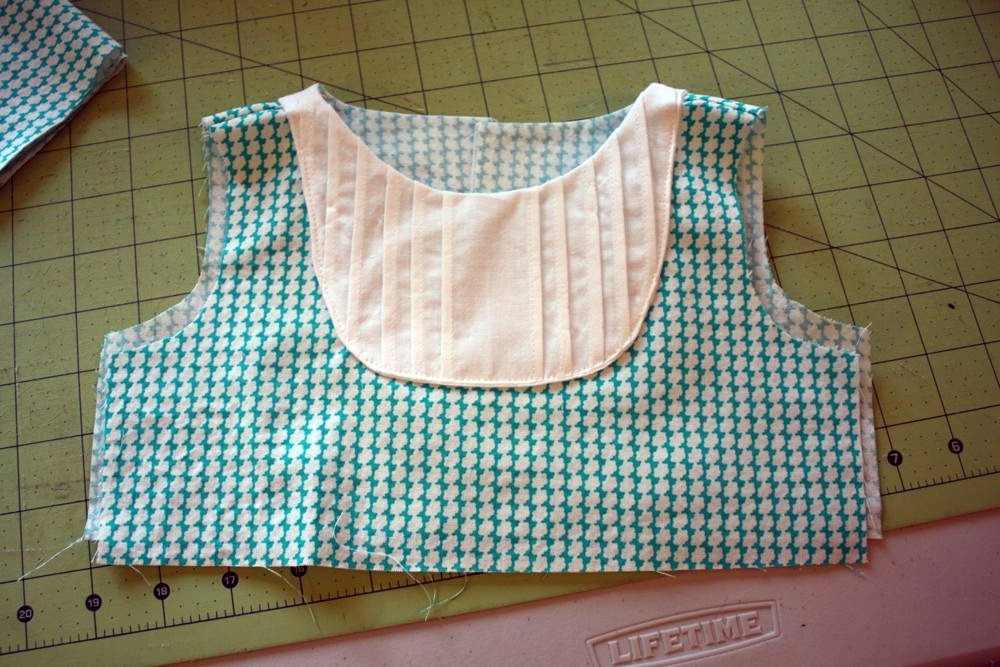
3. Pin the pleated side of the yoke to the backside of the bodice like so.
4. Sew around the neckline.

Then clip curves on that seam, and turn right side out and press.

Then pin yoke down around the outside…

..and top stitch 1/8″ from the edge, carefully.
This is what you should have now! tada! sew on the buttons and you’ve got an adorable yoke!

LOVE the DRESS! Gorgeous and the little girlie is TOO CUTE! Thanx for sharing, I may have to try this for my niece!
Natalie
http://www.projectdowhatyoulove.wordpress.com
You have the cutest model, look at those eyes! This looks adorable and I love the fabric you’ve used, so dainty.
Katie x
P.S My kids are 6 and 4 and (very much so) still my babies 🙂
I love the pleated bib! And pigtails…. too cute.
Love the pleated bib tutorial and such a beautiful, little girl! Thank you for sharing!
I love the bibs. That Charlotte is turning into quite the little model.
I was just wondering why they don’t make gray ricrac? Wouldn’t it be great! Someone should let them know.
Adorable dress, btw. It’s on my list.
Your little girl is just too precious!!! I’m in love with the pleated bib, thanks for the tutorial 🙂
oh gosh jess, it’s so adorable and so is charlotte!
That is the cutest dress! Like, EVER!!! I heart-heart-heart it! 😀
Sewing the pleats before cutting them out is a complete revelation to this beginner! Thanks!
She is the cutest! Love the dress too- especially the white contrasting fabric bow and the back bib (if that’s what you call it).
You have lovely doughter! 🙂 She is sooo sweet 🙂 Than you for great turorials:)
Heavens! You are prolific! I am still putting the Emma dress together. WAY TO GO! cant wait to try this technique. I am thinking a Valentines day dress is in order for my little “C”
Your dress (and model) is adorable! And with those cheeks? Of course she’s still a baby! 😀
Gorgeous!! I love your pleated yokes. Will have to give it a try some time! Thanks for sharing your talents:)
Oh my Jess. I love this. So, So cute.
This dress is crazy adorable! I can’t decide which is cuter, the baby or the dress. (And yes she is still a baby. Mine is 21 months, and she is definitely still a baby.)
Completely adorable! I might have to try this…immediately!
You are so incredibly talented and that little one just makes me want to squeeze her haha
Adorable yoke indeed, but what is killing is me s that ADORABLE CHARLOTTE!!! Loving the piggytails, and the expressions on this girl are to die for! Very well trained little miss! LOVE it!
XOXO
PS, she is still a baby, until another one comes along 😉 right?
want…to…pinch…cheeks…can’t…reach…from…here! so, so cute jess. thanks for the tutorial too! 🙂
So cute! I love the dress (the pleats/yoke and the colors are perfect!) and that is one cute little girl!
The dress is Fabulous (and love the grey) but the KID!!! The kid is just the ultimate in CUTENESS !!! Such a sweet little girl!
What a model! 🙂 So cute! The dress is absolutely fabulouse!
Tanya
i was totally bummed that the playdate dress by oliver +s is out of print. i wonder if it is dumb to try to make this dress…with my own pattern if i have never made a dress? ha anyways thanks for such great tutorials!
very cute! Can’t wait to try!
My little girl is close in age to yours, and I have to agree. She is still a baby! 🙂
This dress is perfection! the model just is too cute;)
I love the grey and teal together, too! Beautiful! Great tutorial, Jess. I love those buttons… perfect choice.
Love this little dress! It is adorable and what a beautiful baby girl to wear it! We are new followers! ~ Barbara and Alicia
Love this tutorial. But I can’t seem to get past the cuteness of those cheeks. What a beautiful baby. Can’t wait to make this for my grand daughters.
Thank you for this great tutorial! I just used it with a top that I made for my daughter’s birthday. I’m so pleased with how it turned out. Thanks again for sharing!
Hi! I love this dress! I was just wondering if you have any tips on turning short sleeves into long sleeves for little ones? I’ve looked in the fabric stores and all of the patterns just have short sleeves! So I saw these cute 3/4 sleeves (we live in Minnesota!!!) which would be so much better for the winter. Thank you!!
Hi, do you happen to have a video tutorial of the dress and yoke? Im a super new sewer and I cant follow these instructions at all.
Thanks so much
I don’t, sorry.
I just love this dress it is so classy and cute, your little girl is gorgeous, i was wondering if you are going to make a pattern for it as i would love to make it and am better with written down instructions and am not sure about drafting a pattern (new to dressmaking) thanks from Australia xo
not as of now…it’s on the list. 🙂
thanks you so much for this tutorial il love that i will make this dress tomorow !
😉