


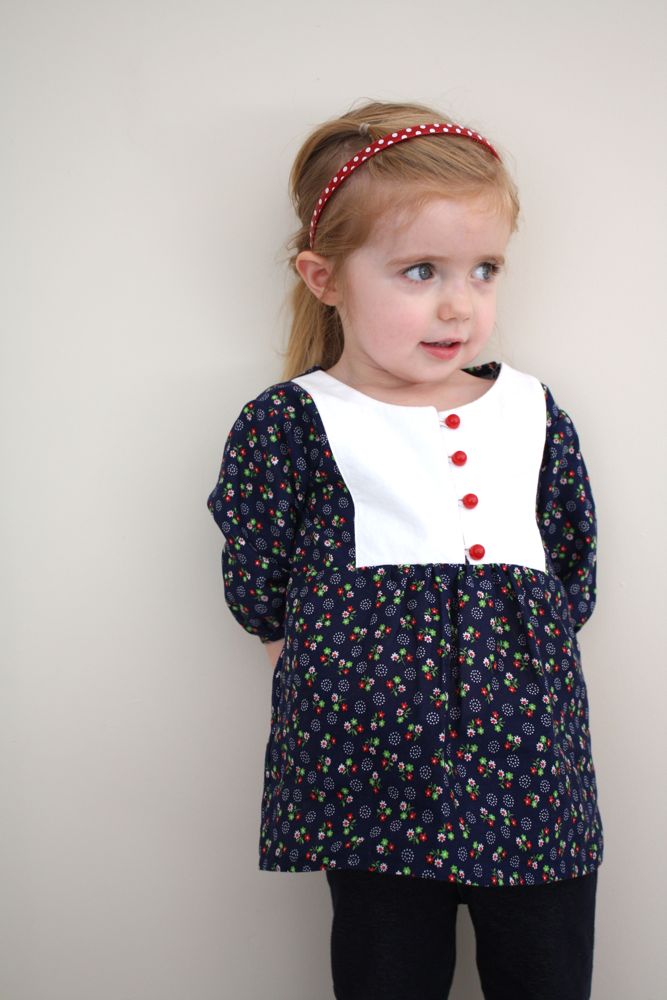
Ok! Time for part 2-the bib and button closure.
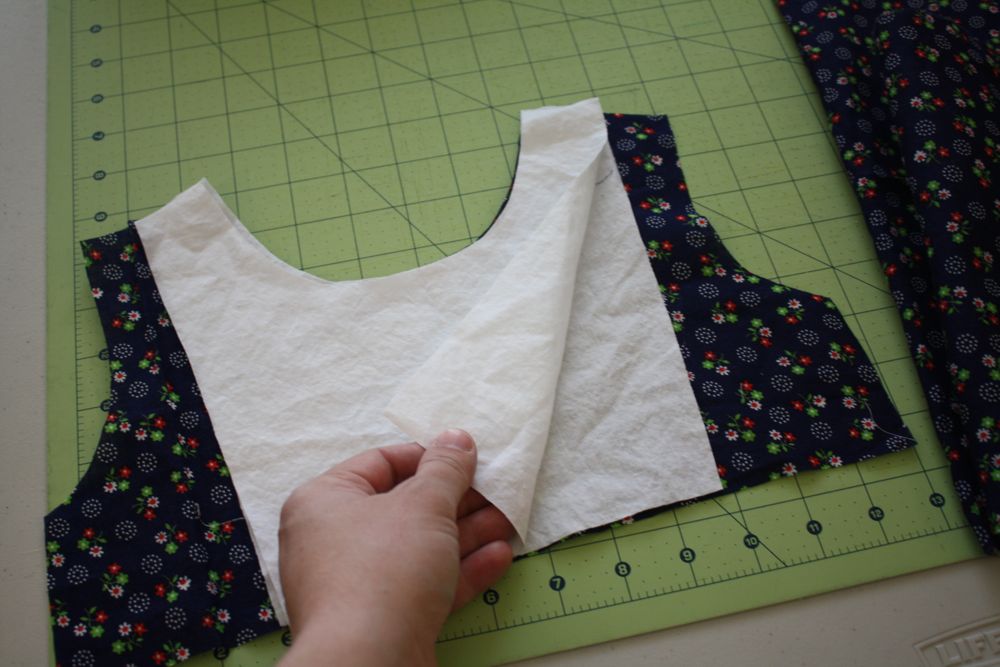
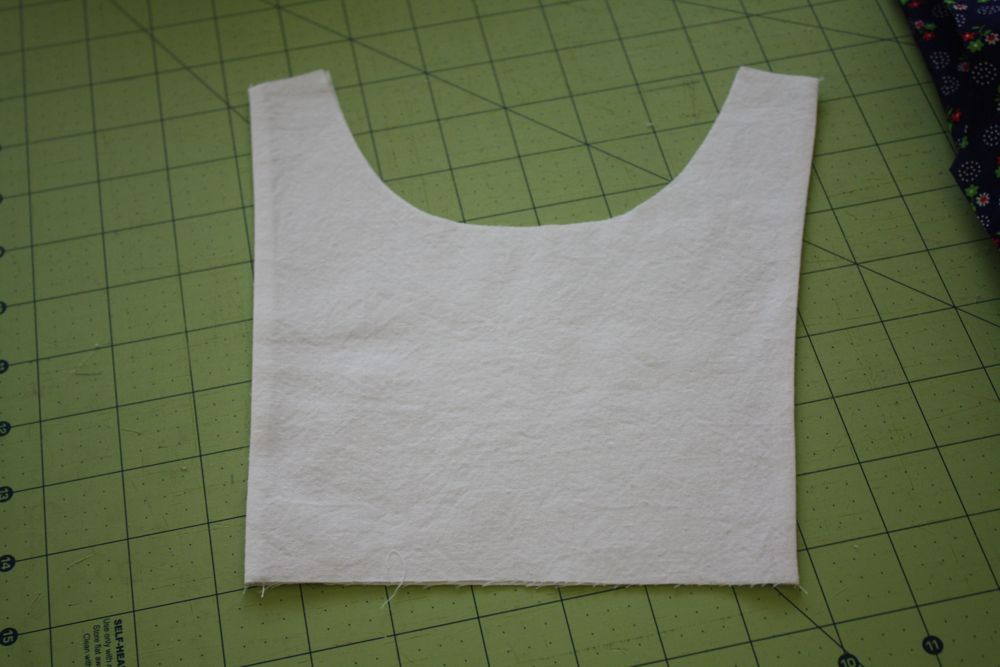
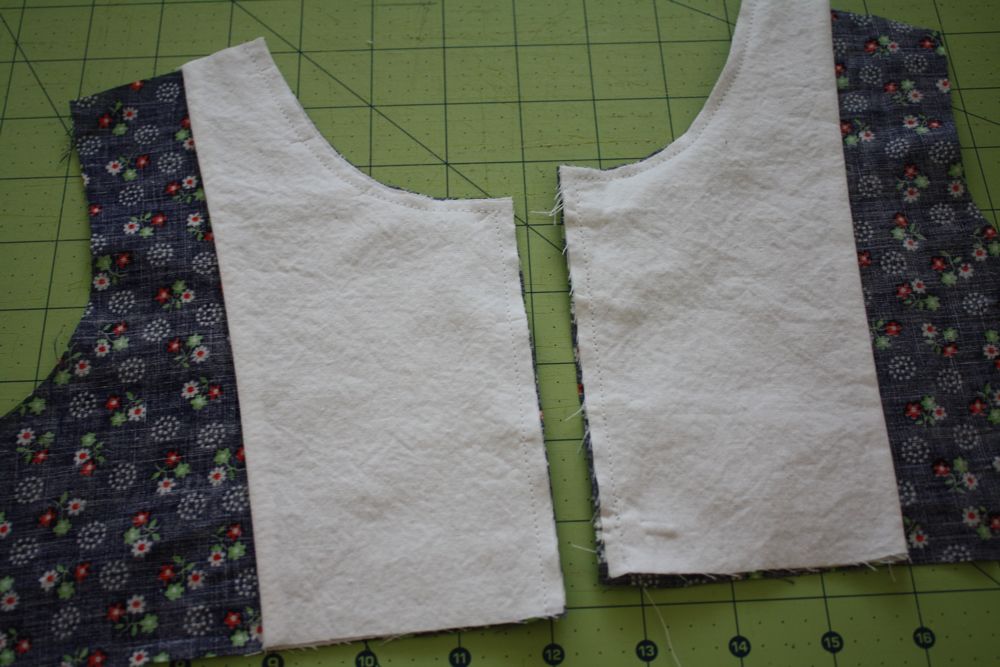
First lay out your bodice and bib pieces so that they’re lined up correctly and trim off any little pieces that might have been wobblingly cut. (that’s not a word.)
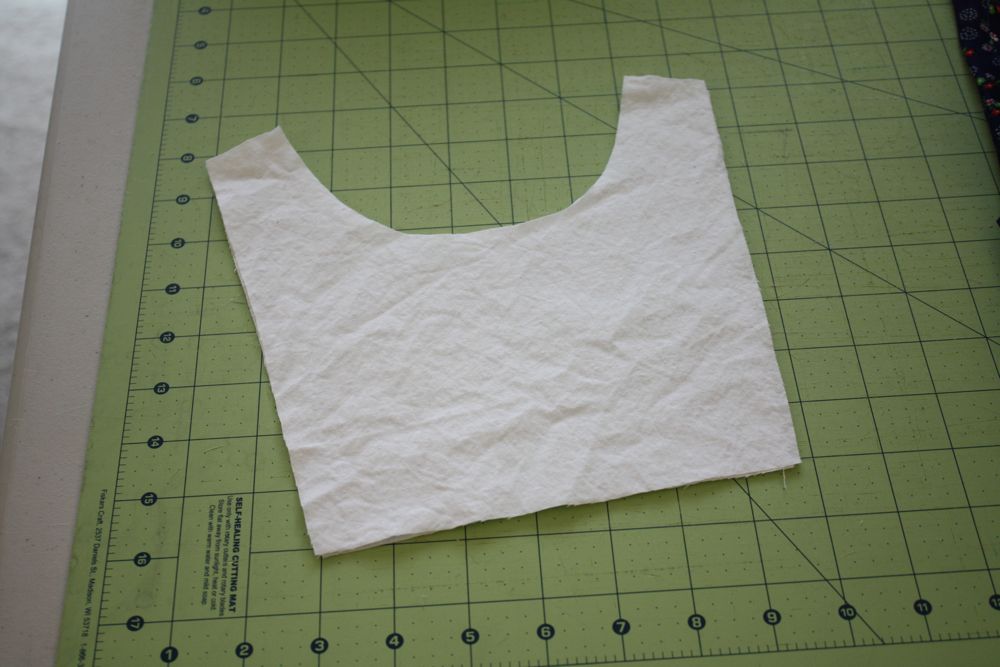
Then take your two bib pieces and sew them right sides together (RST) along the two sides.
Flip right side out and press with your iron.
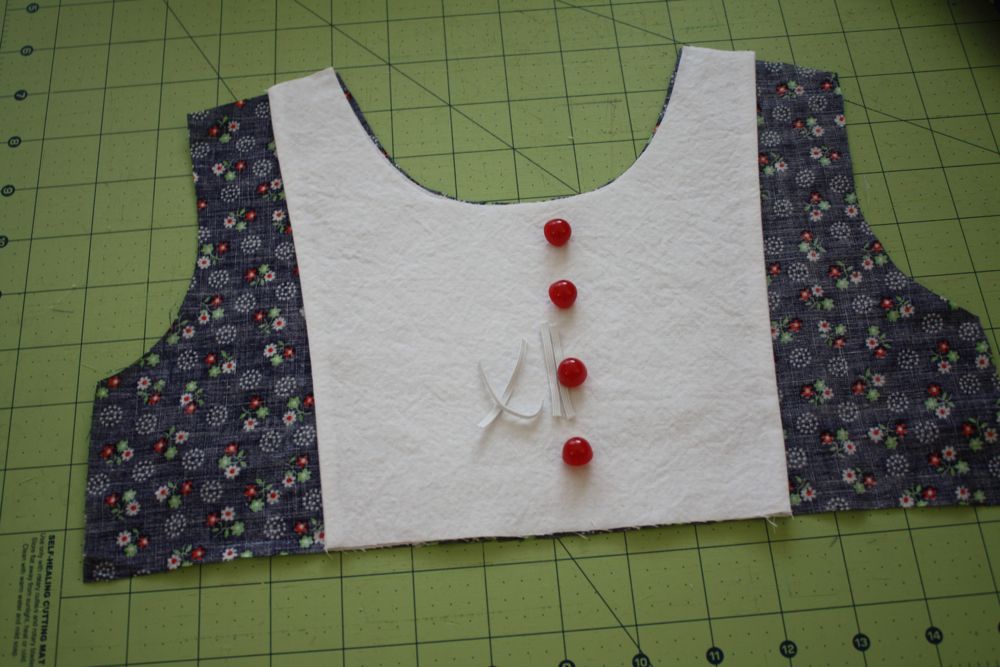
Then grab your buttons and decide how many you want and where to place them. You should probably mark where they go. Winging it is a bad idea. Trust me on this.
You’ll want to cut your pieces of 1/8″ elastic now into pieces. The length depends on how large your buttons are. I cut my pieces 1.5″ long.

You might notice the bodice piece is wrong side up. This is correct! Place the bib on top of the bodice piece and then cut it right down the middle.
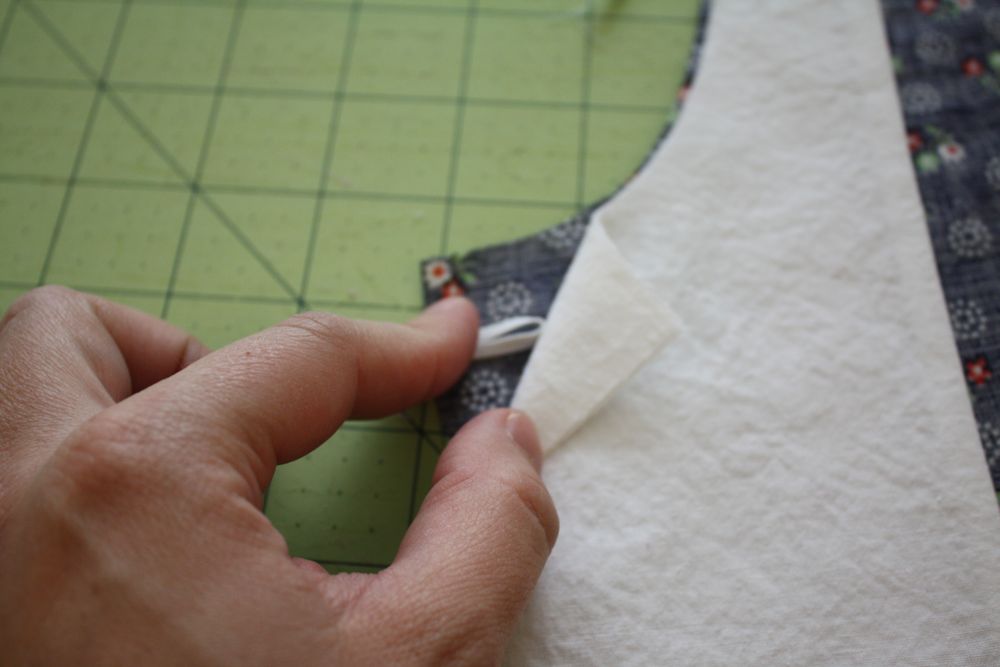
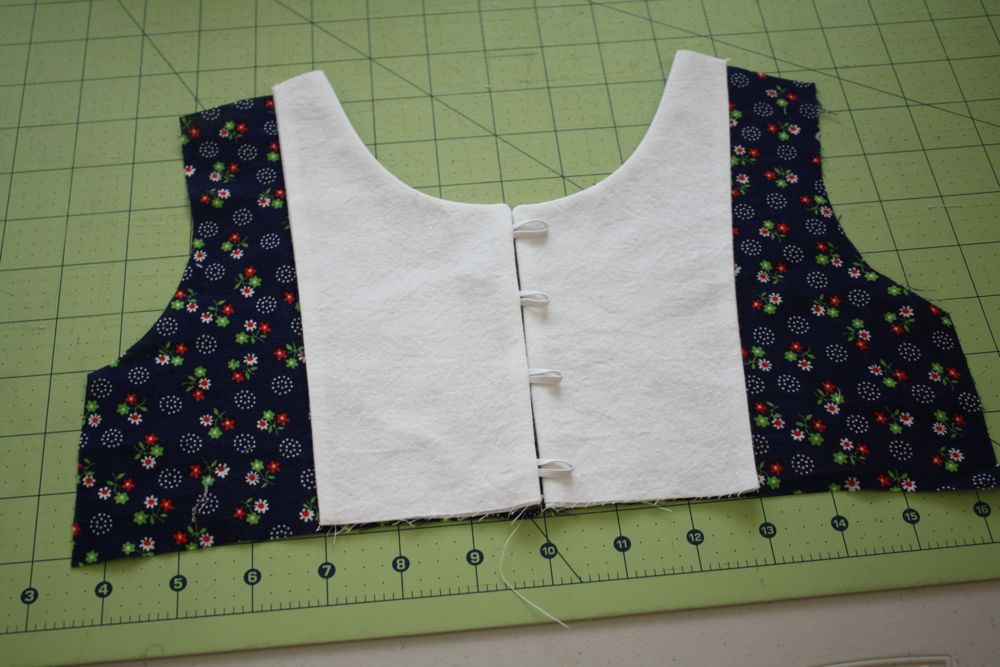
Then on one side, lift up the bib and place your elastic loops along the edge, with raw edges together. Make sure to leave room on the top and bottom for seam allowance.
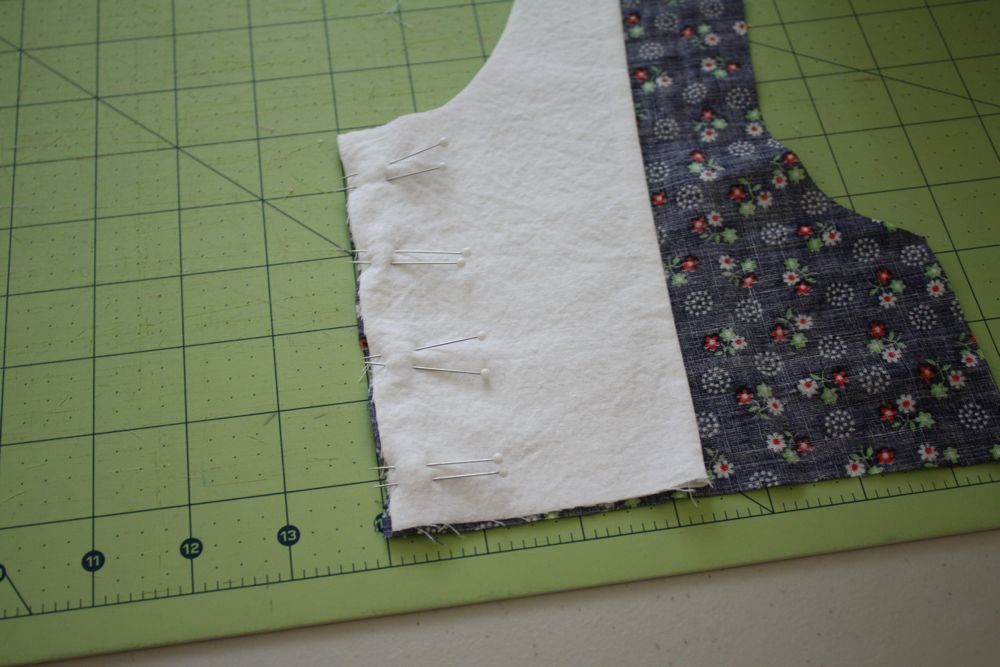
Then pin the elastic loops in.
Next you will sew along the curve and down the middle on both pieces. You can back stitch over the elastic spots for extra strength.
Clip the corners and curves and turn right side out and press.

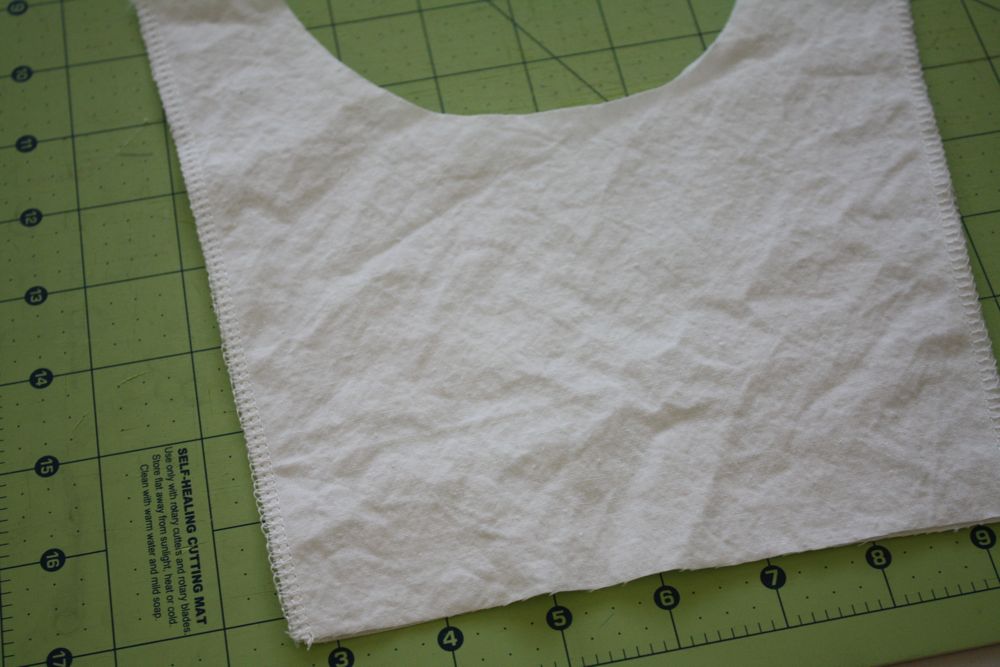
Then carefully top stitch along both sides of the bib.
Tomorrow: Sleeves, and finishing up!
Ok, I love your blog. It’s seriously my fav, I get so much inspiration from it. But besides makeing tons of skirts for my daughter anything else scares the crap out of me. But I love this shirt! I am going to do this sew a long!!! I can do it!! Maybe, ekkk. Thanks for sharing it, I love it…..ok deep breath, I can do it.
wow!! I love your work, I love your blog, I love your daughter!!!
Am definilly in this.. Thank you!
(sorry for my english, am from Dominican Republic)
http://www.madebymami.com
Once again, I am just a want-a-be-steamstress. Ok….I’ve put my first stiches into this…AND I DID IT! But now not sure that I have the right color elastic. 🙁 I’m using a navy bib so I’m thinking I need to make a trip to the store. Any thoughts?
Pattern made…check.
Pieces cut…..check.
Bodice sewn….check.
Impatiently wait for tomorrows post…check.
Ooops! That’s not one of the steps!
I was going to skip this sew-a-long because I am working all week but I just couldn’t resist. I work afternoon shift and have gotten up early the last two days just so I could be sure to finish each step before leaving. I’m tired but thrilled with my little Libby top so far.
Thanks again for all your hard work with this (and all your other) tutorials.
I love bibs on shirts and dresses…they just look so dang cute! I wish I were sewing along….but I am up to my eyeballs in other projects.
Pinning. For sure.
I just couldn’t wait for the rest of the tutorial, so I just guessed on how to finish. I posted pictures in your flickr group and on my blog http://wellsscrapbookshowoff.blogspot.com/2011/09/sew-along-libby-top.html
Thanks for the tutorial – but apparently I’m too impatient for sew-a-longs!
Ok, I’m done for tonite… those button strings were harder than I expected… anyway, I was so into it that I even sewed the buttons. Hope I don’t regret it for being such a Ms know-it-all…
Looking forward for tomorrow instructions!
I am loving how mine is looking so far. I am with the others – can’t wait for tomorrow. Sew-alongs make me a little antsy for the next step, but I like them because it allows me to take more time on each step! Thanks again.