


So this shirt used to be plain and had long sleeves. Long sleeves are not a good look for me most of the time. Short, short cap sleeves are also a no. This shirt was $3 on clearance though, and I had it in mind for a refashion, so rules are meant to be broken sometimes!
So in the great sleeve length debate, in the middle there is that sweet spot…and that’s what I decided to do with this shirt. I didn’t take a before picture, so just imagine this blue shirt with long sleeves and no flowers.
 See? That wasn’t too hard, huh?
Click below for more!
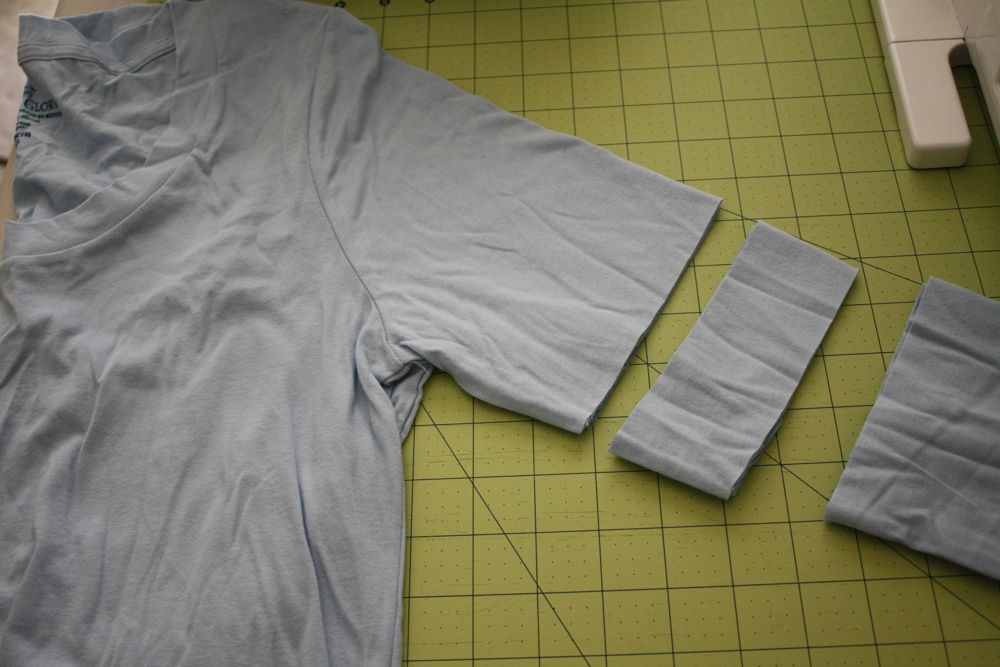 I folded my shirt in half, lining up the seams on the sleeves, and then cut them at the length I wanted with my rotary cutter and ruler. (best sewing purchase EVER besides my machine!)
I then cut about 2 inches off right below that cut. (as seen above)
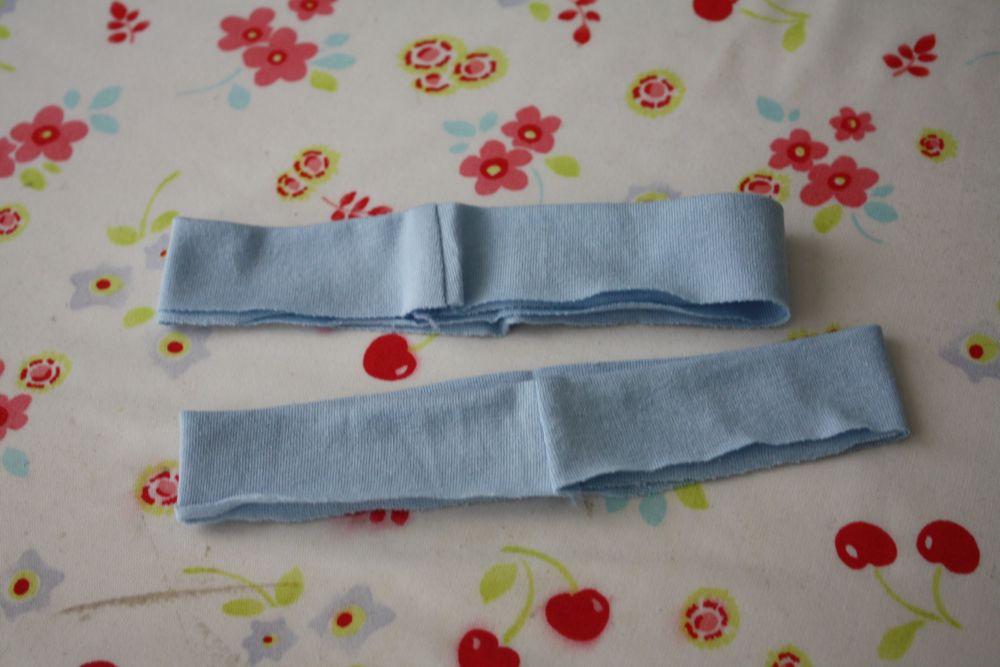 You simply fold them in half like so with the seam on the inside, press them with your iron…
 and pin, right sides together, to your sleeve.
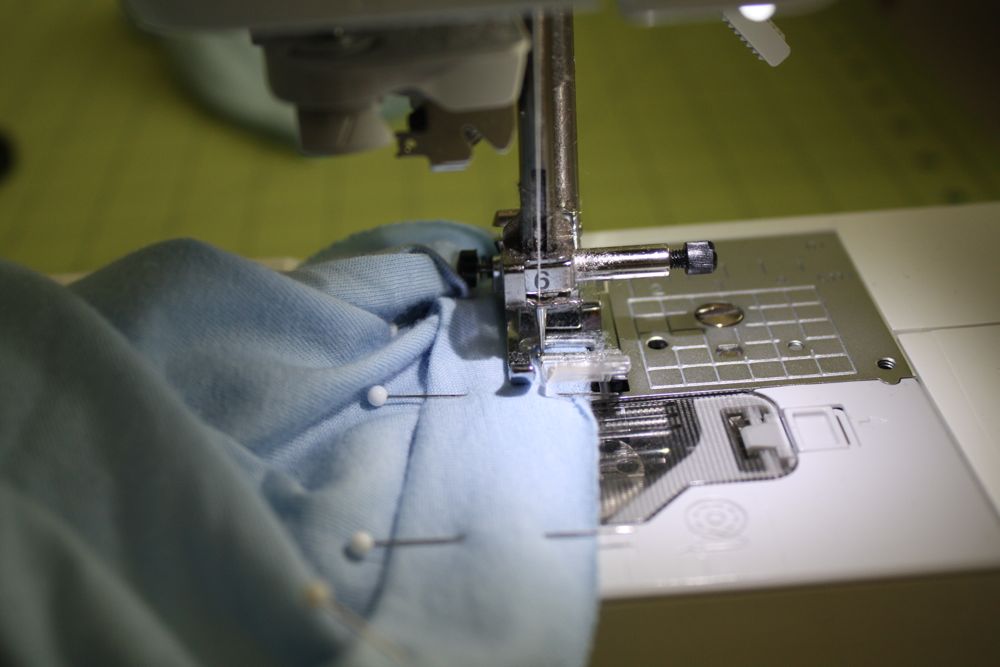 Sew around with 1/4 or so seam. (and use a ballpoint needle, those are meant for knits, and they really do make it easier!) Then turn right side out and your done!
Also, repeat for the other sleeve, unless you like the unbalanced look.
 For the little rosette thingies, I cut a strip of fabric from the rest of the sleeve, folded it in half, pressed it with my iron, and folded it around and around…
 until I got something like this.
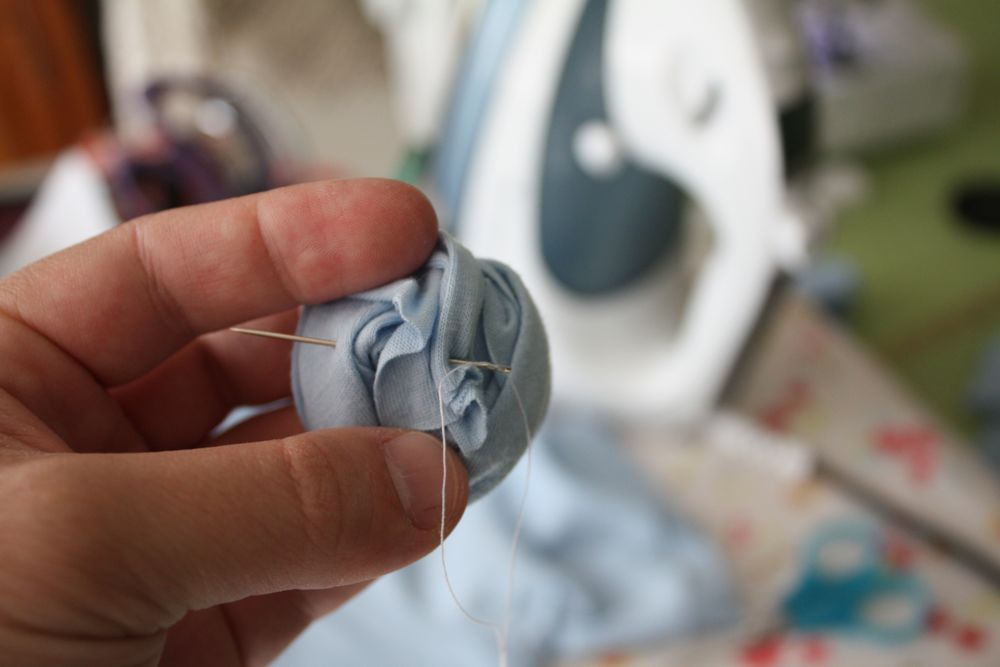 Then sew all your layers together on the back (thoroughly!)…and sew them to your shirt!
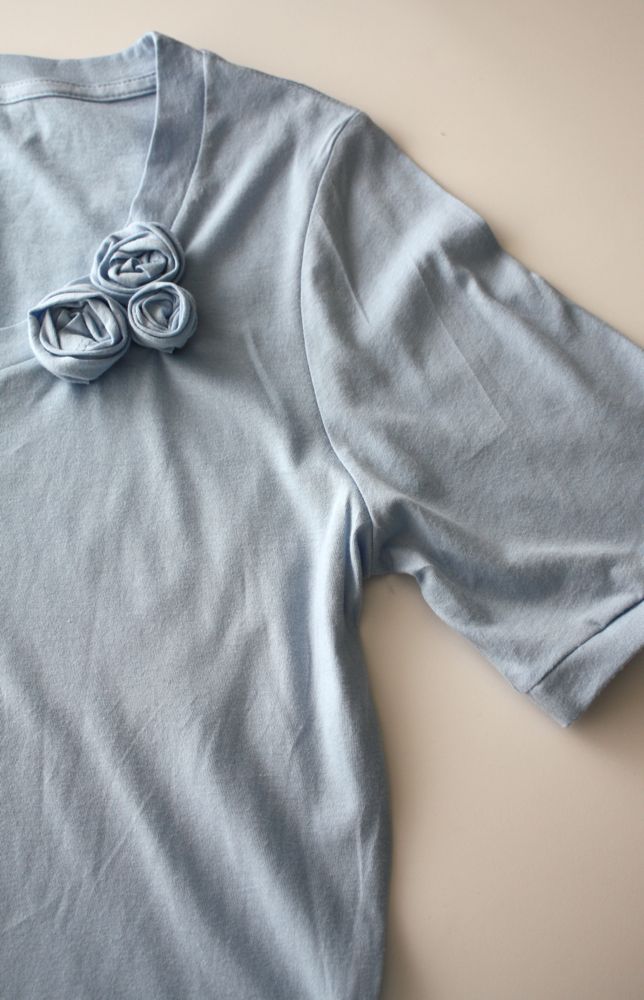
 tada! pretty cute huh. (I might have sewed the flowers a little too tightly to the shirt, aka the puckering…I’m hoping it smooths out when I wear it.)
***If you have used any of my tutorials, I’d love if you’d add a quick pic to my flicker group! Thanks!***
Sweet! I’m still too chicken to sew with knit much. My machine eats it.
Awesome! I really need to do that. I have some old long-sleeved shirts that are just………. not cute.
so cute, I love it! I’ll have to try this sometime
Very cute, I can’t wait to try this! You are amazing!
Kelli
xoxo
Love that sleeve length and cute flowers!
Pretty! Great job.
Really cute. I love it!
That’s really pretty. Great job!
cute! i did something similar with a shirt i got that was too long. i hemmed and use the excess at bottom to make flowers for the shirt and hair accessory. i’m not great with sewing knit though…that’s when a serger would have come in handy. 😉
Super cute. I definitely want one. And I am totally in love with the in between length of the sleeves. Perfect. And super flattering. 🙂
Thats a great tip. I also prefer 3/4 or elbow length tops, as I’m always rolling my sleeves up if they’re any longer.
x.
I would really like to thank you for this nice flower tutorial. I made a sweater but my daughter really wanted to have something special added, so I choose this flower. If you would like to see the result: http://compagnie-m.blogspot.be
Thanks again!